Measuring and Tracing the Curtains
First of all, measure and trace the curtains before you begin the hemming process. To do this, you will need to measure the length of the curtains and the width of the bottom hem. You can use a measuring tape to measure the length and width and then use a marker or chalk to mark it on the curtains. Make sure to mark at least two or three points on each side of the fabric to ensure accuracy.
Once the measurements have been taken, use the measurements to cut a hem along the bottom of the curtains. Make sure to cut out an equal amount of fabric on each side so that it lays evenly when it is completed.
Pin and Fold the Hem
After tracing and measuring the curtains, begin to pin and fold the hem. For this step, you will need a variety of straight pins and clips, or clothespins. Place the pins in the fabric at five to six-inch intervals and then fold the fabric over to meet the pins. To make sure it is cut accurately and evenly, use a ruler to check the folds regularly.
Also, use a steaming iron to help hold the fabric in place and make it easier to handle. This will also help you get a more professional finish.
Finishing the Hem
When you have finished pinning and folding the hem, you will need to sew it together. To do this without a sewing machine, you can use an embroidery needle and a thread of your choice. Begin stitching at the top of the hem and sew the fabric together in a straight line until you have reached the bottom.
When you have finished sewing the hem, remove all of the pins and then tie off the end of the thread. Be sure to double knot the thread as well so that it is secure.
Stitching and Pressing the Hem
Now it’s time to stitch and press the hem. You must make sure to stitch the hem neatly and evenly. Also, be sure to leave a good amount of the thread on either side of the hem so that you can tie it off later when you are finished with the stitching.
For best results, use an iron to press the hem flat and make sure that the hem is free of any wrinkles or creases.
Finally, cut any extra threads that you find and press them into the finished hem.
Clean and Repair the Hem
The last step in hemming curtains without a sewing machine is to clean and repair the hem. It is important to clean the hem to make sure it is free of any debris or dirt. Use a brush or vacuum to gently clean the fabric and then use a damp cloth to wipe away any dirt or dust particles.
Once the hem is clean, you can inspect it for any loose threads or tears. If any are found, use a needle and thread to repair them. For any stubborn tears or holes, you may need to use a patching or mending technique.
Types of Hem
When hemming curtains without a sewing machine, it is important to understand the different types of hem that are available. The most common type of hem is the straight hem which is used to hem the bottom of the curtains. It is a simple, straightforward stitching process that doesn’t require any fancy techniques. The other type of hem is the blind hem which involves stitching the folds of the fabric together. This method is best used when you want to create a more professional look.
Another type of hem is the shirring hem which involves gathering the fabric using elastic thread. This type of hem is usually used for lighter fabrics such as cotton or linen. To create a shirring hem, you will need to use a specialty thread and needle.
Useful Accessories
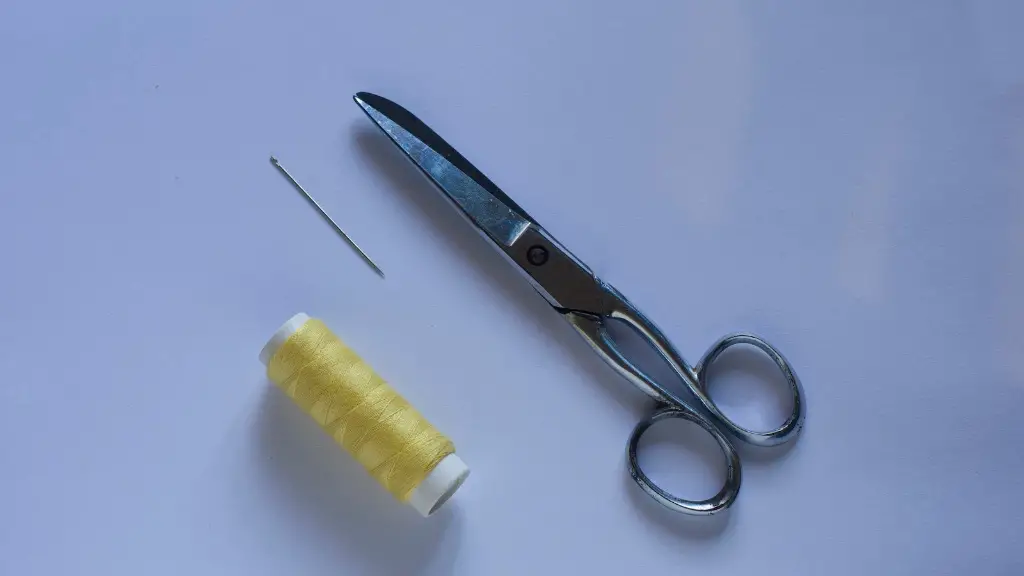
When hemming curtains without a sewing machine, it is important to have the necessary tools and accessories. These include a measuring tape, pins, clips, an iron, a thread of your choice, an embroidery needle, a brush, a vacuum, and a damp cloth. Having these items will make the process easier and more efficient.
There are also several hemming tools available on the market that can make the process easier. These tools include hemming tape, hem markers, and hemming rulers.
Tips and Tricks
To achieve the best results when hemming curtains without a sewing machine, it is important to follow a few tips and tricks. For example, it is important to take the time to accurately measure and trace the curtains before you begin. Also, use a steaming iron to help hold the fabric in place.
When you are pinning and folding the hem, use a ruler to ensure accuracy. When it comes time to sew the hem, make sure to leave extra thread on either side so that you can tie it off later. And lastly, use a patching or mending technique to repair any stubborn tears or holes.
Storage and Preservation
Once the curtains have been hemmed, it is important to store and preserve them properly. To do this, hang them up and make sure to protect them from sunlight, dust, and moisture. If the curtains are not being used, you may want to store them in an airtight container or resealable plastic bag.
It is also a good idea to clean the curtains regularly. This will help to keep the fabric looking fresh and new for longer. When cleaning the curtains, make sure to use a mild soap and warm water, and do not use harsh detergents or chemicals.
Durability and Maintenance
Last but not least, it is important to consider the durability and maintenance of your curtains. To ensure that the curtains remain in good condition for as long as possible, make sure to clean and maintain them regularly. Additionally, keep in mind that some fabrics may require more care and attention than others, so make sure to read the care labels and follow the instructions.
When it comes to repairs and repairs, it is always a good idea to seek the advice and guidance of a professional. This will help to ensure that the curtains are repaired correctly and will help to extend their lifespan.


