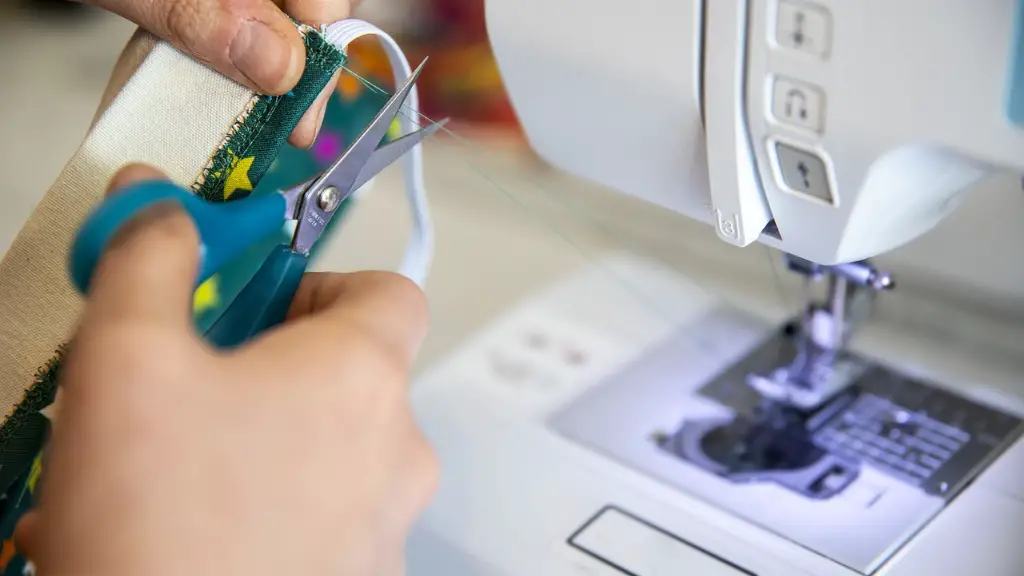
Getting familiar with the basics: Sewing machine jams
You just finished up a sewing project and you pull the plug on the sewing machine, but when you are ready to use it again, it refuses to start up. You have a sewing machine jam. Sewing machine jams come in all shapes and sizes, so the first step to fixing it is getting familiar with the basics of sewing machine jams.
The most common causes of sewing machine jams are wrong thread tension, wrong needle size, wrong thread size, wrong fabric, bobbin thread jammed or tension unevenly applied, debris in the bobbin area and a bent needle.
Sewing machine jams can cause wear and tear on the machine, creating excess noise and vibration. It can also overheat the motor or create an irregular stitch. Depending on the type of jam, it may also cause the machine to stop working altogether.
In order to prevent sewing machine jams, it is important to keep the sewing machine properly maintained and lubricated, as well as keeping it clear of debris. It is also important to use the correct thread and needle size, as well as the correct fabric. It also helps to check the bobbin tension every once in a while.
Now that you are familiar with the basics of a sewing machine jam, it is time to tackle it head-on and get it fixed.
Step 1: Unplug the Machine
The first step is always to unplug the machine and make sure that it is turned off. This is a safety precaution that you should take into before attempting any repairs on a sewing machine.
Step 2: Disconnect the Machine’s Frame
The next step is to disconnect the machine’s frame. This will allow you access to the spool and bobbin area, which should be cleared of any debris that may be causing a jam.
Step 3: Check the Thread and Needles
Now that the sewing machine is open, take a look at the thread and needles. If they are worn, frayed, or bent, it may be the cause of the jam. Replace the needles and thread with ones that are suitable for the type of fabric you will be working with.
Step 4: Test the Thread Tension
If the thread and needles look fine, the next step is to test the thread tension. Thread tension should be adjusted depending on the type of fabric being used and the type of stitch you are doing. If the tension is too tight or too loose, it can cause a sewing machine jam. Adjust the tension as needed to get the best results.
Step 5: Check the Bobbin Area
Now it’s time to check the bobbin area. Make sure that the bobbin is wound correctly, and that there is no debris in the bobbin area that may be causing a jam. If there is we recommend that you take a look at the machine’s manual for instructions on how to properly clear the bobbin area. Once the bobbin area is cleared, you are ready to proceed.
Step 6: Reassemble the Frame
Once you’ve checked the thread and needle, tested the tension, and cleared the bobbin area, it’s time to put the frame back together. Reassemble the frame and make sure that it is secure before proceeding.
Step 7: Test the Machine
Once the machine is reassembled, it’s time to test it. Plug it in and turn it on. If it starts up correctly and does not jam, then you’ve successfully fixed the sewing machine jam. If it does still jam, go back to steps 2-6 and check again.
Step 8: Maintenance
There is nothing more annoying than having a sewing machine jam again after you’ve just fixed it. To prevent this from happening, it is important to keep the machine clean and properly maintained. Make sure that the needles and thread are always in good condition and that the bobbin area is regularly cleared of any debris.
Frequent Sewing Machine Adjustments
Your sewing machine will need frequent adjustments in order to run efficiently, which is why it is important to familiarize yourself with how to adjust the tension and other settings on your machine. Learning how to adjust the tension and other settings on your machine will be essential for preventing sewing machine jams from occurring in the future.
Cleaning and Lubrication
Keeping the sewing machine clean and free of debris is essential for it to run smoothly. Periodically check the bobbin case and other areas for any build-up and make sure to properly lubricate any moving parts. This will help to prevent any jams from occurring.
Follow the Instructions in the Manual
Every sewing machine is different, so it is important to read the instructions in your machine’s manual. Most sewing machine manufacturers provide clear instructions on how to adjust settings, maintain the machine, and clear any jams. Make sure to follow the instructions in the manual, and if you get stuck, don’t hesitate to reach out to the experts.
