Understand Your Sewing Machine
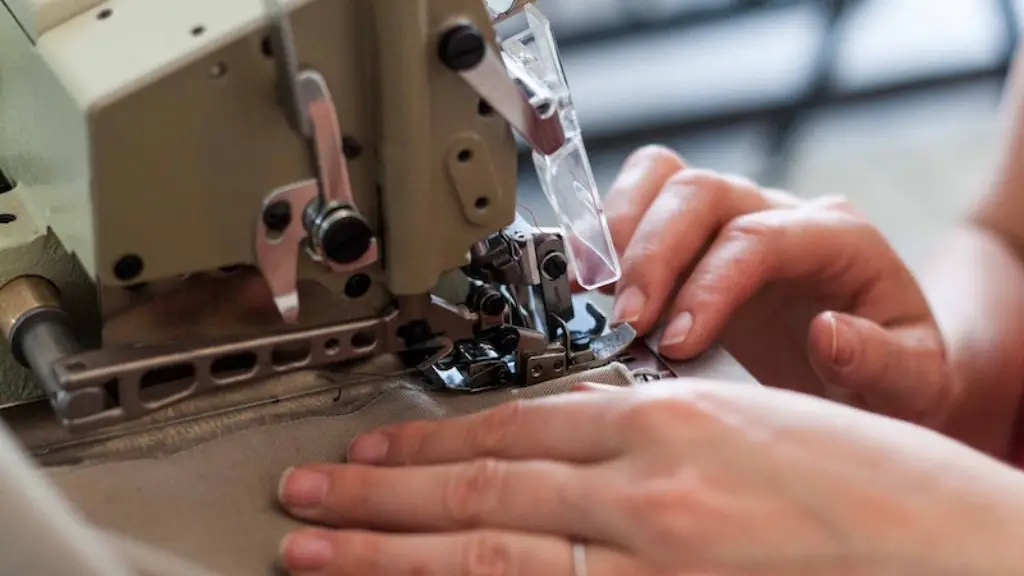
In order to properly insert a needle into a sewing machine, it is crucial to first develop an understanding of the device. A sewing machine is made up of several components including a needle, a bobbin, an arm, a handwheel, and a presser foot. Different types of sewing machines use different parts, so understanding the model of your machine will ensure that you know how to navigate it properly. Additionally, familiarize yourself with the factory manual for your machine; it will provide helpful information about where each of the parts are located and how to operate the particular device.
Picking the Right Needle
Picking the right needle is essential in successfully inserting your needle into your sewing machine. Selecting the wrong needle can not only break the stitching process but also cause damage to the fabric and to the sewing machine itself. Generally, there are three types of needles used in sewing machines: universal, ball-point, and jeans needles. Universal needles are the most commonly used since they stitch across any fabric. Ball-point needles, on the other hand, are typically used for knits and have rounded tips to help reduce breakage of the threads. Lastly, jeans needles are heavier duty needles with a sharp tip for tougher materials. Before inserting the needle, compare it to the needle that your machine uses and determine if that is the best option for your project.
Installing the Needle
Once you have decided on the right size and type of needle, you can begin to install it into the sewing machine itself. Begin with unscrewing the needle clamp and inserting the needle with the flat side facing the back. After that, the needle clamp has to be replaced and tightened with a specific amount of pressure. When tightening the screw, avoid using extreme force as it can damage your needle and the machine.
Threading the Needle
After the needle has been properly inserted, the next step is to thread the needle and bobbin. You should start by threading the bobbin by inserting it enclosing the bottom part, and pulling it upwards to the top of the machine. Following that, thread the upper part of the machine by looping the thread from the spool, through the tension discs, up to the needle itself. Make sure to insert the thread from the front to the back and not in reverse. Additionally, there are often other differential steps to thread your machine depending on the model, so refer to the factory manual for guidance.
Testing the Machine
Once the needle and bobbin are both threaded, you should now have a fully functioning sewing machine. Test the machine by holding down the presser foot and gently turning the handwheel, allowing the needle to penetrate the machine and fabric. If you notice the needle is looping or is not threaded correctly, you can try to rethread the needle, or consult the factory manual for further help.
Learning Different Stitches
With a properly threading sewing machine, you are now ready to start stitching. Before jumping into a full project, spend some time familiarizing yourself with different stitching techniques. On a basic level, there are straight stitches which travel in a single direction and zigzag stitches which vary in width and length. As you become more experienced sewing, you will be able to move onto more advanced techniques such as hemstitching, smocking, and buttonholing.
Maintenance of Your Sewing Machine
After you have mastered the ins and outs of your sewing machine and different stitching techniques, it is time to focus on caring for the machine itself. Routine care and regular maintenance is necessary for the longevity of the machine. Make sure to routinely check the power cord and any other connection joints for any wear and damage. To avoid any dust from build up, clean both the outside of the machine and the inside of the bobbin case regularly. Additionally, oil any parts with moving segments to ensure their longevity and to keep the machine performing optimally.
Upgrading Your Machine
With regular maintenance, your machine should remain in good condition and ready to handle new projects. However, as you become more advanced with sewing, you may want to upgrade certain features of your machine. You might want to look into getting a new needle, updating the stitches offered on your machine, or even altering the tension. Before doing any of these upgrades, always conduct extensive research online and consult a sewing machine retailer for the best advice.
Winding the Bobbin
With an updated and functioning sewing machine, the next step is to wind the bobbin to ensure the threads match and can work in harmony when stitching. Start by threading the bobbin thread as mentioned previously and then hold it with your left hand and turn the handwheel with your right hand until the bobbin is securely filled. Make sure to check the thread tension throughout the process and adjust it if necessary.
Threading the Take-up Lever
The take-up lever is a small arm that is located at the upper right of the machine, and the last part of the pre-stitching process is to make sure it is filled with thread. Start by inserting one end of the thread coming from the spool and with the other pull it up and to the left, bringing it to the take-up lever. From there you should be able to pull it all the way through, leaving it ready for the beginning of stitching.
Using Your Sewing Machine
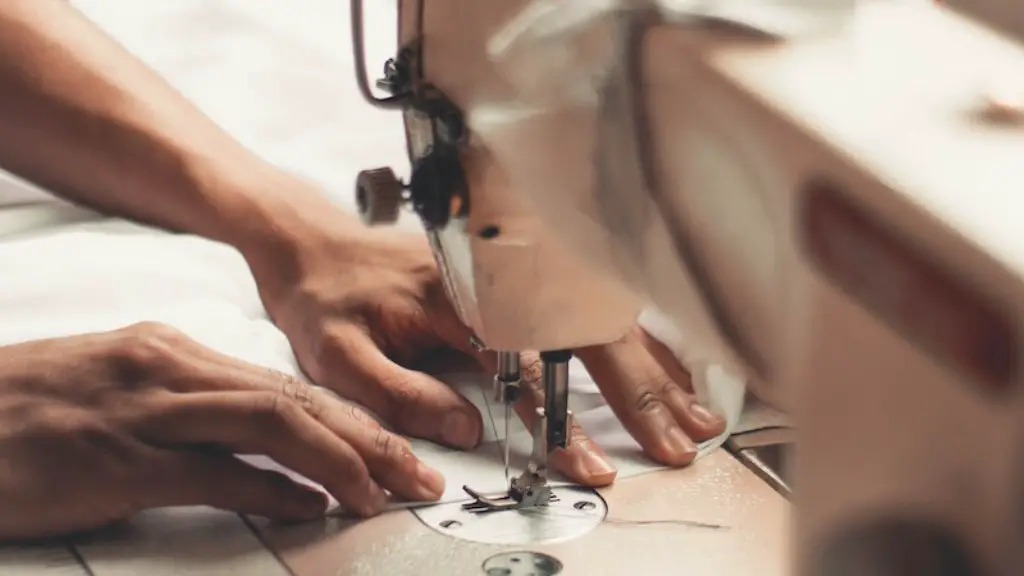
With a properly functioning and threading machine, you are now ready to start sewing. Before starting your project, be sure that you have the correct needle and thread for the fabric you are using. Also, check the presser foot to make sure it is down and that the thread tension is set properly. Once you begin stitching, keep an eye on the fabric as it moves through the needle and machine, and adjust the length and width of the stitches while working.
Stitching with Accuracy
Accuracy is essential when stitching and any mistakes can lead to a finished item that may not meet expectations. To help with accuracy, try using stitch guides that can be found online and also pattern markings, which indicate where to regularly adjust the needle. Additionally, use seam rippers when necessary if you make any mistakes. Seam rippers allow you to effortlessly remove flawed stitches and protect you from cutting the fabric.
Handling Different Fabrics
Different types of fabric require different stitches, needles, and thread. When working with a particular fabric, be sure to check the needle used and the thread tension since a wrong needle can cause snagging and looping of the thread. Along with delicate fabrics, heavier materials such as denim require heavier needles, while knits require softer needles. Additionally, make sure to adjust the thread tension according to the thickness of the fabric and the speed of the stitch.
Finishing Techniques
When finishing a project, build a professional look by neatly finishing the edges. There are several techniques you can use such as zigzag stitches, binding, and topstitching. Ultimately, the one you choose will depend on the fabric you are using and the craftsmanship you desire. However, to finish a project well, try the facing technique which involves sandwiching the raw edges together, stitching around the edge and then trimming the seam allowance.
Developing Skills
The more accustomed you become with your machine, the more techniques you can apply and eventually master. Take the time to practice on scraps of fabric and experiment with different types of stitches. The more you get to know your machine, the more well-rounded a seamstress you will become. Additionally, don’t be afraid to take a beginner sewing class, as the more knowledge you have, the better you will become.
Working With Family Members
Sewing can be a great hobby to bond with family. You can work together on projects and trust each other’s input. When working together, divide the tasks that need to be done and be sure to communicate any potential problems right away. Additionally, before taking on a larger project, practice as a team beforehand with simpler tasks.
Organizing Your Sewing Space
When sewing, having an organized space can help save time and frustration. Purchase containers and small tools to help keep the area organized and accessible. Place the essential tools, fabrics, and threads within easy reach, so when you make a new project, you know exactly where everything is located. Additionally, be sure to remove any found items from the sewing space as it can create tangles and some machines have small parts which could be misplaced.
Exploring New Projects
As you navigate the different techniques and tools associated with sewing, it is easy to get stuck in a rut. To challenge yourself, try exploring new projects and use techniques you may have not yet tried. If a bigger project feels overwhelming, start by trying simpler mini-projects. Make a pouch for your phone or redefine a hat for yourself or a friend. The possibilities are limitless and can help give an extra spark to your seamstress journey.
