Overview
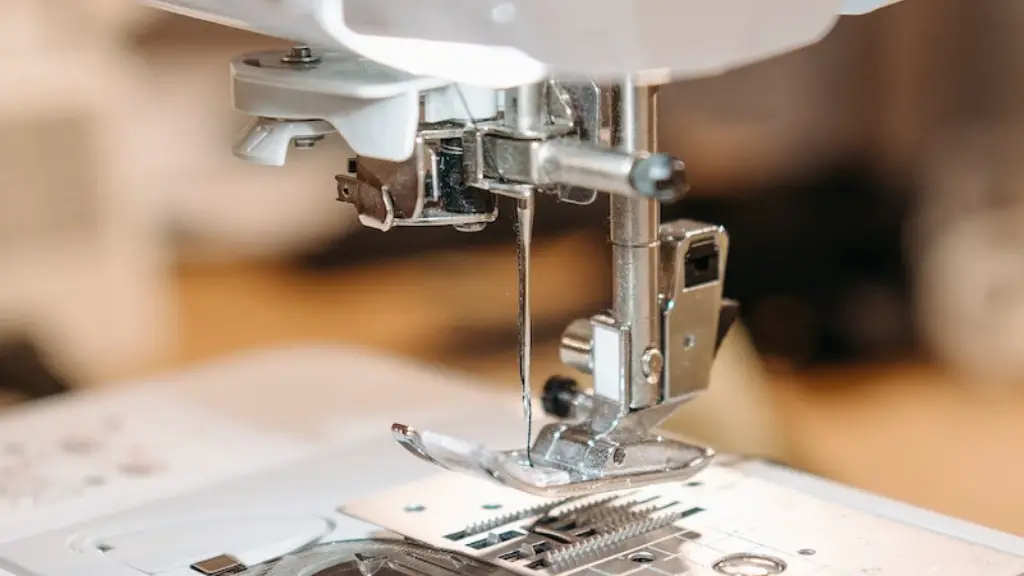
Installing LED lights on your sewing machine may seem daunting, but with a few simple steps, this task can be accomplished by anyone. LED light installation can add more clarity, efficiency, and organization to the sewing process. Keeping light on the material being worked with makes it easier to see imperfections and patterns. Additionally, LED lights may be more energy-efficient than incandescent bulbs, further adding to the efficiency of your sewing room. LED lights may be invaluable when it comes to working in dark or dimly lit areas. To get the most out of LED lighting, it is important to understand how to properly install it.
Assessing the Machine
The first step when considering LED lights for your sewing machine is to assess the type of machine and understand how the LED lights will be attached. There are various types of lights depending on the machine. Additionally, depending on the wiring of the machine and securement of the LED lights, the installation may be more or less difficult. An electrician may be necessary for installation tasks that are more complicated. Begin by taking all the necessary precautions to protect yourself and the machine from damage and harm.
Materials Needed
After assessing the machine, it is now time to gather the necessary materials for installation. Make sure to have the correct type of LED lights and tools. The LED lights should come with installation instructions so that the correct tools are identified. Also, have a few spare materials and tools at hand in case of emergency. A soldering iron, electric tape, wire cutters and needle nose pliers may all be necessary. Additionally, it is important to have a comprehensive and complete understanding of the wiring already in place.
Placement
Next, it is time to begin the installation process by determining the exact placement of the LED lights and securement locations. This can be done by creating a plan on paper or using a ruler to measure out the possible placements and marking them with a pencil. Make sure that the LED light placement will not interfere or damage delicate parts of the machine. Take care to ensure the placement of the light does not create any hazardous situations for the user.
Installation
When it comes to the actual installation of LED lights on a sewing machine, the process may be quite simple or decidedly more complicated. Before beginning, make sure to unplug the machine from any power sources and check to make sure it is off, just as a precaution. After determining the placement of the LED lights, begin by twisting the ends of the wires, creating the correct contact points. Splice the wires of the LED lights to the existing wiring, if any, and secure with electrical tape. Some LED lights may already come with an adhesive backing which simplifies the securement process.
Testing and Final Touches
Once the LED lights are correctly installed, it is time to test the LED lights to make sure they are working correctly. Plug in the machine, switch on the LED lights, and make sure the lights turn on. Adjust the brightness if necessary. Finally, make sure to secure the wires properly and not leave any wire connections exposed.
Maintenance
Maintaining LED lights on a sewing machine is simple but important in ensuring that the lights last a long time and provide the best lighting experience. Some requirements of LED lighting maintenance include regularly dusting off the lights and regular inspections of the wiring to check for any loose connections. Secure connections as necessary and inspect regularly for any physical damage to the lights.
Safety Precautions
It is always important to take safety precautions when installing and maintaining LED lights on a sewing machine. Make sure to wear safety glasses and protective clothing when handling any wiring or installations. Unplug the machine before making any connections. Additionally, never work on a wet or damp surface, and make sure to turn off the lights when not in use.
Advantages of LED Lights
LED lights offer several advantages for the person using a sewing machine. LED lights are typically more energy-efficient than incandescent lights and emit less heat. This can help extend the life of the LED lights and further help keep energy costs down. Additionally, LED lights may be brighter and more focused, providing more light to the material being worked with, making it easier to view imperfections and patterns. They may also require minimal maintenance, allowing you to get the most out of your LED lights over time.
Drawbacks of LED Lights
Although there are several positive aspects of LED lighting, there may still be some possible drawbacks to consider. Installing LED lights can involve some complex wiring and securement procedures. It may be more challenging to install LED lights on certain types of machines with more intricate wiring systems. Additionally, LED lights may be more costly than incandescent bulbs, but this may be balanced out by energy savings in the long run.
Care and Cleanliness
Keeping the wires and LED lights clean is important in extending the life of the lights and avoiding any damage to the wiring and machine. Make sure to regularly clean the dust off of any wiring and LED lights to prevent build-up and wear. If there are any physical signs of wear on the wiring or lights, replace them accordingly. Taking extra care in this respect can help ensure the reliability and longevity of the lights.
Costs of Installation
The cost of installing LED lights on a sewing machine may vary depending on the type of machine and the complexity of the wiring. It is possible to install the lights yourself, although it may require some basic knowledge of wiring and tools. Additionally, an electrician may be necessary to install certain types of LED lights. Costs and services of an electrician may also vary depending on the location and their experience. Consider all the different cost factors before beginning the installation process.


