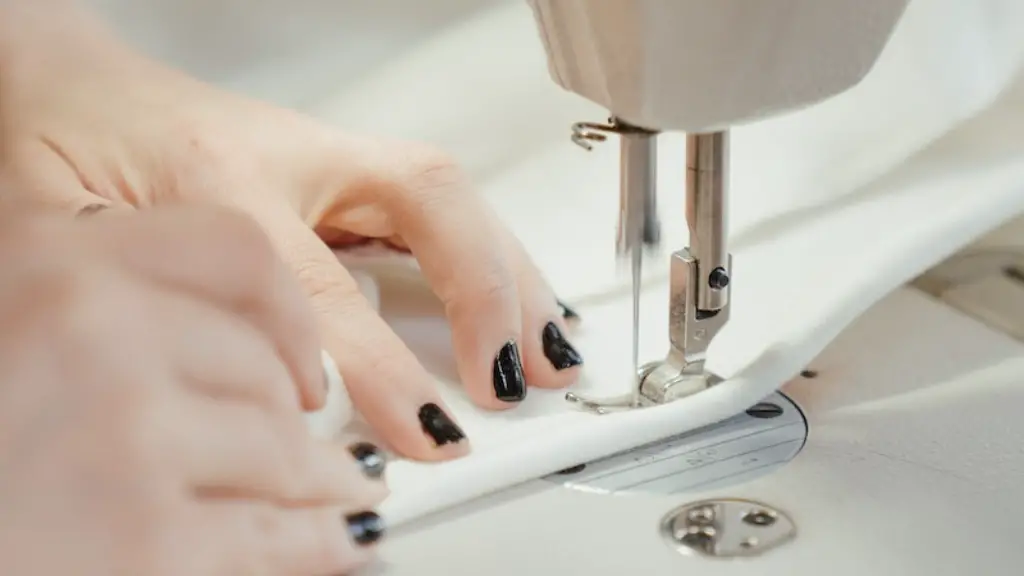
Since the invention of the sewing machine, thrifty homeowners have used the machine to prolong the life of their clothing and even make them look brand new. To make the best use of the machine, it needs to be mounted firmly to a table. But when a homeowner finds they no longer have use for their sewing machine, it’s important to know how to remove it properly to prevent damaging the machine or table. Let’s take a look at the proper steps for removing a sewing machine from its table.
Before you start, it’s a good idea to make sure you have placed something underneath the sewing machine to provide a cushion between the machine and the table. This will prevent scratches on the surface when you are carrying it away. Next, make sure you have disconnected the electrical cord and removed any bobbins from the machine.
Once you have all of these items ready, it’s time to begin removing the sewing machine from its table. First, you will want to take out the screws that are holding the machine onto the table. It’s important to note that some sewing machines may have different types of screws, such as Phillips or square head, which will require a different tool to remove them. If you don’t know what type of screw you have, consult your owner’s manual.
Next, you will need to lift the machine from the table in a careful manner. It may help to have someone assist you in this part of the process. You can ask them to help you lift the machine and carry it away. Once you have the machine safely in its cushion, you can transport it away to its new home.
Cleaning
Once you have the machine removed from its table, it’s important to go through the cleaning process to make sure the machine is properly maintained. Begin by making sure all surfaces are free of any dust or debris. Using a damp cloth, wipe away any dust or debris that may have built up while the machine was in use. Once all the surfaces have been cleaned, you will want to take a vacuum and get the machine’s crevices and sewing bobbin free of any thread. This can be done with a small detail vacuum or a vacuum attachment.
Once the machine is completely clean, you can use a lubricant to maintain the machine’s moving parts, following the instruction in the owner’s manual. It’s also a good idea to cover the machine with a cloth cover to keep the dust and dirt away. This will ensure that the machine is maintained in good condition for a long time.
Storing
Once you have finished with the cleaning process and the machine is covered, it’s time to store it away in its new home. Depending on how you plan to store the machine, you may need to purchase a storage bin to protect it from dust, dirt, and bugs. It’s important to make sure the storage bin is lined with a cloth to ensure the machine doesn’t get damaged.
If you plan to store the machine in a closet, place the bin in a cool and dry place, away from sources of moisture. If you plan to store the machine in a garage or basement, make sure it’s placed in a spot that won’t be exposed to extreme temperatures or humidity.
Once the machine is in its storage bin, you can place it in its new home and enjoy the anticipation of when you will next have the opportunity to use it.
Protecting Table
If the sewing machine was removed from a freestanding table, you will need to pay special attention to protecting the table. Without the weight of the machine, the table may be easily tipped over and cause injury. To avoid any accidents, it’s important to make sure the table is secured to the wall or floor.
For larger tables, you will want to use brackets and bolts to securely attach them to the floor or wall. For smaller tables, you can use furniture anchors to make sure they don’t move and tip over. Whichever method you use, make sure that all screws and bolts are securely tightened.
Once the table is secured, you can place any decorative items that had been on the table, such as tablecloths or pictures. This will help the table fit seamlessly into the room and make sure it isn’t a hazard.
Quality Check
Finally, once you have finished removing and storing the machine, it’s important to take a few minutes and make sure everything is working properly. Double-check that the electrical cord is properly disconnected and make sure all moving parts are properly lubricated. A quick quality check will help avoid any complications and make sure the sewing machine is in its best condition for when you decide to use it again.
Replacement Table
If you no longer plan to use the sewing machine, you may want to consider getting a replacement table for it. This can help the table fit in with the aesthetic of the room and give it a new purpose. Depending on what type of table you get, this could be a great way to keep the table and use it for another purpose.
For example, if you get an industrial-style sewing table, you can use it as an accent piece in a modern room. It can also be used as a bureau to store mail and other items. Or, if you get a folding table, you can use it as a coffee table in a living room.
Whichever type of table you choose, make sure it’s secured in place and is stable enough to hold items. With the right table, you can make sure that the sewing machine is still a part of your home, even if it’s no longer in use.
Practice Care
When removing the sewing machine from its table, it’s important to practice care to avoid any costly issues. Always use appropriate tools and have someone help you lift and carry the machine. Keep the machine properly lubricated and store it in a secure bin away from unwanted particles.
Additionally, make sure the table that the machine was sitting on is secured and won’t tip over when in use. A simple check-up can go a long way and make sure the machine doesn’t suffer any drastic damage while being removed.
Materials Needed
To safely remove the sewing machine from its table, you will need the following materials:
- Appropriate screwdriver for removing screws
- Damp cloth for wiping surfaces
- Vacuum for cleaning any threads and debris
- Lubricant for protecting moving parts
- Cloth cover for protecting from dust and dirt
- Storage bin for secure storage
- Brackets and bolts for securing table
- Furniture anchors for securing table
With all of these materials, you can safely and confidently remove your sewing machine from its table and make sure it’s properly maintained.
