Getting Started with a Singer Simple Sewing Machine
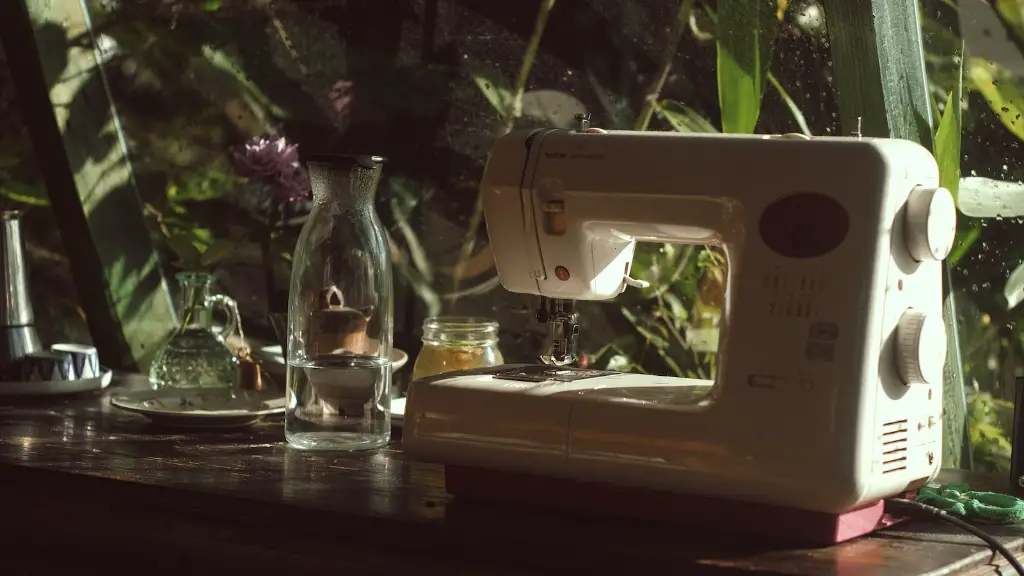
Sewing machines have been around for centuries. Singer is one of the leading brands and their Simple sewing machine is one of their most popular models. Standard sewing machines come with a bobbin, bobbin case, and other attachments. The Singer Simple has all of these as well as a few extra features such as an automatic needle threader. With the right instruction, you will be able to learn how to use it quickly and easily.
Preparations
Before you begin using your Singer Simple machine, the first thing you need to do is to arrange a space with an appropriate sized table to use as your workspace. You will also want to make sure that your machine is set up correctly. Most sewing machines come with an owner’s manual, so refer to this for instructions on assembling the machine and other setup details.
Threading the Machine
Threading a machine is arguably the most difficult step in the entire process, but it’s a skill you will soon master. To begin, follow the threading diagram that comes with the machine in the owner’s manual. This is a visual chart that will help you understand the positioning and the order of the threads. Be sure to use the most suitable type of thread for the project you are working on.
Loading the Bobbin
The bobbin is small spool of thread that fits in your machine. It is essential to making sure your stitches are even. To load the bobbin, insert it inside the bobbin case while matching the eye side of the bobbin with the flat side of the bobbin case. Pull out the tail of the thread and slowly pass it around the bobbin tension spring. Move it left and right when winding it, to tighten the bobbin. Once completed, you should see the amount of thread winding smoothly and evenly.
Attaching the Bobbin Case
Once completed, the bobbin case should be placed into the machine. There is a designated slot where the bobbin case sits. Place the bobbin case into the slot and turn it clockwise to secure it. After this has been completed, the bobbin case release lever should be in an upright position to ensure it is locked in.
Raising the Needle
The needle should be set to the highest position to enable threading. To do this, raise the needle by pressing the needle position button, located on the right side of the machine. The needle should rise up and then you will be ready to start threading the machine.
Threading the Upper Part of the Machine
The upper part of the machine is where the thread is used to create stitches. Pull out a short length of thread from the top spool pin and pass it through the thread guides to see if it goes through smoothly. Eventually, the thread will end up looping into the take-up lever, which ensures the thread stays in place for each stitch.
Turning the Handwheel
Now that the machine is all set up and ready to go, turn the handwheel located on the right side of your Singer Simple machine to make sure everything is working properly and to double check the tension is correct. When you turn the handwheel, the needle should move up and down, pulling the thread with it. If the thread breaks, you will need to adjust the tensions.
Deploying the Automatic Needle Threader
One of the main advantages of the Singer Simple machine is the automatic needle threader. This saves you a considerable amount of time as it eliminates the need to manually thread the needle. To use the automatic needle threader, start by raising the presser foot. Then place the thread through the needle from the back to the front, and release the lever on the side of the needle to secure the thread.
Testing Out Your Singer Simple Machine
It’s time to test out your Singer Simple machine. Always practice on a scrap piece of fabric before attempting a project. You can experiment with different types of stitches and thread tension and begin making your own garments or home décor. With a basic understanding of how to operate the Singer Simple machine, you can take your sewing projects to the next level.
Stitch Selector Button
The Singer Simple machine has several different stitch types that you can choose from. The stitch selector button can be used to choose which stitch you would like to work with. You will be able to choose from zig-zag, straight, triple zig-zag and many other stitch types. The manual will give you a detailed explanation of how to use the stitch selector button.
Accurate Thread Length
Accurate thread length is also essential to ensure a successful sewing project. With the Singer Simple machine, you can adjust the length of the thread by pressing the stitch length button. Make sure to adjust the length depending on the type and material of fabric you are working on. This can range from sheer fabrics to thicker materials.
Altering the Stitch Width
For certain stitches such as the zig-zag stitch, you can also alter the width by using the stitch width button. It is typically used to make adjustments primarily for reinforcement and decorative purposes. With practice, you should be able to understand the measurements for different fabrics for the exact look you are going for.
Adjusting the Presser Foot
The presser foot is one of the most essential parts of the machine because it holds the fabric in place while sewing. With the Singer Simple machine, you can raise the presser foot anytime you need to stop stitching. Depending on the type of fabric you are using, you can select a specific foot, such as the walking foot, so that it can attach correctly to the fabric.
Troubleshooting Common Problems
It is essential to understand how to troubleshoot common problems that may arise while operating the Singer Simple machine. This includes everything from broken needles and threading issues to skipped stitches. Refer to the manual for possible solutions to whatever problem you may have encountered. Cleaning and taking care of the machine is equally important.
Using Special Embellishment Foot
The Singer Simple machine may come with optional accessories such as the special embellishment foot. This will enable you to sew things like buttons, ribbons and other decorative items onto fabric. This can add a bit of flair and decoration to your projects. The manual will explain how to attach and use the special foot.
Singer Simple Machine Conceptualization
By conceptualizing the Singer Simple machine, you will be able to widen your understanding of sewing principles and apply it to your own projects. Pour through sewers’ forums and ask experts for advice and guidance. Analyze what a successful project looks like beforehand and afterwards. As you tackle more projects with the Singer Simple machine, the progress you make will be immense and you will find you are able to create beautiful projects with ease.
Research for Alternatives
Doing research for alternatives is also essential when working on any type of project. This will help you decide which fabric, thread, needles, and presser feet you should use before you start sewing. Scanning online tutorial videos is a great way to find helpful tips and tricks on how to use the Singer Simple machine.
Advice from Professionals
Finally, you should seek advice from professionals when needed. If you are having difficulty understanding how something works, reach out to experts who have been sewing for many years. They will be able to provide invaluable insight and help you troubleshoot any issues that you may be experiencing. With the right guidance, you will become a great sewer in no time.


