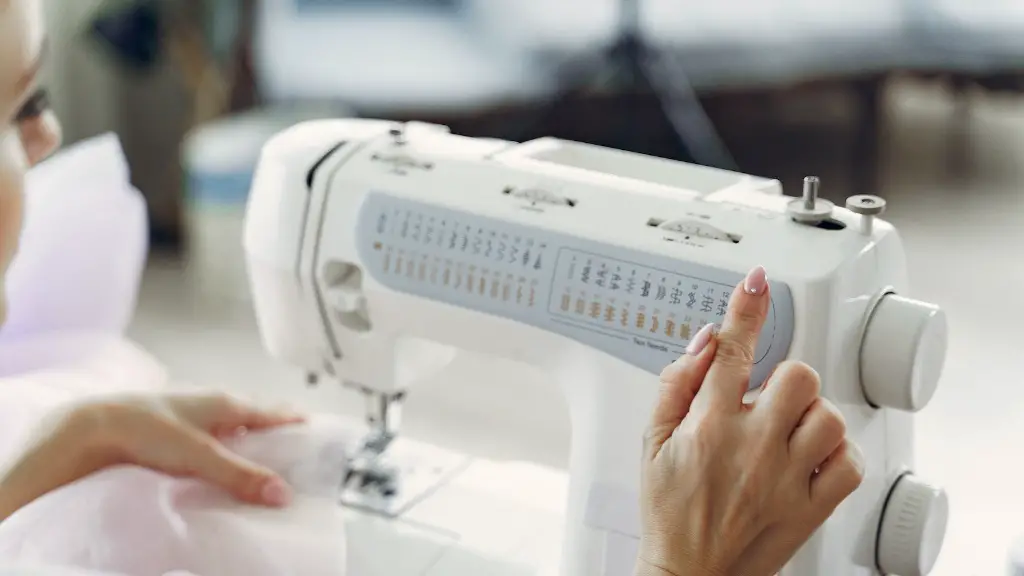
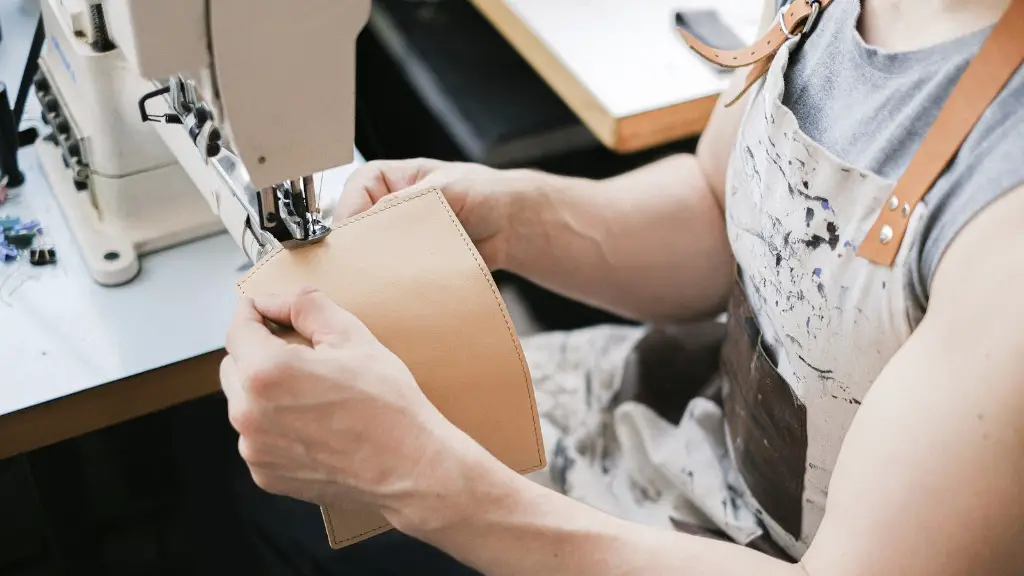
Presser feet are used on sewing machines to hold fabric in place while working on a project. Knowing how to lower the presser foot on a sewing machine is an important part of using a machine. It is a simple process but some people overlook this step.
To begin with, the presser foot is found on the lower portion of the sewing machine. The presser foot is used to keep fabric flat against the machine bed so that seams can be stitched evenly and securely. To lower the presser foot on a machine, first check the machine’s owner’s manual to follow the manufacturer’s instructions.
The most common method of lowering the presser foot requires to press the foot’s lever down. On many machines, the presser foot lever is found on the right side of the machine, just beneath the needle. In most cases, pressing the lever down lowers the presser foot.
Some presser feet, like the walking foot, require a special attachment or replacing the existing foot. In this case, the owner’s manual should provide instructions on how to lower the presser foot on the machine when using a specialty foot.
Professionals who frequently use sewing machines suggest that once a project is finished, make sure to raise the presser foot so that the next time the machine is powered on the needle is at the highest point. This will make the threading of the machine for the next project a much smoother process.
Always use the correct type of foot for the stitching. This ensures that the fabric will lay flat and resistance to the foot is not increased. The presser foot also applies pressure to the fabric while it is moved through the machine. This helps to ensure that the seams are even and that the same settings are used for each stitch.
How to Change the presser foot
To change the presser foot on the machine, first the lever must be pressed down in order to release the current foot. Then the new foot must be attached. Make sure the presser foot fits firmly into the holder groove, as the foot requires securement. To confirm the presser foot is securely in place, press up and down on the presser foot.
When changing the presser foot, consider the type of stitch being used. Different presser feet are used for different fabrics and different settings.Using the correct presser foot for a job ensures the best results for the finished project.
Some newer machines have a presser foot lifter for convenience. This lifter mechanism is often activated by a dial on the side of the machine. As the dial is rotated to an open position, the presser foot automatically lowers.
Keeping the Presser foot Clean
Presser feet can become dirty over time and impede accurate stitching. Frequent cleaning of the foot is key to keeping the machine in good working order. To clean the presser foot, use a slightly damp cloth and lightly rub the cloth over the foot. Gently wipe off any dirt and foreign particles that may have accumulated.
The advantage of a clean presser foot is that it will move smoothly over the fabric. As a result, any resistance or drag is avoided, resulting in precise and beautiful stitches.
Checking the Presser foot for functionality
Check the presser foot from time to time to make sure that it is working properly and securely attached to the machine. If the presser foot is not locked into place, it may become loose and cause issues with the stitching of a project.
To test it, follow the same steps as when attaching the presser foot. Press up and down on the foot to make sure it is firmly attached to the machine. Also, press down on the lever to make sure that it is depositing the foot properly.
Check the tension
It’s also important to check the presser foot tension every time the presser foot is lowered. Make sure the tension is not too tight as this could cause bunching and uneven stitches. Adjust the tension if necessary according to instructions in the user manual.
Knowing when to use the Right Presser Foot
Using the correct presser foot for the correct type of fabric and stitch is essential when sewing. In some cases the wrong presser foot attachment could actually damage the fabric being worked on.
For example, when zig zagging, a zig zag presser foot is typically used instead of a straight stitch presser foot. Also, a presser foot with adjustable guide pins is great for creating smaller pleats.
Tips for Creating Perfect stitches
One of the most important tips for creating perfect stitches is to practice. Many sewing machines offer various stitch patterns, foot attachments and tension settings. Practice with these settings to become familiar with the machine.
It is also essential to take the time to choose the appropriate thread for the project. The wrong thread can lead to puckered fabric or uneven stitches. Using the correct thread weight is essential for using the machine correctly and helping novice sewists progress to more advanced stitches.
Practicing with different Mechanics
To get the most from a project a little practice is required. It is important to test the stitch tension and length on scraps of fabric first. This will help to make sure the stitches are even and properly done. Also, practice pressing down on the foot controller before stitching to check that the fabric moves through evenly.
Adjust the pressure on the foot slider, if the machine has one. Make sure the fabric has been placed firmly under the presser foot when starting a stitch line. This will help with the stitch results.
Understand the Different Presser Foot Functions
Most machines come with a variety of different presser feet. Some feet are better for particular tasks than others, so understanding when to use each type of foot is important. For example, an edging foot can be used to help hem fabric more evenly and a walking foot is a great way to create a quilted project with ease.
Finally, when sewing fabrics with a pile, such as velvet, a teflon-type presser foot can be used as it helps the fabric move more smoothly over the bed of the machine.
