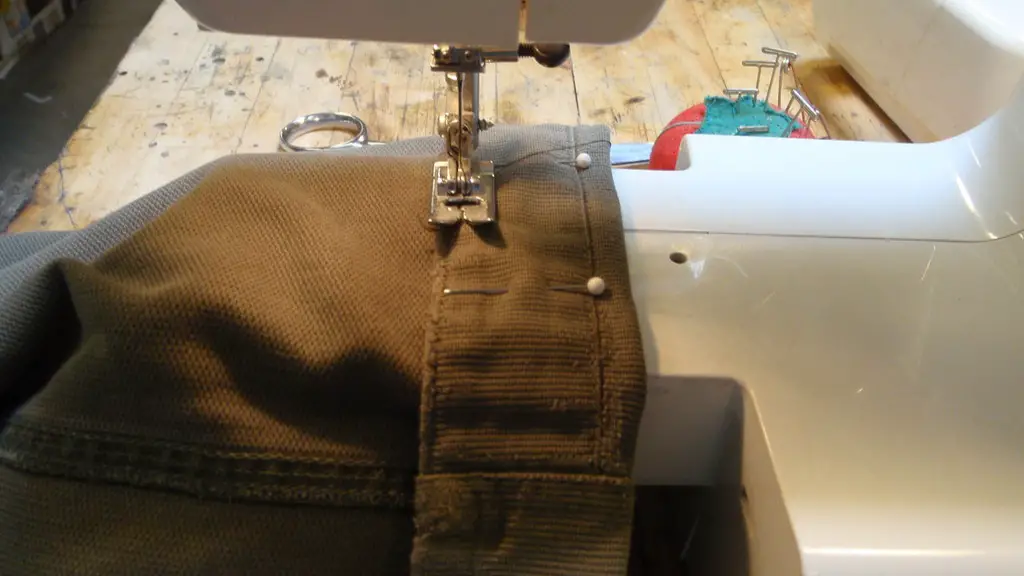
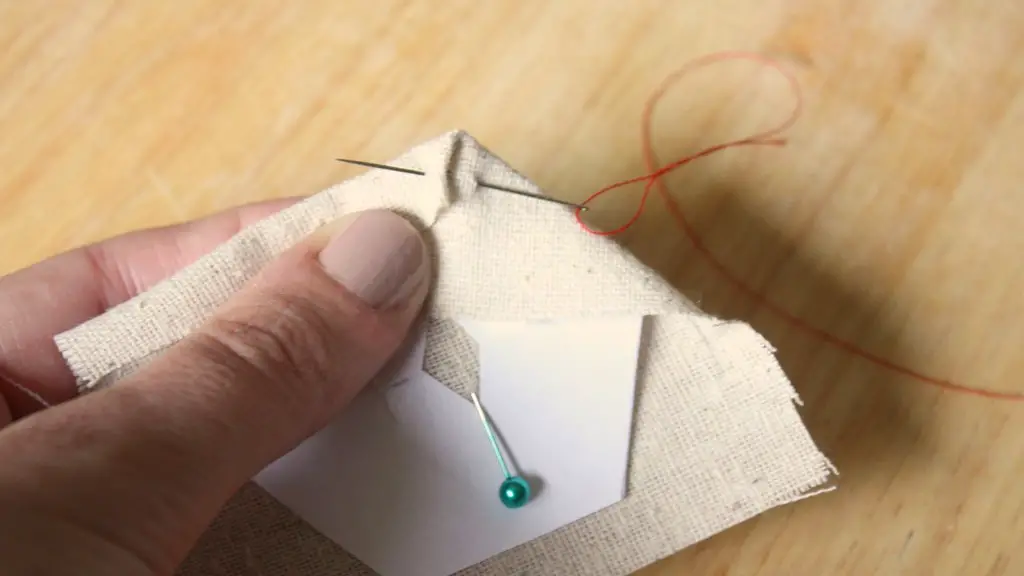
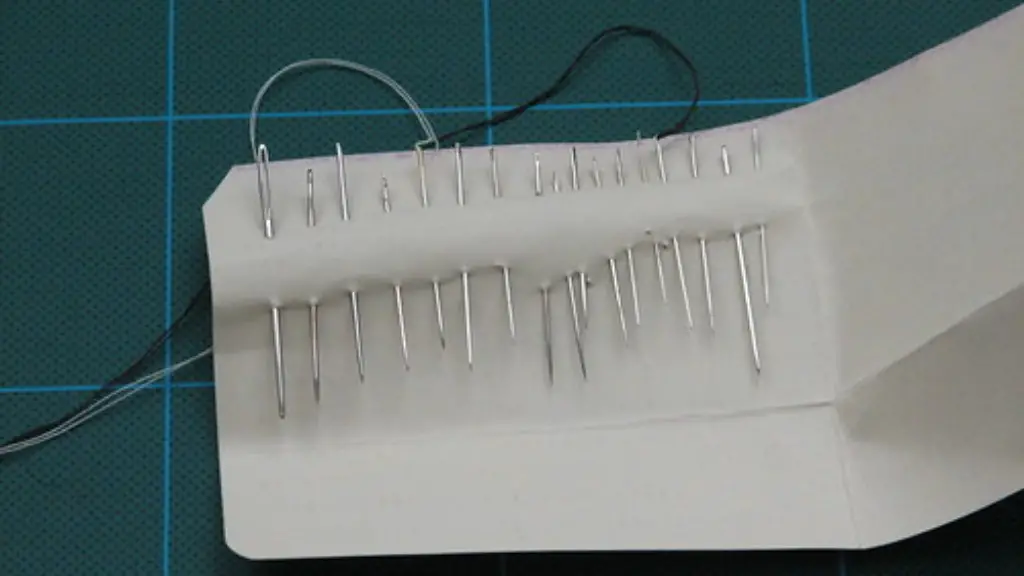
Making a patch by hand is great, but with a sewing machine it’s even easier and faster. Sewing machines help you finish projects in no time, so if you have a project that requires making a patch, a sewing machine could be the perfect tool. Sewing machines can make quick and easy patches from patches to patches that take a little more skill to construct. No matter what level of skill or experience you have, there is always a way for you to get it done.
The first thing you need to do is decide what kind of patch you want it to be. Do you want an iron-on patch that you can just place onto the fabric, or do you want to sew the patch on with the machine? The best way to decide is to think about the durability of the patch. If you want the patch to be very durable, then sewing is the way to go. If you just want a patch that is easy to put on and take off, then an iron-on patch might be the better choice.
Once you have made your decision, you can begin preparing your fabric and supplies. You will need to have the sewing machine, the fabric you have chosen, scissors, pins, and thread. The fabric should be cut a bit bigger than the patch itself so that it can be properly attached. Additionally, you will need to mark where the patch should go with a fabric pencil or a tailor’s chalk.
When you are ready to start sewing, make sure that everything is lined up properly. You should make sure that the two sides of the fabric are lined up perfectly and that the pins are all in place. Once everything is lined up properly, you can start sewing. All sewing machines should have instructions on how to properly set the machine up, and there is usually a manual included in the box with the machine.
To make sure that the patch is securely attached, go around the patch three times. Make sure that your stitches are even and that you are going over each line at least twice to ensure durability. Once you are finished, you can cut off any excess fabric and remove any pins. Then, use an iron to press the patch down to make sure it’s stuck. You can then take a step back and admire your work.
How to Sew Patches Onto Existing Fabric
If you are needing to sew patches onto existing fabric, such as a shirt or a pair of jeans, there are a few extra steps that need to be taken into account. The first is to make sure the fabric is clean and free of any dirt or debris that could cause the patch to not stick. Once the fabric is clean and ready, the next step is to mark where the patch should be placed. A tailor’s chalk or a fabric pencil is the best tool for this job.
Once you have marked the area that the patch should go, you can start to sew. If you are sewing a patch onto clothing, it is best to use an embroidery foot on the sewing machine. This makes the stitching much smoother and more precise. If you are using jeans, it is also best to use a zig zag stitch, which will ensure that the fabric does not fray. Once you have sewed the patch on, press down with an iron or hand press to make sure that the patch is securely in place.
Tips for Attaching Patches With a Sewing Machine
When attaching patches with a sewing machine, there are a few tips that can help make the process go smoother. Start by paying attention to the fabric you choose. It’s important to make sure that the fabric you are using is the same weight and fiber content as the patch itself. If they are not the same, the patch could pull or fray more easily.
It is also important to make sure your stitches are even. To do this, use a ruler to help measure the space between stitches and make sure they are the same distance apart. This will ensure that the patch is securely attached. Additionally, you should also take your time and make sure you are going over each line at least twice to make sure it is properly secured.
Knowing When to Remove Patches
When it comes to removing patches, it is important to know when it is the right time to do so. Patches should be removed when they start to fray or the fabric is wearing thin. If a patch is too worn or damaged, it may not be worth the effort to try and remove it. However, if it is still in good condition, it can be removed without too much trouble.
Removing a patch is fairly straightforward. Start by cutting off any excess fabric and then carefully pull out all the pins or stitches. You can then use an iron and some steam to help loosen the patch and make it easier to remove. Once the patch has been removed, you can then work on attaching the replacement patch.
Cleaning and Maintaining Patches
When it comes to cleaning and maintaining patches, the key is to make sure they are regularly checked and cleaned. Cleaning a patch is as simple as changing the sheets every few weeks or sponging them with a damp cloth. It is also important to make sure that the fabric around the patch is kept clean as well. When cleaning the fabric, always use a mild detergent and avoid using any abrasive cleaners. Additionally, be sure to gentle iron the patch to make sure the adhesive is still strong.
In addition to regular cleaning, it is also important to make sure that your patches are properly stored. Patches should always be stored in a cool, dry place. Never store patches in a humid environment, as moisture can make the adhesive lose its strength. Additionally, it is best to store patches away from direct sunlight as the heat from the sun can cause the thread to become frayed and the adhesive to start to lose its stickiness.
Protecting the Fabric Around the Patch
When applying a patch with a sewing machine, it is important to be mindful of the fabric around the patch. Some fabrics may be more fragile than others and can be easily damaged. To make sure that the fabric doesn’t become overly frayed or damaged, use a zigzag stitch when attaching the patch. Additionally, always use extra pins or basting thread to make sure that the fabric around the patch stays secure.
Once the patch is in place, it is best to use an iron to press it into place. This will make sure that the patch is properly secured and also help protect the fabric surrounding the patch. Additionally, always use a damp cloth between the iron and the patch to make sure that the heat isn’t too intense and risk damaging the patch or the fabric.
Using the Right Thread
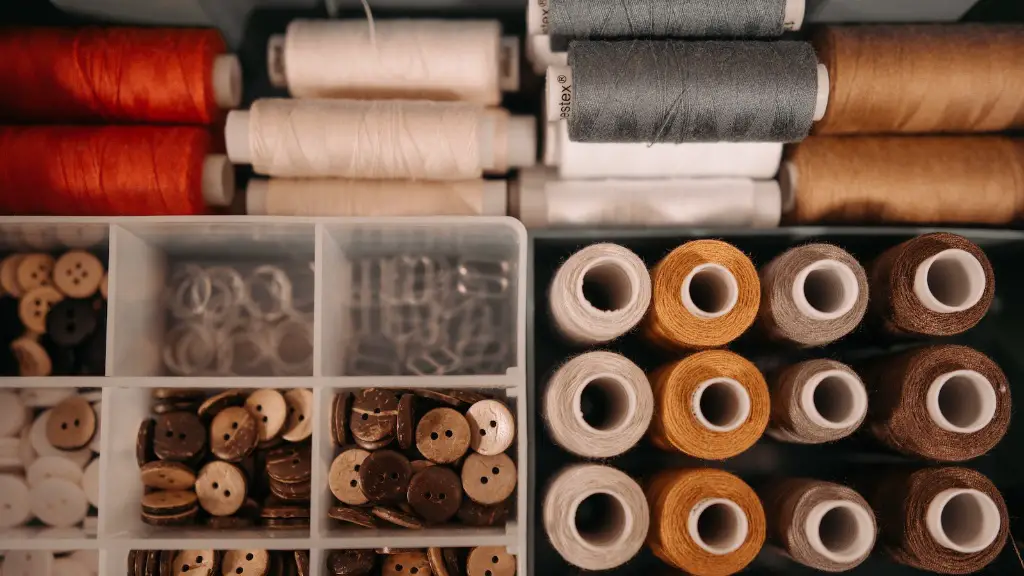
When attaching a patch with a sewing machine, the type of thread you use is also important. It is best to match the thread to the patch and the fabric that the patch is going onto. This will ensure that the patch is securely attached and will help to make sure that it lasts. Some people also like to use multiple colors of threads to create a decorative effect around the patch.
Additionally, it is important to make sure that the thread is the right thickness for the project. If the thread is too thick, it can cause the patch or fabric to bunch up and not lay flat. If the thread is too thin, it will not be strong enough to securely attach the patch. Experimenting with different types of threads until you find the right one for the project is the best way to ensure success.


