How to Make a Sewing Machine Cover
Making a cover for a sewing machine is a relatively simple, but highly rewarding project. Sewing machine covers can be customized with many features and provide a unique style. Not only will the cover protector your beloved sewing machine, it can also add a cool decorative touch to any sewing area. Before embarking on your sewing machine cover project, it is important to understand and consider which materials, design, and size to use and the process of constructing the cover.
Types of Sewing Machine Covers
Sewing machine covers come in a variety of fabrics, materials and designs. Many sewers opt for a basic quilted or simple folded-over fabric for their covers, which are usually made from cotton or a similar lightweight material. There are also many patterned or heavy-weight fabrics that can be used for sewing machine covers. Take into consideration the size of the sewing machine and the number of layers it requires for protection before choosing a fabric and design. A quilted cover that fits neatly around the machine will provide better protection than a folded-over one.
For those who want a more professional and attractive look, many sewing machine covers are made of vinyl, leather, or canvas. Vinyl covers resist dust and dirt better, while leather offers a more sophisticated look. Canvas is also a popular material for sewing machine covers, and it is durable and water-resistant. The style and color of the cover should be chosen depending on the sewing machine and the room in which it is located. For example, a colorful tapestry cover may look better in a formal room, while a plain white cover may look better in a more casual setting.
Choosing the Design and Size
The size and design of the sewing machine cover should be carefully chosen to ensure a proper fit. Measure the sewing machine and calculate how much material will be needed for the cover. Take into consideration the thickness of the fabric, including any cushioning that may be added. When deciding on the design, remember that the cover should be able to be opened and closed easily and it should fit snuggly around the sewing machine. If the cover is too small or too big it can cause the sewing machine to be damaged or cause difficulty in accessing the machine.
Patterns for sewing machine covers can be purchased or downloaded from the internet. These can be modified to fit any size sewing machine. If you have experience with sewing, you can also make your own pattern. Choose a pattern that takes into consideration the number of layers needed and the fabric that will be used. Consider the zipper and straps needed to hold the cover in place and pockets for additional storage.
Gathering Supplies
Once a pattern for the sewing machine cover has been chosen, you can start gathering necessary supplies. The supplies needed will depend on the pattern and design, but generally include fabric, batting, thread, a zipper, and straps. A sewing machine and walking foot are also necessary. Consider adding an extra layer of flap or cushioning to protect the sewing machine in case it is accidentally dropped.
A rotary cutter and cutting board will be helpful in cutting the fabric according to the pattern. A good quality sewing machine needle is also important in ensuring that the cover is sewn correctly. Consider adding pockets to the cover so that items such as pins, needles, and other sewing supplies can be easily accessed. Marking supplies such as pins and tailor’s chalk will help ensure the fabric is cut correctly.
Steps for Creating the Cover
Once all the supplies are gathered, the process of creating the sewing machine cover can begin. Start by cutting the fabric according to the pattern pieces provided. Pin the pattern pieces onto the fabric and cut two or three layers for extra protection. Make sure to add extra allowance for seam allowances and zipper.
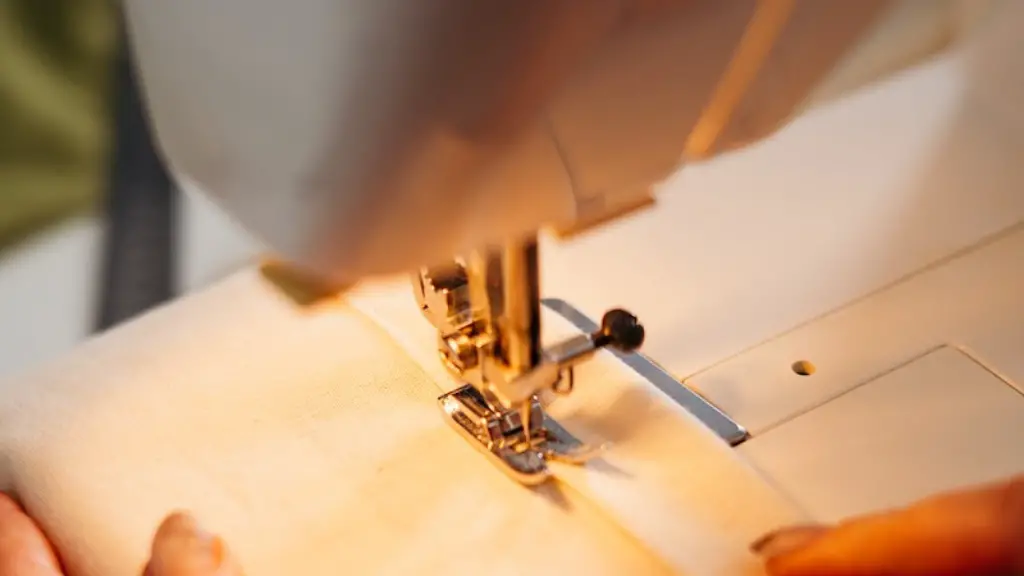
Next, sew the pieces together. Use a walking foot when sewing bulky fabrics. Sew the pocket on first, then attach the zipper. Sew the batting and fabric layers together, then assemble the cover. Add extra cushioning, if desired, and sew on straps to hold the cover in place. Trim the cover, turn it right side out, and sew the edges.
Finally, insert the batting and fabric layers into the cover, making sure it fits snuggly. Sew the batting and fabric layers together with a few stitches at the top and bottom. The sewing machine cover is now complete and ready to be used to protect and store your cherished sewing machine.
Extra Tips and Considerations
Before embarking on the sewing machine cover project, consider the type of fabric, design, and size that is needed. Pattern pieces are available for download on the internet for customizing the size and design of the cover. Measure the sewing machine to determine how much fabric and padding is needed for the cover. Take into consideration extra pockets, styling, and cushioning when choosing a pattern and design.
Gather supplies such as fabric, batting, thread, a zipper, straps, and a walking foot. Cut the fabric according to the pattern pieces and pin them together. Sew the pocket and zipper onto the fabric, then assemble the cover. Attach the batting and fabric layers, and add extra cushioning, if desired. Sew on straps for added protection and stability of the cover.
Finally, insert the batting and fabric layers into the cover and sew the top and bottom. The sewing machine cover is now complete and you will be able to enjoy the protection and beauty it provides.
Cleaning and Storage
Sewing machine covers should be kept clean and well maintained for optimal protection. The fabric should be vacuumed or brushed on a regular basis to prevent dust build-up. In addition, the zipper, straps, and pockets should be inspected for any wear or damage. If the cover needs to be washed, it should be done by hand with a gentle detergent.
When not in use, keep the sewing machine cover clean and dry and store it in a cool, dry place. The cover should be placed on a flat surface when storing to prevent it from becoming creased. Hang the cover up when not in use to prevent the fabric from stretching or sagging.
Cautions when using the Sewing Machine Cover
Always read and follow the instructions included with the sewing machine cover. Do not use a cover that does not fit the sewing machine correctly or does not provide adequate protection. Make sure the cover does not get caught on the machine, as this could cause damage. If a strap or zipper breaks or there is damage to the fabric, replace the cover as soon as possible.
Never leave a sewing machine covered for long periods of time as this could cause the fabric to become moldy or the machine to overheat. Do not put heavy items such as books on top of the cover, as this could also cause damage. Keep the cover away from direct sunlight, as this can cause fading.
Customization Options
There are many ways to customize and embellish a sewing machine cover. Consider adding tassels, buttons, ribbons, or other decorative details for an added flair. Sewing machine covers can also be decorated with prints, designs, or embroidery. Many manufacturers offer custom covers, or you can simply add your own artistic touches to a basic cover.
Applique designs can be added to the cover to make a unique statement. Iron-on patches and fabric paints can also be used to make a creative one-of-a-kind cover. Consider adding fun and creative details such as pockets, ruffles, lace, or quilting to make your sewing machine cover truly special.
Maintaining the Sewing Machine Cover
Proper maintenance and care is important to ensure the longevity of your sewing machine cover. After every use, wipe down the cover with a damp cloth to remove any dust or dirt. If the cover needs to be washed, check the fabric care instructions before putting it in the washing machine. Use a gentle detergent and the cool cycle. Never use hot water or bleach on the cover.
Air-dry or tumble dry the cover on low heat to prevent shrinkage. Do not hang the cover up to dry, as this can cause stretching or sagging of the fabric. Store the cover in a cool, dry place away from direct sunlight when not in use.
Conclusion
Making a sewing machine cover is a rewarding project that will provide protection and style to your sewing area. Carefully select the pattern, design, and size of the cover to ensure a proper fit. Gather all necessary supplies such as fabric, batting, thread, a zipper, and straps. Create the cover by cutting and pinning the pattern pieces, sewing the pieces together, inserting the batting and fabric layers, and adding extra cushioning and straps, if desired. Finally, keep the cover clean and well maintained, store it in a cool, dry place, and consider customization options to give the cover an added unique touch.
