Ruffles are a great way to create an eye-catching look on any type of garment. Whether you are making a dress, an apron, or a piece of home décor, ruffles can elevate your project from ordinary to extraordinary. With a sewing machine, creating ruffles is easier than you might think!
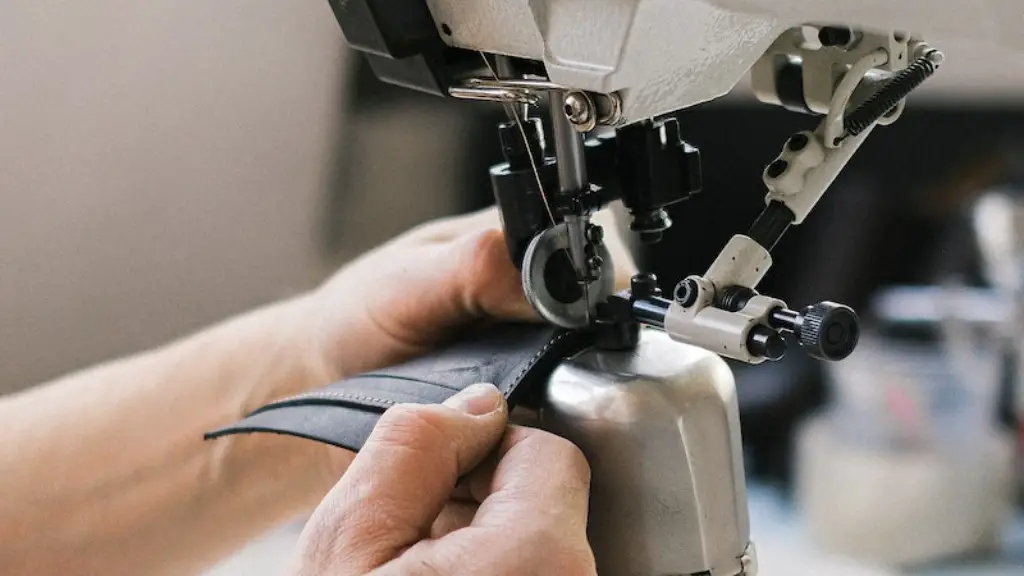
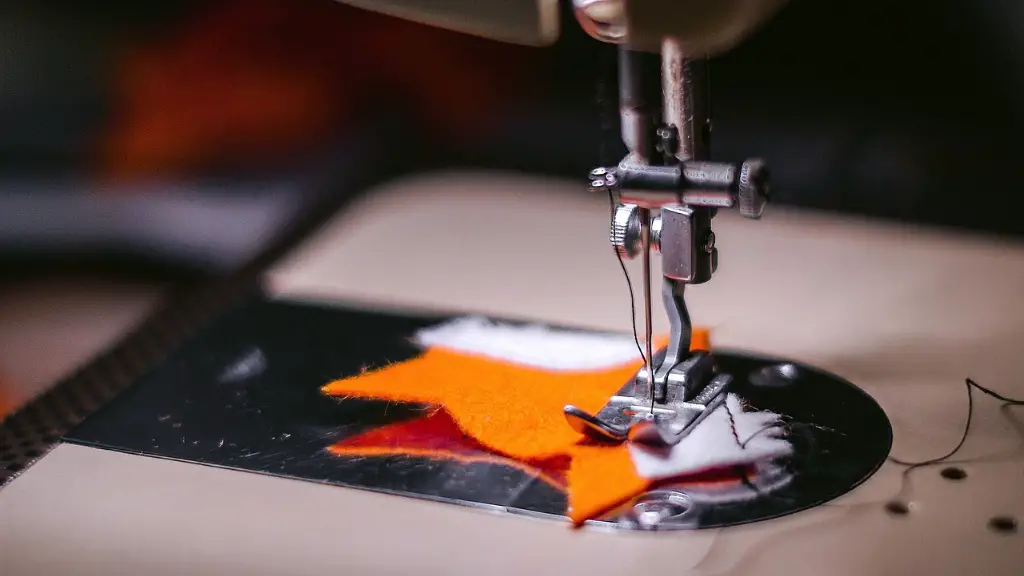
The easiest way to make a ruffle is with a ruffling foot for your sewing machine. This special foot helps to create even and consistent gathers in your fabric. It is important to use the right type of fabric for ruffling- a lightweight and loosely woven fabric works best. The ruffling foot also works best with a straight stitch setting on your machine- this will help create even gathers. Once the fabric is ready and the machine is threaded, it is time to start ruffling!
When you are ready to start ruffling, make sure to adjust the tension and stitch length on your machine. Start with a low tension and a short stitch length. Lower tension helps to create even, consistent gathers. A stitch length of 1-3mm is best for ruffling. You also need to adjust the ruffling foot to the correct width setting. The wider the setting, the wider the ruffle will be. If your foot has a depth adjustment, setting the depth of the ruffle will give you control over the fullness of the ruffle.
Once the presser foot is ready and adjusted, guide the fabric beneath it. As the fabric is sewn, the ruffling foot will gather the fabric as it moves through the machine. Move the fabric slowly, as moving faster can cause the stitches to skip and the fabric to bunch up. Make sure to remove any basting stitches before continuing. Once the desired length is reached, it is time to move onto the next step.
The next step is to attach the ruffles to the base fabric. This is done with a long straight stitch along the top of the ruffle. The base fabric should be slightly larger than the ruffle- this will give the finished project a neat and tailored look. To attach the ruffle, pin it to the base fabric on the wrong side, aligning the edges. Sew the ruffle to the base fabric, making sure that the gathers remain even and consistent. You can also add an extra row of stitches for extra security.
The final step is to press the ruffle with a warm iron. This will help to set and smooth out the gathers, as well as making the ruffle look more professional. To get the best results, use a light steam setting on the iron. This will help to flatten and shape the ruffle without damaging the fabric.
Making ruffles with a sewing machine doesn’t have to be a difficult or intimidating task. As long as you use the right type of foot, fabric, and tension settings, you should be able to achieve great results. With a bit of practice, you’ll be able to create beautiful ruffles that will make any garment look amazing!
Creating Various Ruffle Types
With a sewing machine, there are many different types of ruffles you can create. Wide and flat ruffles can be created with the straight stitch setting and a long stitch length. A narrow and gathered ruffle can be created with a wider width setting on the ruffling foot, and a short stitch length. Edge ruffles can also be created with a ruffling foot by sewing just inside the seam allowance. For a pleated look, you can use a gathering foot and adjust the stitch length. And for an accordion ruffle, you can use a zig zag stitch and adjust the length and width settings.
You can also combine different techniques to create a more intricate ruffle. For example, you can use a gathering foot to create a narrow pleated ruffle, then use the ruffling foot to add a little extra fullness. This will help to create more variation and texture in the ruffle. With a bit of experimentation, you can create unique and unexpected ruffles that will give your garment an eye-catching look!
Adding Embellishments
Ruffles are not just a great way to add texture and dimension to your garment, it is also a great way to add some extra sparkle. Adding embellishments such as beads, sequins, or ribbon can help to make your ruffles stand out even more. This is a great way to add a touch of glamour to any project!
Embellishments can be added by hand sewing them to the ruffle or by using a decorative stitch on the sewing machine. A decorative stitch can be a great way to add some extra flair to a ruffle- it can help to add some texture or color that will make the ruffle even more eye-catching. If you are using a ruffling foot, make sure to adjust the stitch length and width settings to accommodate the added embellishments.
It is important to remember that adding embellishments can increase the time it takes to finish your project. It is important to plan accordingly and make sure you have enough time to complete your project. For the best results, it is recommended to practice with a few embellishments before beginning your project.
Create Flounced Ruffles
If you want to create a more dramatic effect, a flounced ruffle is a great option. Flounced ruffles are a great way to add some extra fullness to a skirt or a sleeve. To create a flounced ruffle, you will need to use a zig zag stitch on your sewing machine. Make sure to adjust the stitch width and length to create a wide and even stitch.
First, cut the fabric into two strips. The two strips need to be different lengths- the longer strip will have the gathers and the shorter strip will create the flounce. Once you have cut the strips, fold them both in half wrong sides together and sew them together with a straight stitch. Then, laundry or overlock the raw edges to prevent fraying. Next, sew your zig zag stitch along the raw edge of the longer strip. Keep adjusting the stitch length and width to create an even and wide stitch whilst still maintaining the evenness of the gathers.
Once you have finished sewing your stitch, pull the bobbin thread to gather the fabric. Carefully adjust the tucks as needed and pin the shorter strip onto the base of the longer strip, wrong sides together. Sew the two layers together and press with a warm iron. This will help to create a neat and tailored flounce ruffle!
Create Interesting Gathers
Experimenting with the tension settings on your sewing machine can help to create interesting and unexpected looks with your ruffles. For example, increasing the tension can help to create more gathered ruffles, whilst decreasing the tension can create more full and flat ruffles. If you are using a ruffling foot, it is also important to adjust the depth of the foot. A lower depth setting can create a narrower, gathered ruffle whilst a higher depth setting can create a fuller, wider ruffle.
You can also create interesting patterns and textures in your ruffle with alterations to the settings. Durring the ruffling process, stopping frequently and changing the stitch settings can help to create a more textured ruffle. This is a great way to create an eye-catching look on any project!
Experimenting with the different settings and techniques available on your sewing machine can help to create unique and unexpected results. With a bit of practice and experimentation, you will be able to create beautiful and unique ruffles that will add an elegant and professional touch to your garments!
Mix up the Fabrics
Another great way to create unique and interesting ruffles is to mix up the fabrics you use. Combining different fabrics in one project can help to create an interesting texture and look. Using a combination of lightweight and heavier fabrics can help to create a layered effect that adds dimension and texture to the project.
When combining different fabrics, it is important to use fabrics with similar stretch and shrinkage as this can affect the finished look of the project. It is also important to consider the finished size of the project- it is best to use fabrics with a similar weight, as this will help to control the fullness and shape of the ruffle. Remember to experiment and have fun with the different types of fabrics you can use!
Apart from adding interesting dimension and texture to a project, mixing up the fabrics can also be a great way to add a personal touch to a garment. Whether you are using upcycled fabrics or using fabrics from different parts of the world, combining different fabrics can help to create a one-of-a-kind piece that is full of personality and character!
Finishing the Ruffles
Once you have finished creating the ruffles, it is important to use a neat and professional finishing technique. The best way to do this is with a French seam. This is a seam that encloses the raw edges of the fabric, and creates an invisible, professional looking seam. To create a French seam, first sew a regular seam, wrong sides together. Then, trim the seam allowance and press the seam open. Finally, fold the fabric so that the right sides are together and sew the new seam. This will create a neat and professional edge to your ruffles and give the finished garment a clean and polished look.
Another great way to finish ruffles is with a zig zag stitch. This is a great option for lightweight fabrics, as it helps to prevent any fraying and creates a neat and professional edge. To finish your ruffles with a zigzag stitch, all you have to do is sew along the raw edge of the fabric with a zigzag stitch. This will help to give the ruffle a neat and finished look.
Making ruffles with a sewing machine doesn’t have to be a difficult or intimidating task. With the right materials and techniques, it is possible to create beautiful and professional looking ruffles that will add a stylish touch to any garment. So grab your fabric and get ruffling!
