Introduction to Monogramming with a Sewing Machine
Monogramming is a popular craft that involves decorating fabric with initials. When done right, it can add a personal touch to clothing and accessories, making them one-of-a-kind. Monogramming with a sewing machine is a creative and easy way to make your products stand out from the crowd. It doesn’t take a lot of time or money and the results can be stunning.
Choosing the Right Fabric and Thread for Monogramming
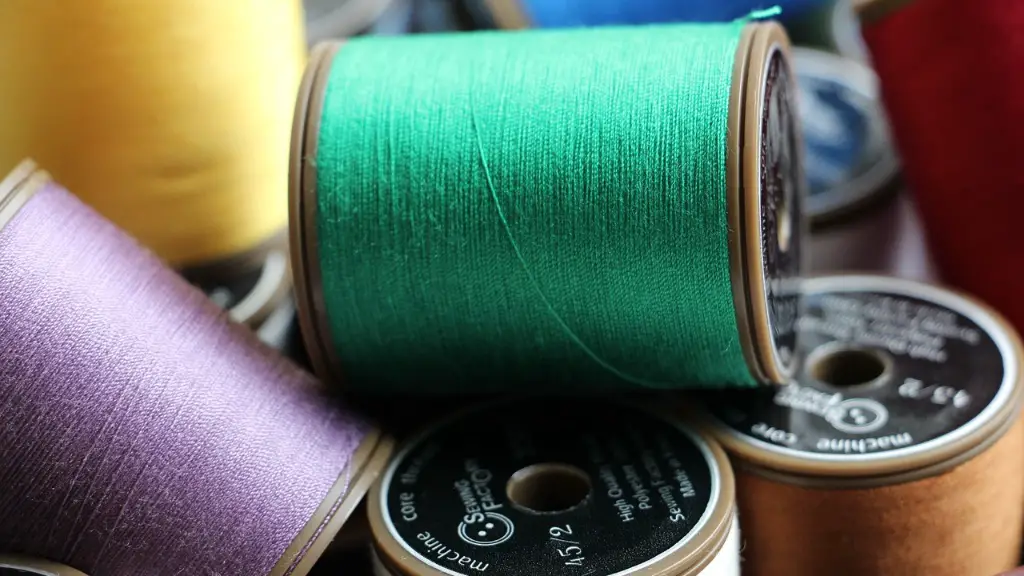
The type of fabric you choose for monogramming is important. It should be a medium-weight fabric that won’t fray and doesn’t have a lot of texture. Cotton, linen, and muslin all work well for monogramming. When selecting thread for monogramming, use a strong thread with vibrant color. Polyester/cotton blends are the best choice because they won’t fade or break easily.
Choosing the Right Sewing Machine Settings
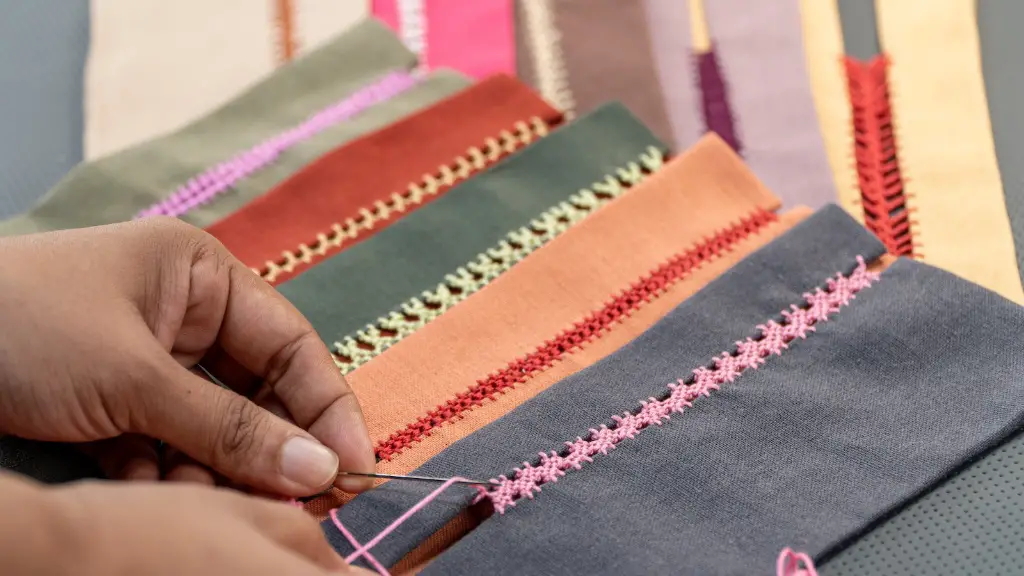
Once you’ve selected the right fabric and thread, it’s time to adjust settings on your sewing machine. Choose a specialty stitch such as satin or scallop stitch, or create your own stitch pattern on the machine. This will give your monogramming a unique look and feel. You’ll also need to adjust the tension and stitch length settings. If you’re unsure of how to adjust settings, consult the user manual for your machine.
Setting Up for Monogramming
The first step in setting up for monogramming is to mark the fabric. Use tailor’s chalk to trace the desired initial onto the fabric. This is the most accurate way to do it since it won’t rub off or smudge. Once the initial is marked on the fabric, it’s time to get the machine ready. Place a piece of stabilizer at the back of the fabric and secure it with a few stitches. This will keep the fabric in place and prevent it from bunching and sliding.
Sewing the Monogram
When you’re ready to start monogramming, it’s best to begin with a practice piece of fabric. This will help you get the hang of the stitch patterns and ensure your monogram looks the way you want it to. Once you’re happy with the results, you can move on to the real thing. Begin by stitching the outline of the monogram. Then use a heavier thread and a fill stitch to complete the design.
Caring for Monogrammed Items
Monogrammed items should be cared for according to the user manual that came with your sewing machine. In general, use a mild detergent to hand-wash the item and hang it to dry. Do not iron directly over the monogram, as this may cause the thread to melt. Avoid exposure to direct sunlight and bleaching agents to preserve the color.
Embellishing Monogrammed Items
Once your monogram is complete, you can add extra flair with embroidery or other embellishments. Use a few stitches of contrasting colored thread to outline the monogram, or add beads and sequins to enhance the design. Play around with different combinations until you find the one that best suits your style.
Using Specialty Stitches for Monogramming
Your sewing machine may have built-in specialty stitches that are perfect for monogramming. Eyelet and quilting stitches are great for outlining a monogram, while reverse applique stitches create a 3D effect. Take some time to explore the possibilities to create an amazing one-of-a-kind design.
Advantages of Monogramming with a Sewing Machine
Monogramming with a sewing machine is a great way to create unique designs on clothing and accessories. It can add a touch of personal style to any item, and it’s easy to do with the help of a sewing machine. With a few simple steps, even a beginner can transform a basic item into something special.
Putting Safety First when Monogramming
When monogramming with a sewing machine, it’s important to remember safety first. Make sure the machine is set up correctly, the fabric is secure, and you’re using the right thread. Always read the user manual before attempting any project, and if you’re not sure, consult a professional.
Using Templates and Patterns
Using templates and patterns can help you achieve an even, professional-looking monogram. You can purchase pre-made templates or create your own with tracing paper and pen. Place the template on the fabric and use tailor’s chalk to trace the design. Then begin stitching the monogram following the template lines.
Bigger Projects: Freehand Monogramming
Once you master the basics of monogramming, you can tackle larger projects such as apparel, blankets, and backpacks. Instead of using a template or pattern, practice drawing the design for the monogram with a pencil onto the fabric. This will help you get the perfect curves, spirals, and swirled outlines.
Finishing and Adding Edges
Finish the monogram by pressing it with low heat. This will set the design and keep it looking crisp. If desired, you can add a finished edge to the monogrammed piece, such as a rickrack or bias tape. This will give the design a finished look and can help keep edges from fraying.
Acquiring the Right Supplies and Accessories
To make monogramming easier, stock up on the right supplies and accessories. Choose a reliable and sturdy sewing machine, along with quality fabric and thread. Purchase any extras such as stabilizing fabric, pins, templates, and markers to ensure each design is picture-perfect.
Protective Wear for Monogramming
For safety, it’s important to wear protective eye wear and gloves when monogramming. Not only will this protect you from hot needles and sharp points, but it will also help keep your hands clean and prevent oil residues from getting onto the fabric.
Creating Layouts and Combinations
When creating a monogram, consider how you’re going to arrange the letters and any accompanying designs. Practice different layouts on scrap fabric before settling on a final design. You can also consider adding other elements such as initials, dates, and sayings to create a truly unique look.
Advantage of Technology and Software
Advanced technology and state-of-the-art software programs can make monogramming even easier. Check to see if your sewing machine has software capabilities, and if not, browse the Internet for programs that can be used with your machine. These can help you create professional-level designs with a fraction of the effort.
Incorporating Metallic Threads into Monograms
If you want to create something extra special, consider incorporating metallic threads into your monogram designs. Metallic threads come in a variety of colors and styles and can be used to add a luxurious touch to any fabric item. Just be sure to use a special metallic needle and thread the machine carefully to avoid breaking the thread.
Troubleshooting Monogramming Problems
Sometimes even the best laid plans can go awry. If your monogram isn’t turning out quite the way you’d hoped, assess the problem and determine what needs to be adjusted. Always test a practice piece before using your fabric, and if you’re unable to fix the issue yourself, seek professional advice from a sewing machine repair shop.
Marketing Your Monograms
If you’re especially proud of your monograms and would like to share them with others, get the word out with some effective marketing. Start by showcasing your work on social media, and consider selling your items on websites like Etsy and eBay. You can also attend local craft fairs and festivals to put your designs in front of even more potential customers.
