The abundance of clothing choices available today is largely thanks to the sewing machine. This amazing device has been around since the late 1700s, but modern technology has taken it to a whole other level, making it easy and accessible for all. There are so many things you can do with a sewing machine, from hemming a pair of trousers to making an entire wardrobe. But before you start sewing, you need to make sure it’s set up correctly and functioning properly. Preparing your sewing machine will ensure that the garments you create are professional quality and look their best. Here’s how to prep a sewing machine.
1. Clean Your Machine
The first step in prepping your machine is to give it a thorough cleaning. Start by unplugging your sewing machine and remove any dust or dirt that’s accumulated on it. Then, using a vacuum cleaner with a brush attachment, gently vacuum the dust off of your machine, taking care not to disturb any of the moving parts. Be sure to remove any lint or threads that have become lodged in and around the sewing machine, as this can prevent the machine from operating smoothly.
You should also check the machine’s oil levels and, if necessary, add more. Oil helps to keep all the moving parts of the machine running smoothly, so making sure it’s well lubricated is important. When adding oil, be sure to use the oil specifically designed for your machine, as these lubricants have been designed to meet specific needs.
2. Check Tension Levels
One of the most important things to check when prepping your sewing machine is the tension levels. A tension that’s too tight or too loose can cause a lot of problems, such as puckering and uneven stitches. Adjusting the tension is a fairly easy process – just turn the dial until you find the setting that works best for the type of fabric you’re working with. You can test the settings you on a scrap piece of fabric before working with it on your finished project.
3. Replace Necessary Parts
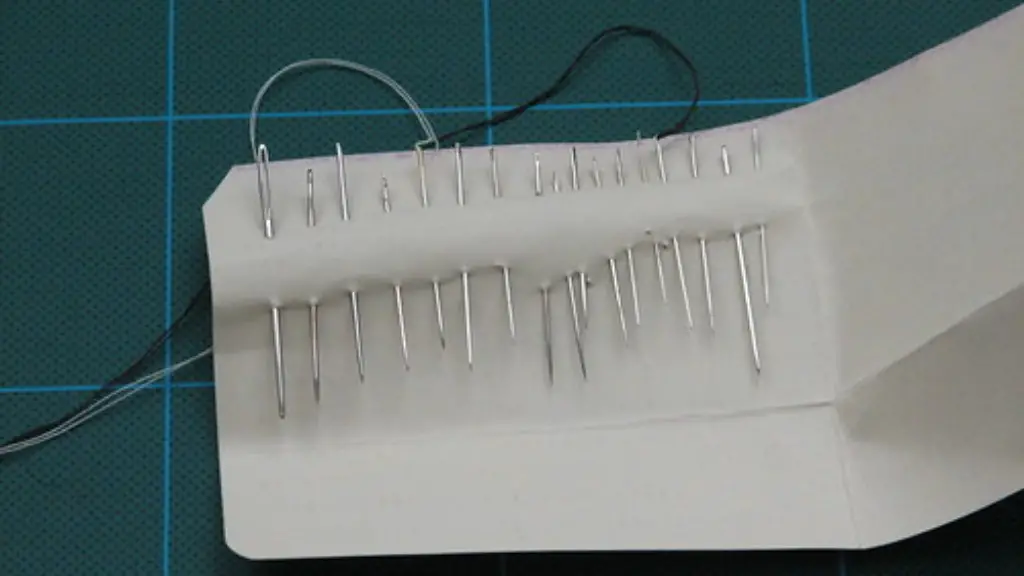
Your sewing machine may need certain parts replaced over time, such as bobbins and needles. Be sure to check for any worn parts and replace them with new ones when necessary to keep your machine running well. When replacing parts, it’s important to ensure that the parts you’re using are compatible with your machine for a more efficient and superior performance.
4. Thread the Machine
Once you’ve cleaned, oiled and checked all the necessary parts, it’s time to thread your machine. This is a fairly simple process, but one that’s crucial for the correct functioning of your machine. Start by placing a spool of thread onto the spool holder and threading it through the guides on the machine. Then, draw the end of the thread through the needle, making sure it’s pulled through far enough for it to enter the needle eye. Finally, pull the thread through the tension discs and you’re ready to start sewing.
5. Test the Stitches
Before starting to work on a project on your machine, it’s important to test the stitches. You can do this by stitching some fabric scrap first and making sure that the stitches look even, with no skipped stitches or glitches. If you notice any problems, make any necessary adjustments before starting your project.
Inspect the Machine Regularly
Once your sewing machine is properly prepped, you should inspect it regularly to make sure it’s still in good working order. Check the tension levels, oil levels, and all the other parts to make sure everything is running smoothly. Keeping your machine in tip-top shape ensures that you’ll get the most mileage out of it and won’t have any unpleasant surprises when you start your next project.
Humid Conditions
It’s also important to note that you should avoid humid conditions when storing your machine. Humidity can wreak all sorts of havoc on your machine, from rust to corrosion and even to deterioration of the machine’s parts. If you know that you’ll be storing your machine in a humid environment, then you should take steps to protect it, such as using a dehumidifier or storing it in a sealed plastic container.
This is important to bear in mind if your sewing machine is stored in a workshop or a basement, as the additional moisture in these rooms can eventually lead to damage. Investing in a dehumidifier or a sealed container will not only protect your machine, but will also help to keep it in good working order.
Practice
The final step to prepping your sewing machine is to practice. Even if you’ve been sewing for a while, practicing on your machine is essential for honing your skills and keeping your sewing machine running in good condition. Take the time to practice new techniques you’ve learned and work on projects that challenge you. This will not only make you more familiar with the workings of your machine, but it will also help you to become a better sewer.
Checklist for Sewing Machine Maintenance
Sewing machines require regular maintenance to ensure their proper operation. Here’s a checklist of some of the most important tasks you should perform to keep your machine running like new:
- Clean your machine regularly.
- Check the tension levels and adjust when necessary.
- Replace any worn parts.
- Thread the machine.
- Test the stitches on scrap fabric.
- Inspect the machine regularly.
- Avoid humid conditions and use a dehumidifier or sealed container if necessary.
- Practice on a regular basis.
Troubleshooting Common Sewing Machine Problems
Even with regular maintenance, there may be times when your sewing machine malfunctions or encounters difficulties. Here are some of the most common problems and suggested solutions:
- Unresponsive buttons or switches – These problems are usually caused by a loose connection and can be easily fixed by tightening the corresponding screws.
- Skipped stitches – If your machine is skipping stitches, you should check the tension levels and make sure they are set correctly. You should also check the needle to make sure it is the correct size and shape for the fabric being sewn.
- Loose thread – Check to make sure the thread has been properly drawn through the tension discs and that the top thread is set correctly.
- Faulty bobbin – Make sure the bobbin is correctly inserted into its case and that the thread is correctly wound on it.
Save Money by Tuning Up the Machine Yourself
It’s important to look after your sewing machine, as it’s an investment. Regular maintenance and troubleshooting problems will extend its lifespan and save you money. Professional machine tuning up can cost hundreds of dollars, but it’s an expense that can be avoided with regular DIY maintenance. You can easily take care of the most common issues yourself, and if anything more serious arises, you can take it to a qualified service center.
Repair or Replace the Machine
In the event that your sewing machine stops functioning, you’ll need to decide whether to repair or replace it. If you’ve been regularly maintaining your machine and troubleshooting any issues that arise, then a repair is probably the best option. This could involve either replacing certain parts or having a professional service the machine. Many sewing machines come with a warranty, so check to see if a repair is covered under it.
If your machine is more than a few years old or has stopped working beyond repair, then it’s time to start looking for a replacement. These days, you can find a range of high-quality sewing machines at very affordable prices. Do your research before buying a new machine to make sure you’re getting one that is the right fit for your needs.
Follow the Manufacturer’s Instructions
When prepping your sewing machine, be sure to follow all the instructions provided by the manufacturer. Reading and understanding the manual is an important part of keeping your machine in good working order. Also, make sure to keep all the accompanying documentation, such as the manuals and maintenance records, so you have them handy if something goes wrong or you need to refer to them in the future.
Finally, never try to repair your machine yourself. Doing so could cause more damage and even void the warranty, so it’s best to leave any repairs to the professionals.


