Introduction
Putting a bobbin into a Brother sewing machine can feel like a daunting task for a beginner, but with a few simple steps and a bit of practice, you’ll soon be a pro. Understanding how to put a bobbin into a Brother sewing machine is key to mastering a diverse range of sewing techniques, and it’s the first step to taking your skills to a whole new level. We’ll start by examining the components of a bobbin and why it’s essential for consistent sewing.
Understanding the Bobbin
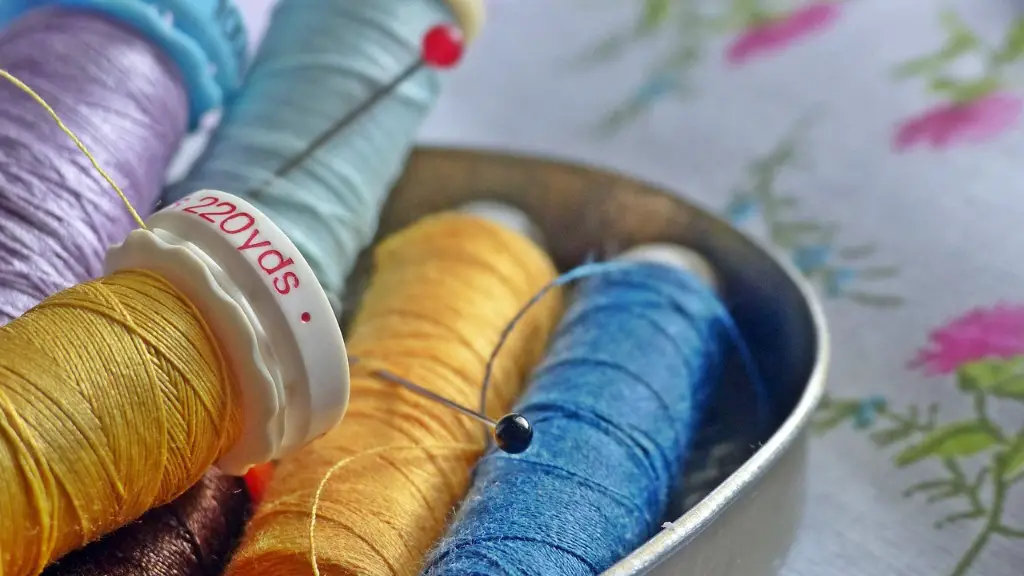
Essentially, a bobbin is a mini spool of thread, usually made of plastic or metal, that fits into an integrated bobbin case. It stores the thread used in the bottom thread (also known as the bobbin thread) of the stitch. Having a supply of thread close to your needle is much more efficient than having to bring the thread up through the material every time you start a new line of stitching.
Preparing the Bobbin
When you buy a new bobbin, you’ll need to wind it with thread that matches the thread used in the top of your stitch. To do this, you’ll need to thread the machine and presser foot as you normally do. Lower the presser foot and guide the thread from the spool holder, along the thread path, and through the take-up lever. Place the empty bobbin on the bobbin winder, thread it and push the bobbin winder to the right to start winding. When the bobbin is full, snap the thread off and remove the bobbin.
Inserting the Bobbin in the Machine
The next step is to insert the bobbin into the Brother sewing machine. To do this, you’ll need to find the bobbin case under the needle plate, and then open it. Slide the bobbin into the case, ensuring that the thread path is following in a clockwise direction. Pay attention to the grooves in the bobbin case, as their shape helps guide the thread in the right direction.
Sealing the Bobbin
Once you’ve inserted the bobbin into the machine, you’ll need to check that you’ve sealed it shut. To do this, turn the thread spool anticlockwise to make sure the bobbin latch snaps into place. This will help ensure that the bobbin doesn’t come loose while you’re sewing.
Threading the Bobbin
The final step is to thread the bobbin. To do this, you’ll need to pull the upper thread tail through the needle plate and hold it while you guide the bobbin thread around the bobbin tension spring. Finally, pull the upper thread tight and the bobbin thread should come with it.
Finishing the Threading
To complete the threading, you’ll need to pull the bobbin thread through the take-up lever, then hold it and press the foot control. This will cause the needle and thread to move, securing the bobbin thread in the material and setting it firmly in place.
Adjusting the Thread Tension
Every time you thread a new bobbin, you’ll need to check the thread tension frequently until you get the settings just right. To do this, you’ll need to increase or reduce the tension knob settings based on the results you see on the fabric. You should also check for any skipped stitches or looping, and make sure that the upper thread and bobbin thread are forming a balanced, even lock stitch.
Troubleshooting
If your sewing machine isn’t forming a lock stitch, this might be due to a mix of factors, such as incorrect threading, incorrect tension settings, uneven pressing pressure, an old or faulty needle, or even improper lighting. It’s important to keep in mind that if any of these issues are present, they can all negatively impact the quality of your sewing.
Removing the Bobbin
Before switching out your old bobbin for a new one, you’ll need to remove it from the machine. To do this, you’ll need to start by turning the handwheel towards you, making sure the needle is in its highest position. This allows you to loosen the bobbin case without the risk of the needle threading the bobbin. Now, you can pull the bobbin out of the bobbin case and replace it with a new one.
Safety Tips
One of the most important things to remember when putting a bobbin into a Brother sewing machine is to stay safe. To reduce any chances of injury, always make sure that your hands, feet, and other body parts are out of harm’s way. In addition, you should always unplug the machine and wait for it to stop running before beginning any maintenance or cleaning.
Maintaining the Machine
Having a well-maintained Brother sewing machine is essential for optimal use. To make sure it’s in top shape, you’ll need to regularly clean and lubricate the parts of the machine that come into contact with the thread. You should also make sure to replace the needle every few months, as well as replace the presser foot when necessary.
Conclusion
Knowing how to put a bobbin into a Brother sewing machine is a fundamental skill for all sewists. With practice and an understanding of the steps, you’ll be able to master this skill and take your sewing projects to the next level.


