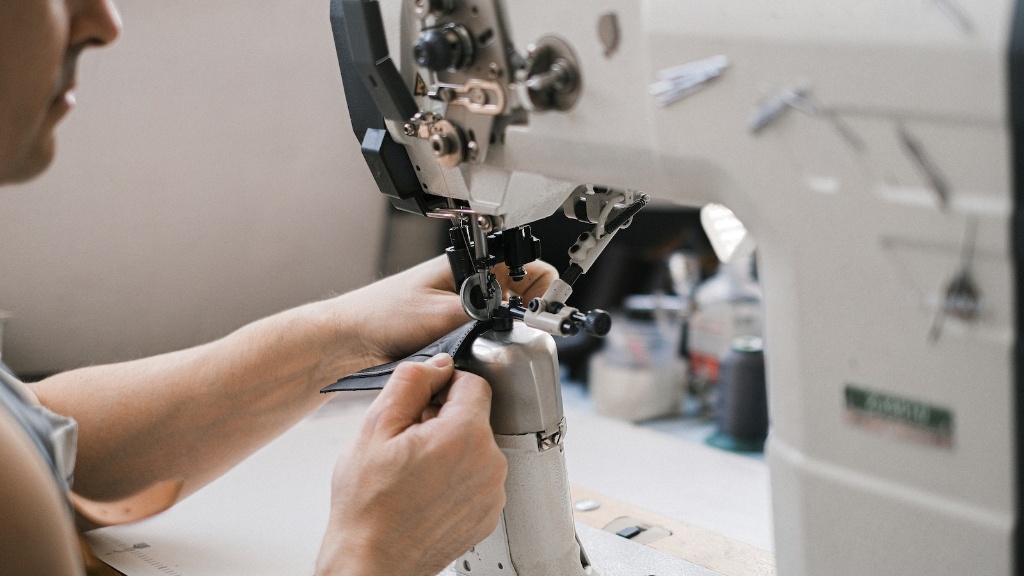
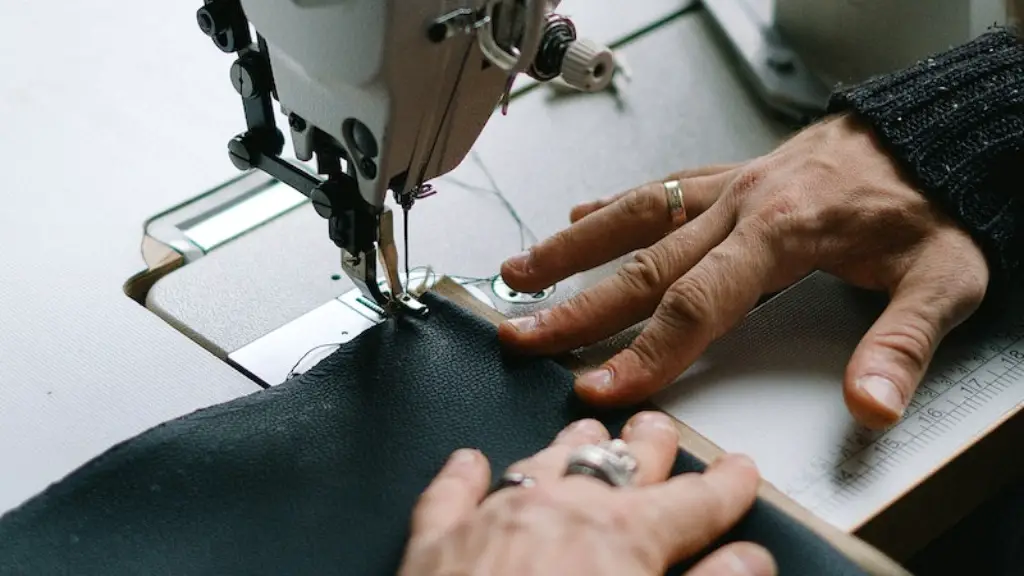
If you’re a fan of quilting and would like to get started with your own quilting project, the good news is that you don’t have to invest in a special quilting machine! With a few extra tools and supplies, you can quilt on a standard home sewing machine. Quilting is a fun and rewarding hobby, providing a great way to express your creativity and create beautiful, handmade quilts.
Before you embark on your project, it is important to understand the basics of quilting, such as how to plan your project, lay out the fabric, cut, piece and stitch the fabric, baste and quilt the pieces, and bind your quilt. Here are a few tips that will help you get started on your quilting journey, using a standard home sewing machine.
The first step is to plan your quilt. It is beneficial to start with a paper pattern that you can use as a guide. Once you’ve decided on the pattern and the fabrics you will use, it is time to lay out the fabric and starting cutting. Many home sewing machines are equipped with a special cutting option which make this process a lot easier. Once you have all the pieces cut, arrange them in the desired order, and use pins to keep the pieces together while stitching.
When stitching pieces together, it is important to use a proper stitch length, which will help ensure that your quilt holds together. A ½ inch seam allowance is typically used for quilting projects. You should also press the seams after stitching, as this will help improve the overall look and feel of the quilt. Once you’ve stitched all the pieces together, it is time to baste the quilt. Basting is the process of using pins, clips or spray adhesive to keep the fabric in place.
Lastly, you will need to quilt the pieces together. Quilting involves feeding the quilt sandwich into the machine, then stitching the pieces together with a longer stitch length. Take your time and stitch slowly, to make sure the fabric is properly held in place. Finally, when you are finished, you can bind the quilt, which involves stitching the edges of the quilt together with a ¼ inch seam allowance.
Quilting on a standard home sewing machine is a great way to get started with your own quilting projects. With a few extra tools and supplies and a bit of practice, you’ll be able to create beautiful quilts in no time!
Choosing the Right Fabric for Quilting
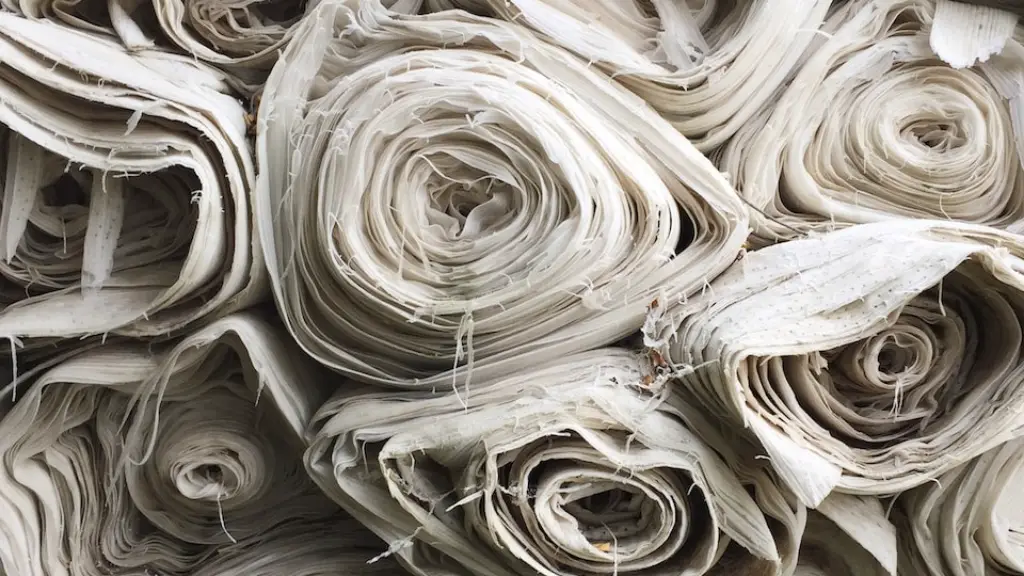
Choosing the right fabric for your quilting project can be both exciting and overwhelming. Different fabrics will result in different finished projects, and it’s important to understand the different kinds of materials available so that you can choose the best one for your needs.
The most popular type of quilting fabric is 100% cotton, as it is easy to work with and comes in a variety of colors and prints. Cotton is ideal for quilting projects because it is strong and durable, yet lightweight and breathable. However, there are other fabrics that can be used for quilting, such as flannel, muslin, canvas or even wool. The type of fabric you choose will depend on the results you’re looking for and the amount of time and effort you’re willing to put into the project.
When purchasing fabric for your next quilting project, consider the type of project you’re creating and the level of detail you want to achieve. Make sure you purchase enough fabric for your project, and that the fabrics you choose coordinate with each other and are appropriate for the project you’re making. You’ll also want to choose fabrics that are easy to work with and easy to store, as the type of fabric you choose will play a big role in the success of your quilting project.
When selecting fabrics, think of the color and patterns that you want to combine in your quilt. It’s important to consider the theme, style and feeling of the quilt you’re making, and find fabrics that will enhance the design. By doing your research and understanding the types of materials available, you’ll be able to choose the right fabrics that will result in a beautiful and unique quilt.
Quilting Techniques and Tools
Once you’ve chosen the fabric for your quilting project, it’s time to consider which quilting techniques and tools you’ll use to bring your creation to life. There are various methods for quilting, and it’s important to understand when and how each technique should be used.
The most common quilting technique is piecing, which involves stitching two pieces of fabric together with a seam allowance of around ¼ inch. Another popular technique is applique, where fabric shapes are stitched onto the main quilt top. Other techniques include quilting in the ditch, free-motion quilting, and trapunto or 3D quilting.
In addition to technique, it is also important to be familiar with the tools you’ll need to complete your project. This includes a sewing machine, quilt batting, thread, fabric scissors, quilting needles, and a rotary cutter. Having the right tools will make the quilting process much easier and more efficient, so it’s important to do your research and make sure you’re well-equipped for your project.
Quilting can be an enjoyable and rewarding activity, and understanding the basics of quilting and the various techniques and tools you can use will ensure that you get the most out of your project. With the right materials and a bit of practice, you’ll be able to create beautiful quilts that you can be proud of!
Finishing Touches for Quilted Projects
The finishing touches can often be overlooked when it comes to quilting projects, but they’re essential to making sure your quilt looks its best. After piecing and quilting the top and backing of the quilt, the final step is binding. Binding is the process of attaching a thin border to the quilt, which gives the quilt a finished and polished look.
One of the key elements to binding a quilt is to make sure the edges overlap. The overlap should be around ½ inch to one inch, and the binding should be sewn on with a ¼ inch seam allowance. You can use a special binding tool or a regular sewing machine to do this. Once the binding is sewn in place you can trim and press the edges of the quilt for a professional finish.
Another finishing touch for quilting projects is to add a label. Labelling is a thoughtful way to personalize your quilt and it’s a great way to remember the maker and recipients in years to come. You can make a label using fabric, paper or ribbon. Make sure you include details such as the name of the maker, the name of the recipient, the date the quilt was made, and a short message.
Finishing touches, such as binding and labelling, will add the perfect touch to your quilting projects. Taking the time and effort to complete these steps will ensure that your quilt is completed to the highest standard and will keep your quilt looking its best for years to come.
How to Display and Care for Quilts
When your quilting project is finished, it can be tempting to just hang it up and show it off right away. However, quilts need to be handled with special care in order for them to last for years to come. Here are a few tips for displaying and caring for your quilts.
The first step is to protect your quilt from direct sunlight. Keeping quilts in direct sunlight for too long can cause colors to fade, so it is best to hang the quilt in a spot that’s away from direct sunlight. Quilts can also become faded or distorted if they are hung in a place that’s too damp, or too cold or hot.
When hanging a quilt, make sure to use a hanging sleeve. This sleeve should be firmly attached to the back of the quilt and is designed to prevent the quilt from sagging and stretching over time. You can also use wall hangers and quilt frames to display quilts, and these can also be beneficial in keeping the quilt from sagging and stretching.
It is also important to regularly clean and care for your quilts. Make sure to use a vacuum attachment for any dust or dirt, and spot clean any stains with cold water and a gentle, mild detergent. When washing, your quilt should be handled with care, and you should use a gentle cycle and a mild detergent. You can also take your quilt to a dry cleaners if you don’t have access to a washing machine that is gentle enough.
Most importantly, when displaying and caring for your quilts, make sure to handle them with care. They are delicate items that can last a lifetime if treated properly!
Quilting Patterns and Inspiration
Coming up with quilting patterns and designs can be both exciting and challenging. Where do you start? What should you make? How will it look? These can all be daunting questions, but the great news is that there are plenty of quilting tutorials, blogs and books available to get you inspired!
When you’re looking for quilting inspiration, think about what kind of project you want to make. Do you want to make a baby quilt? A lap quilt? Are you looking for something more intricate, or something more simple? Once you’ve narrowed down your choices, you can start looking for patterns and tutorials online. Many people also find it helpful to look at quilts that others have made, as they can provide useful ideas.
You can also enlist the help of friends and family members who are experienced in quilting. Experienced quilters can provide invaluable advice and tips, and they’re a great source of inspiration. Learning from experienced quilters will help you to gain confidence in your own projects and to come up with your own ideas.
There are also a variety of quilting tools available to help you create your own quilting designs. From quilting stencils to software design programs, there’s something out there for everyone. With these tools you can play around with colors and patterns to create unique and beautiful quilts.
No matter what kind of quilting project you decide to make, there are countless ways to find inspiration and creative ideas. So get creative and start your next quilting project today!
