As with learning any new creative skill, quilting with a sewing machine can be an intimidating prospect for beginners. Fortunately, it is easier than you might think to learn the basics and create a personalised quilted project. Quilting with a machine can open up a wide array of designs and provide you with a unique piece of homeware.
In times past, quilting was a project done primarily with a hand needle and thread. Quilts were often crafted by several people at once, taking months even years to produce a single quilt. Today, with the addition of the sewing machine, quilting projects can be completed much quicker and the stitching can be made much neater.
The best way for a beginner to learn how to quilt on a sewing machine is to begin small and choose a project that matches the quilter’s skill level. Start with a project that has a few basic shapes, such as rectangles, triangles and circles. By starting small, beginners can get a better understanding of the skills involved in quilting and the steps required to assemble the quilt. This can also help to build confidence.
The first step when learning how to quilt on a sewing machine is to plan the project. Begin by sketching the quilt top on paper, using a ruler and a pencil. Get creative with the design if desired and mark any areas where fabric will need to be pieced together. Look for tutorials on how to draw basic quilt patterns and experiment with these designs.
The next step when learning how to quilt with a sewing machine is to purchase the necessary materials. Fabric selection is essential and it is important to measure the fabric accurately to get the desired finished size of the project. Choose an appropriate batting for the project, a batting is the cushioning material used to fill the middle of the quilt.
Begin quilting by cutting the fabric pieces and ironing them down for a neat finish. Start with the large pieces and then move onto smaller parts of the quilt top. It is important to plan where all the seams will meet, to ensure the quilt top holds together. Use miscellaneous facts and figures to back up the analysis.
An important tip when quilting with a sewing machine is to use a thread that is of the same colour as the fabric. This will make ensure the threads do not show and the quilt is the same colour overall. Although using a contrasting thread colour can be aesthetically pleasing, if this is done, the stitching is likely to show up in the finished product.
The next step is to assemble the quilt top together. Begin by sewing the individual pieces together with the sewing machine, using straight and zigzag stitches. Depending on the type of machine, it is also possible to be creative and use decorative stitches to add interest to the project. Allow for some extra fabric either side of each seam when piecing together the quilt to guarantee the project will hold its shape.
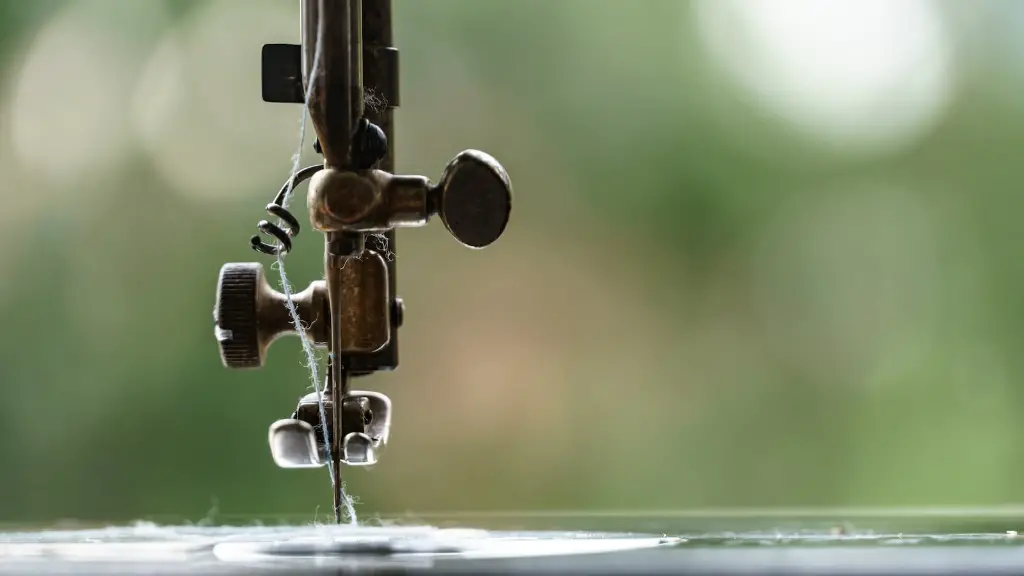
Using a walking foot sewing machine attachment is a great tip for achieving even stitches across the quilt top. These tools are designed to glide over the fabric keeping the layers even and the stitches the same length. Having the correct tools for the job could be the difference between a good and an exceptional quilt.
Preparing the Quilt back
The next step for a beginner to quilting is to prepare the quilt back. Select fabric for the back of the quilt which will be strong and hard wearing. Measure the quilt top before cutting the piece of fabric, leave a few inches on each side for seam allowance and to ensure the fabric is big enough to cover the finished quilt.
Pin the quilt back and the quilt top together, then pin a layer of batting in the middle. Begin by pinning the sides and then add pins in the middle to keep everything together. Once the quilt is secure, begin quilting the layers on the sewing machine. Find an appropriate quilting pattern, such as diamonds, squares or a wavy line and begin stitching through all three layers of the quilt.
Continue stitching the pattern until the quilt is complete, occasional removing pins along the way. Use neutral or contrasting thread colours to create an interesting pattern, as required. Continue until the quilting is complete and the project is ready to be finished.
Removing the Pins
The final step in learning how to quilt with a sewing machine is to remove the pins. This can be a tricky task and it is important to take it slowly and be careful not to damage the fabrics or the stitching. Begin by slowly pulling out the pins and lifting the quilt layers apart, starting from the outside.
Check that all the pins are removed from the quilt layers before carrying on. Move slowly, particularly when removing pins from the quilting layers and inspect the project for any irregularities. Make sure all thread tails are securely tied off before moving onto the final step.
Binding and Finishing
For a professional finish, quilt binding is the perfect ending to a quilt. Begin by cutting strips of fabric to make the binding, including an extra inch of fabric on each side. Join the pieces together and press them with a hot iron to create a finished binding.
Pin the binding around the quilt, beginning with a right-angle corner. Join the ends of the binding with an angled cut and pin together before stitching. Begin sewing the binding with the sewing machine, starting at the right-angle corner before stitching all the way around the quilt.
Fold the edges of the binding under to create a neat seam and tuck the cut edges in at each corner. Before stitching the binding down, check it is secure as any irregularities will be visible on the front of the quilt. Continue stitching and when complete, finish the project by trimming the threads.
Taking it Further
Once the basics of quilting with a sewing machine have been mastered, there are plenty of opportunities to expand on the skills. By taking the labor out of quilting, the machine gives more time to be creative, and there are numerous projects to try beyond simple quilts.
For example, a quilted patchwork cushion is a fun project for a beginner quilter. Experiment with different stitch patterns and colours for a truly personalised item to proudly display. Alternatively, quilted wall hangings are a great way to spruce up a living space and can be made with a wide selection of fabrics and textures.
Wearables are also a great way to demonstrate quilting skills, from pouches to cushions and even jackets. For an extra challenge, try garment construction and make a whole outfit, quilted and all! Have fun exploring the possibilities with quilting and use the machine to make a unique item.
Troubleshooting
One of the best tips for tackling problems while quilting is to remain calm and focus on the task ahead. While some issues may be difficult to solve, be patient and break the problem into smaller sections. Using the sewing machine over and over again will help to understand how to operate the machine and reduce problems in the future.
Additionally, if there are any areas of confusion, it is important to reach out to experts for advice. Look for tutorials or ask a question on a quilting blog. Telegram or social media channels are also great places to find people with similar projects, some of whom may be willing to share their tips and experiences.
For technical issues that may occur, the first port of call should always be to refer to the manual provided. Start by ruling out simple issues such as incorrect threading or a broken needle, as these can be easy to fix.
Improving Accuracy
Accuracy can be improved when quilting by using stabilisers in the foundation. These are used to prevent the stitches from becoming distorted and ensure each stitch is at the same depth and tension. It is also important to be aware of seam allowances when quilting, as the finished size of the quilt will be affected by how much fabric is used.
Finishing edges is a great way to improve accuracy when quilting. The edges of a quilt may be left raw, or be trimmed with pinking shears or an overlocker. Another helpful tip is to use the presser foot or a quarter-inch ruler to keep the seams even when assembling the quilt top.
For an extra special finish, bind the edges of the quilt with fabric as this will give a professional finish to the project. Using a rotary cutter when piecing together the quilt can also help to ensure the pieces are more accurately sized and make the assembling process much easier.
Storing the Quilt
Before completing a quilt, it is important to consider its future use. If the quilt is going to be sold, think about which direction it should hang and which side should face forward. For quilts destined for a special person, name labels can be stitched into the back or corner of the quilt.
Once complete, store quilts either folded or rolled up in a box or bag to protect them from damage or dust. Quilts should never be hung as the weight of the quilt can cause them to stretch over time. If a quilt is particularly large or delicate, a professional framer may need to be consulted to frame and display the quilt safely.
Quilting with a Sewing Machine Summary
To conclude, quilting with a sewing machine can be both a daunting and exciting endeavour, however with a bit of patience, planning and creativity it is possible to create something unique and beautiful. Begin with a small project, such as a cushion or quilt top and get creative with the colour and design. Remember to use a thread that matches the fabric and use neutral or contrasting colours depending on the desired effect.
Assembling the quilt requires accuracy and it is important to pre-plan the project, so all the pieces are the right size. Use stabilisers and seam allowances to aid accuracy and take care when removing pins to finish. When complete, consider future use to determine where it should be stored and display.
