Overview
Sewing machines are popular for all types of sewing, from mending to creating garments, and Brother Sewing Machines are no exception. Sewing with a Brother Sewing Machine leads to great results and a sense of accomplishment. However, from time to time, even great sewing machines like the Brother Sewing Machine need regular maintenance, such as needle replacements, to ensure they are working as effectively as possible. In this guide, you will learn how to replace a needle on a Brother Sewing Machine.
Choosing the Right Needle
Replacing a needle on a Brother Sewing Machine begins with choosing a suitable needle for your project. Different needles are used for different fabrics and results, so it is important to pick the best needle for your project. A Universal needle is the most commonly used, and is suitable for most fabrics, but if you are sewing very soft or very heavy fabrics, then a Microtex or Denim or Leather needles are best. Choosing the right needle will ensure the best possible results.
Preparing the Machine
Before replacing the needle, it is important to make sure you are working with a clean machine. Cleaning your Brother Sewing Machine will ensure it is working as efficiently as possible, and will also ensure the smooth running of your new needle. To clean your machine, first unplug it, and then clean off any lint or residue that has built up. Once the machine is clean and you are ready to proceed, turn the machine back on and lift the presser foot.
Replacing The Needle
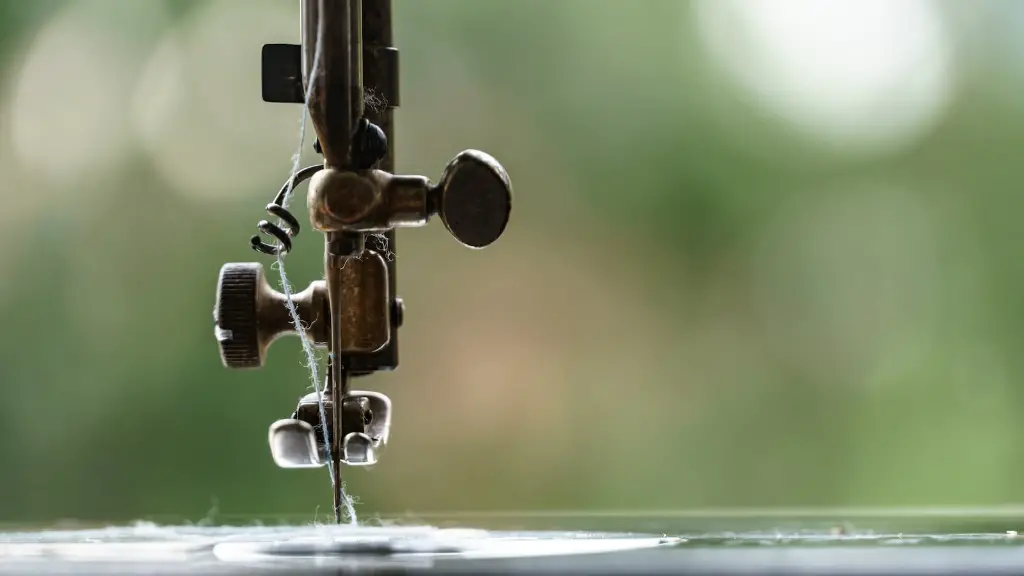
To replace the needle, first lift the needle clamp. Doing this will allow you to take the current needle out of the sewing machine. Take the current needle out, and then insert the new needle into the machine. Once the new needle is in place, lower the needle clamp and make sure the needle is secure. It is also important to make sure the needle is facing the right direction. After the new needle is in place, make sure the needle clamp is tightened securely.
Checking The Needle
Once the needle is in place, it is important to make sure the needle is set correctly. To do this, bring the presser foot down and ensure the needle is not loose and that it is at the correct angle. If it is not, readjust the needle and recheck it. The final step is to check the needle thread tension. Make sure the needle thread tension is correct, too tight or too loose can lead to poor results. Once everything is in order, test run the machine to make sure it is working as expected.
Choosing the Right Thread
It is important to choose the right thread for your project. Thread that is too thick or too thin can cause issues, so match the thread to the fabric you are using. In addition, make sure it is the same type of thread as the needle. For example, if you are using a Denim needle, use a Denim thread. The right thread will ensure your project turns out as you intended it to.
Troubleshooting
If the machine is not running correctly after you have replaced the needle, make sure all connections are checked. Check the presser foot, make sure it is secured correctly and then check the needle. If it is too loose, make sure it has been secured correctly. If all connections are ok and the problem persists, it is recommended you take it to a qualified sewing machine technician for a professional assessment.
Replacing the Presser Foot
In addition to replacing the needle, it is also important to replace the presser foot on a regular basis. Over time the presser foot can become worn and not function as effectively as it should. When replacing the presser foot, it is important to choose the right one to suit your project. Brother Sewing Machines have a variety of presser feet available, and it is important to choose the right one for the right job.
Conclusion
Replacing the needle on a Brother Sewing Machine is easy to do, but it is important to make sure it is done correctly. The needle needs to be the right type and need to be inserted and secured correctly. In addition, it is important to choose the right thread for your project and replace the presser foot on a regular basis to ensure your sewing machine is running as efficiently as possible. Following these simple steps will ensure great results for all your sewing projects.


