Tools and Materials
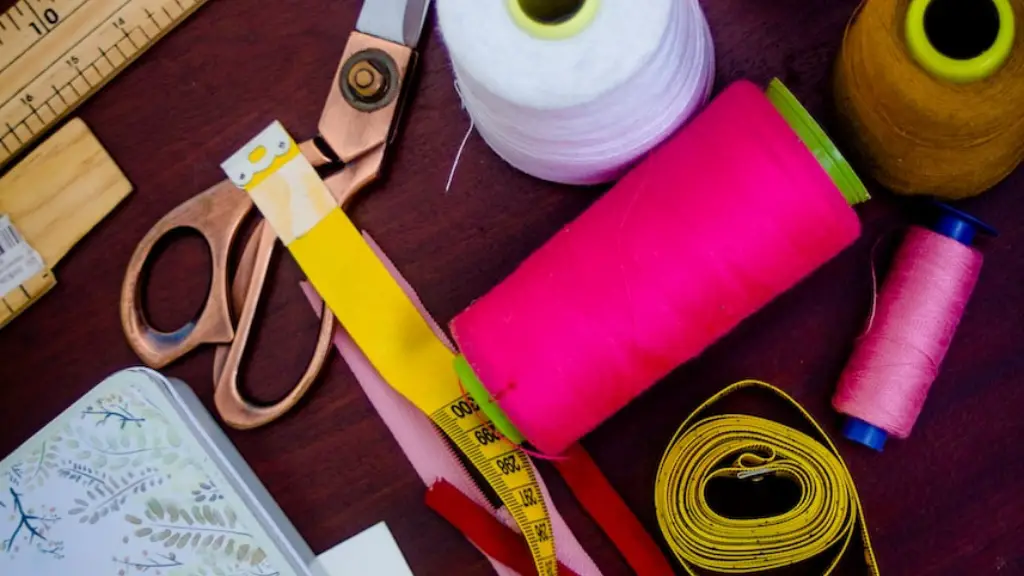
Replacing a sewing machine belt is a simple task that can be done by even the most novice of sewers. The tools necessary for this job are likely simple tools that are found around the home. It is advantageous to have a screwdriver on hand that is the appropriate size for the machine screws. It is best to have both a Phillips and flat head screwdriver, as some machines may require one of the other. Additionally, it is beneficial to have needle nose pliers and sewing shears, as they can help with manipulating the belt and make the job run smoothly. The replacements belts can be acquired either online or at a store that specializes in sewing supplies.
Determining the belt size
The size of the new sewing machine belt should match the size of the belt that needs to be replaced. It is necessary to measure the old belt to find its length and circumference, as the new belt needs to be the same size or it will not fit the machine properly. Most machines have a length of around 41”, however this should still be measured to ensure the exact size. Additionally, the circumference of the belt should be measured to ensure an adequate fit.
Removing the old belt
Before replacing the Singer sewing machine belt, the old belt should be taken off and disposed of. To do this, the user should remove the small screws located on the exterior of the machine with a screwdriver. Depending on the model, there may also be screws located underneath the machine. Once the screws are removed, the plate can be taken off, revealing the old belt and cover. The belt should be taken off the machine by taking off the hook that it is connected to.
Installing the new belt
Once the hook is removed, the new belt can be installed. To start, the new belt should be matched to the size and measurements of the old belt to ensure a proper fit. The belt should be threaded through the pulley and hook. After that, the hook should be reconnected to the machine in the correct location. To ensure that the belt is secured, the plate can be placed back over the hook and screws should be tightened with a screwdriver.
Testing the belt
Once the belt is installed, it is advised to test the belt to make sure it is running correctly. To do this, the user should turn on the Singer sewing machine, letting it run for a few seconds. The belt should be moving properly, and the tension should be checked. If the belt is moving properly, the machine should be safe to use.
Tools and Materials for Other Sewing Machines
Replacing the belt on other types of sewing machines is a task that is similar to replacing the belt on a Singer sewing machine. The tools and materials are likely the same, however the size of the belt may vary depending on the type of machine. Additionally, the process for replacing the belt may be slightly different for each machine, and it is necessary to check the manual for instructions specific to the machine.
Preventative Maintenance for Sewing Machines
Replacing a belt is a simple task that any sewer can do, however it is important to take preventative measures to ensure the machine will last longer. After a belt is replaced, it is advised to clean both the inside and outside of the sewing machine to keep it in top condition. Additionally, a coat of machine oil is beneficial to keep the gears and mechanism rotating smoothly. Doing this regularly ensures that the machine will stay in good condition so that a belt does not need to be replaced more than necessary.
Common Problems with Singer Sewing Machines
Due to the age and type of Singer sewing machines, there are several common problems that can occur. One of the most common problems is that the belt slips and needs to be re-tightened or replaced. Other common problems include the machine jamming, or the needle not being able to pierce through the fabric. These problems can arise from time to time with Singer machines, and should be addressed quickly to maintain the condition of the machine.
When to Get Help from a Professional
While replacing a belt on a Singer sewing machine is a fairly easy task, there are times when it is best to get help from a professional. If the machine is older or the problem persists, it is best to take the machine to a repair shop or call a professional for help. They can address the problem and also provide advice on prevention techniques and maintenance. However, if the problem is minor, the belt can usually be replaced on one’s own.
Replacing Parts on a Singer Sewing Machine
Replacing the belt is not the only maintenance task that needs to be done to Singer sewing machines. From time to time, parts of the machine may need to be replaced such as the bobbin case, bobbin tension, or the drive cog. To replace the parts, the machine should be taken to a repair shop or a professional should be consulted. They can diagnose the problem and replace worn out parts or parts that have broken down.
Safety Considerations for Singer Sewing Machines
Safety should be a top priority when operating a Singer Sewing machine, as there are a few dangers that can arise with its use. It is crucial not to touch the needle while the machine is on, as this can lead to serious injury or even death. In addition, it is important to always check the tensions of the belt before and after use. If the belt is too tight, it can cause the machine to overheat and potentially damage the machine.


