The basics
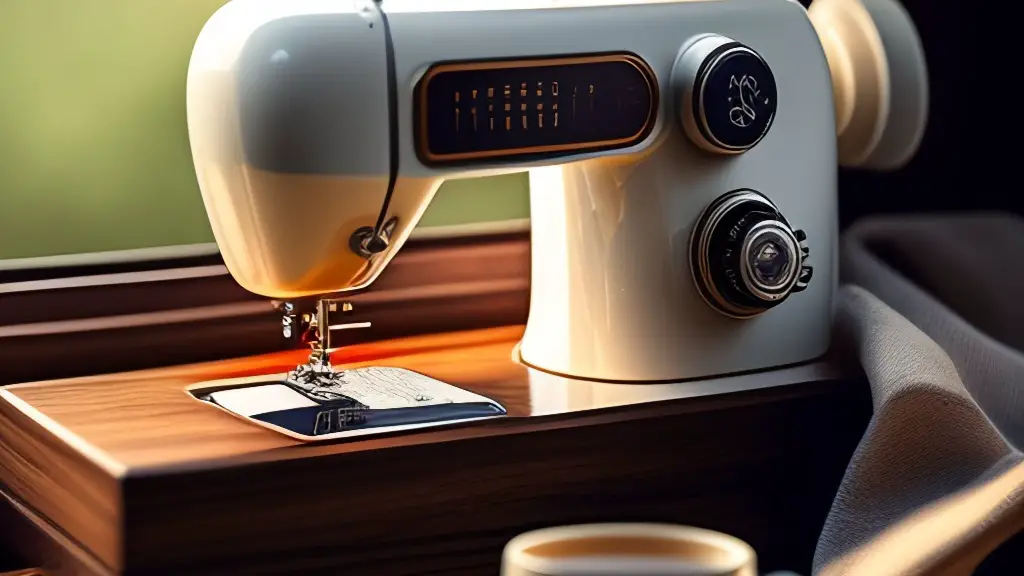
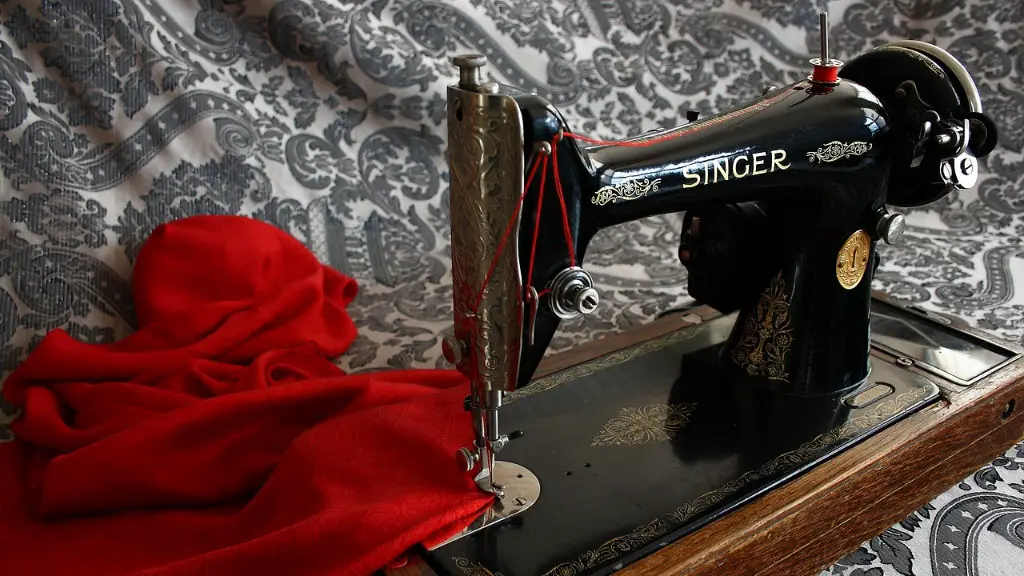
Sewing machines are convenient and efficient tools for a variety of craft projects and can last for years with the proper maintenance and care. However, a poorly maintained machine can malfunction and need resetting. Resetting your Singer sewing machine is not an overly complicated process, but it does require some mechanical knowledge and understanding of the components and how they work together. Knowing how to reset your Singer sewing machine will help you keep your machine functioning at its optimum level of efficiency.
The first step in resetting a Singer sewing machine is to unplug the power cord from the machine. This will ensure that the machine is not drawing any power and that resetting can proceed safely. Once all power sources have been disconnected, open up the machine and inspect all of the visible parts. Clean away any built-up dust or debris, so that all mechanical parts are free to move. Inspect all of the springs and pressure points, to ensure that they are all functioning properly. Make sure to inspect the belt and wheel mechanism as well, to ensure that it is lubricated and free of any obstructions.
Once the inspection is complete and all parts are cleaned and lubricated, reassemble and reconnect the power cord. Turn the machine on and manually spin the wheel several times. This will ensure that the machine is functioning correctly and that the motor is not overworking. If the motor is working correctly, the wheel should spin smoothly and evenly.
The next step is to check if the bobbin is correctly threaded and if the thread is tensioned correctly. Make sure to check the thread guide and tensioner, to see if they are correctly positioned. If they are not correctly positioned, reset them and make sure they are correctly threaded and tensioned. Lastly, use a small screwdriver to carefully adjust the needle bar and make sure that it is correctly aligned with the stitch plate.
Once all of these steps have been completed, leave the machine running for a few minutes and observe how it is performing. If the machine is still malfunctioning or is not working correctly, a more extensive repair will be required. However, for minor adjustments a reset should do the trick. Knowing how to reset your Singer sewing machine has many benefits, and should help keep your machine running for years to come.
Threads
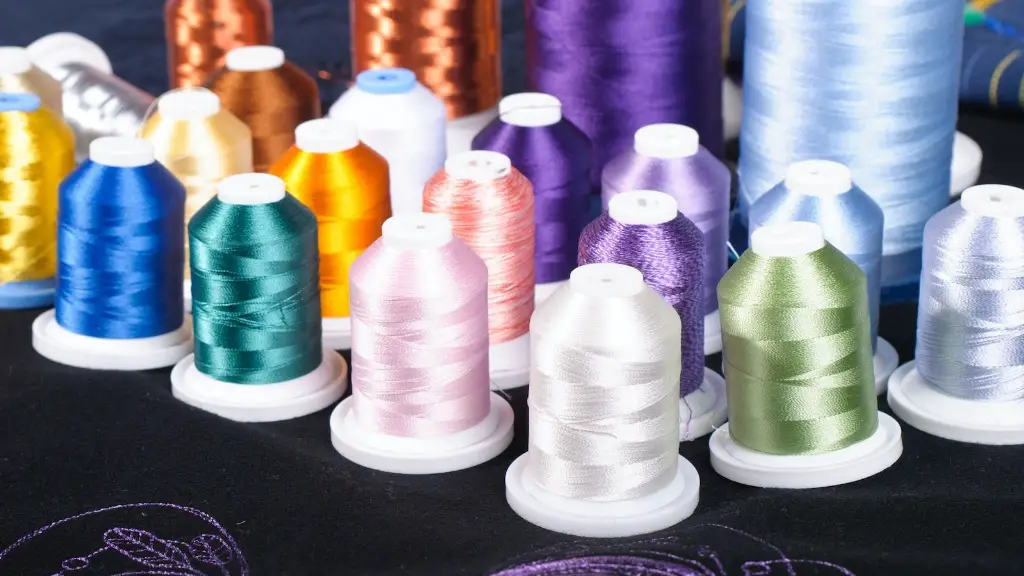
Threads are essential elements in any sewing project, and choosing the correct type of thread can have a big impact on the finished product. Different types of fabric require different types of thread, which makes it important to take into account thread size and weight. Lighter weight threads are suitable for lighter, more delicate fabrics or for decorative stitching. Heavier threads are better suited to thicker, more durable fabrics such as denim and canvas.
Different thread sizes are often indicated with a number and a letter. The number is the thread thickness, and the letter is the thread weight. Generally speaking, the higher the number or letter, the thicker and heavier the thread. Similarly, the lower the number or letter, the thinner and lighter the thread. Knowing your fabric and choosing the correct thread will help you achieve a professional finish for your sewing project.
When selecting thread, it is important to take into account the stitch length of your sewing machine as well. It is generally recommended to use a thread size that roughly corresponds to the stitch length. For example, if the stitch length is set to three, then a thread that is size three should be used. Thicker threads can be used for longer stitches, and thinner threads for shorter stitches. Matching the thread size and stitch length correctly will ensure that your sewing is well-formed and of good quality.
Finally, it is important to always use high-quality threads. Using low-quality threads can result in thread breakage and incomplete stitches, which may cause further damage to the fabric and the sewing machine. High-quality threads are worth the extra money and will ensure that your sewing projects look professional and well-crafted.
Needles
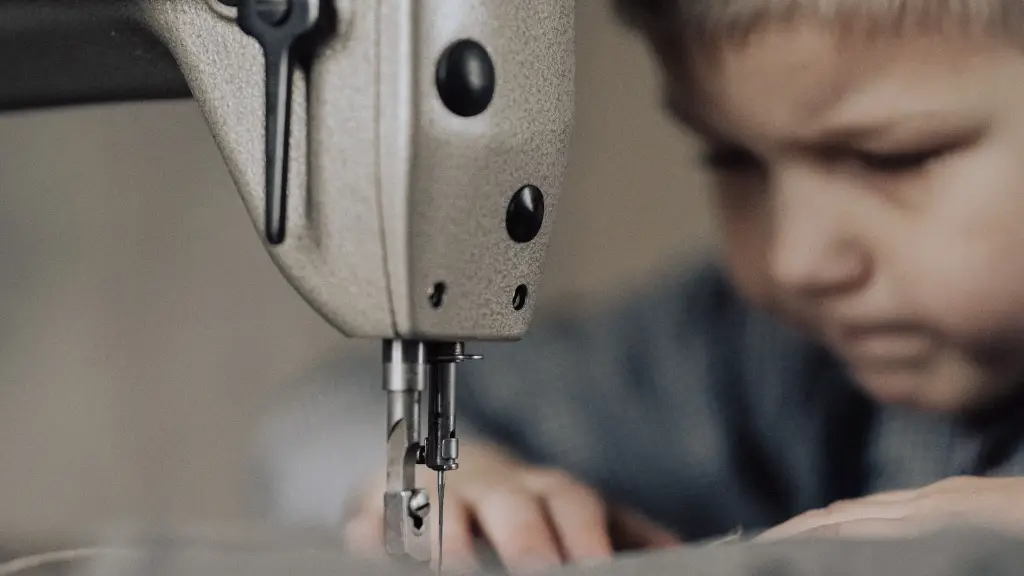
Choosing the right type of needle is just as important as choosing the right type of thread. Different fabrics require different types of needles and it is important to know which type of needle is suitable for the fabric you are working with. The wrong needle can damage the fabric and can cause poor quality stitches, so it is important to choose the correct needle for each job.
When it comes to needles, the most common type used for sewing machines is the universal needle. This needle is suitable for most types of fabrics, from light and delicate fabrics to thicker, more durable fabrics. However, if you are working with knits and stretch fabrics, then a ballpoint needle may be more suitable. Ballpoint needles have a rounded tip which helps avoid snagging, resulting in a smoother stitching experience.
Sharp needles are also used for sewing items such as leather and canvas. Leather and canvas are thick and durable materials, and a sharp needle is the best type to use when dealing with these fabrics. Make sure to select a needle of the right size and with the right sharpness in order to achieve the best results.
In addition to the different types of needles, there are also different lengths and sizes. It is important to select the right length and size needle for the fabric and stitching job you are working on. Generally speaking, a longer and thicker needle is better suited for thicker fabrics, and a shorter and thinner needle is suitable for lighter fabrics.
Finally, make sure to always check the condition of the needle before use. If it is bent or has a jagged edge, discard it and select a new one. Using a damaged needle can cause further damage to the fabric and the sewing machine.
Presser Feet
The presser foot is an essential component of the sewing machine, as it assists in holding the fabric in place during the sew. It is important to choose the right type of presser foot for the type of stitch or fabric you are working on. Different presser feet are available for different types of fabrics, such as stretch fabrics, woven fabrics, denim, and velvet.
Generally speaking, universal presser feet are suitable for most sewing purposes. These feet are adjustable and can be used for a variety of stitches and fabrics. Specialty presser feet are specifically designed for specialty fabrics, such as leather and canvas. Specialty presser feet feature a lower profile design which is designed to reduce the bulk when working on thicker fabrics.
In addition to universal and specialty presser feet, there are also decorative or appliqué presser feet. These feet are specifically designed for decorative stitching or appliqués. These presser feet help to hold the fabric in place while stitching and add an extra level of detail and creative expression to your sewing projects.
No matter the type of fabric or stitching job you are working on, selecting the right presser foot is essential. Make sure to choose the right type and size of foot for the job, as this will ensure that your fabrics are held in place and not distorted by the sewing needle.
Bobbin Work
Bobbin work is a type of stitching that uses two threads – the upper thread from the bobbin and the lower thread from the fabric. Bobbin work is often used for decorative stitching, quilting and appliqués, as it results in a beautifully textured and eye-catching finish. Knowing how to set up a bobbin work stitch can be a bit tricky, but with practice and some patience you will be able to achieve great results.
The first step is to fill the bobbin with thread. Make sure to use a high-quality thread that is suitable for the type of fabric you are working on. Secure the thread in place by cutting off any excess and by kneading the thread tightly in your hand. Make sure to leave a tail at the end of the thread, as this will help to thread the needle later on.
Once the bobbin is filled, insert it into the bobbin holder, making sure to pass the thread tail through the hole in the holder. The thread then needs to be wound around the bobbin holder and tightened with a screwdriver. Finally, slide the bobbin holder into the sewing machine, making sure to secure it in place and thread the needle.
Now that the bobbin is correctly set up and threaded, select your stitch by adjusting the stitch length and width. Generally speaking, a longer and wider stitch is recommended for a bobbin work, as this will result in a more decorative finish. Once the stitch is selected, begin sewing and the upper and lower threads will intertwine to form a decorative pattern.
Tension Adjustment
Adjusting the tension on your sewing machine is a necessary step in order to ensure that your machine is operating properly. In general, the upper thread should be slightly tighter than the lower thread, which will result in a clean and even stitch. This also helps keep the fabric in place as the stitch is being sewn.
The tension adjustment dial is located on the side or front of the sewing machine, and can be adjusted by turning the dial either clockwise or counter-clockwise. Generally speaking, turning the dial clockwise will increase the tension, while turning it counter-clockwise will decrease the tension. Most sewing machines have a tension range from 1 to 9, so make sure to set the tension within this range in order to achieve the desired results.
Once the tension is set, do some test stitching to check if the tension is correct. If the stitches are too tight then lower the tension, and if they are too loose then increase the tension. If the stitch is not even then the tension is not correctly set. Make sure to adjust the tension until the stitching is even and of good quality.
The tension should remain the same for each project, but may need to be adjusted when switching between different types of fabrics or between different types of projects. Careful tension adjustment will ensure that your sewing machine is operating at its optimum level of efficiency.
