Gathering Resources and Tools
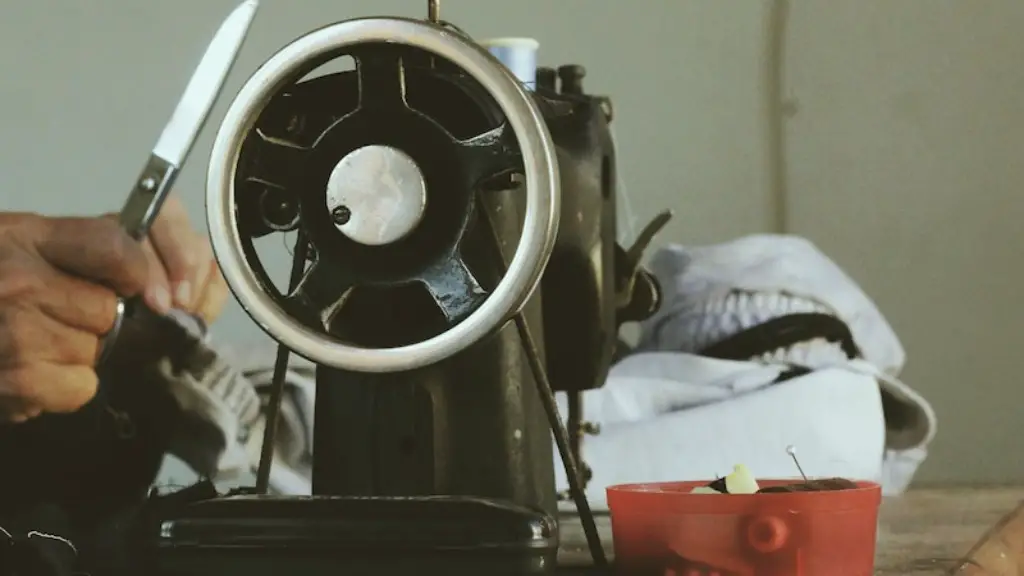
Restoring a Singer sewing machine cabinet can be a labor-intensive but rewarding task. The first step is to equip yourself with all the necessary resources and tools before you begin. Since Singer sewing machines are antiques, it’s important to research the history of the machine to determine if it is an authentic Singer or an imitation. Genuine Singer machines often come with manuals, diagrams, and repair parts, all of which can be useful when restoring the cabinet.
It’s important to source the highest quality replacement parts for your restoration. Original cabinet wood, handles, and locks can be difficult to come by, so you may need to look online to get hold of these parts. Make sure to ask questions about the quality and age of the components, as there are now many cheap stock parts available.
Once you’ve collected all the resources, you’ll need a few tools and supplies to start restoring your Singer sewing machine cabinet. These include a screwdriver, paint stripper, sandpaper, primer, paint, polyurethane, and wax. You should also wear safety equipment such as safety glasses, rubber gloves, and a dust mask.
Stripping and Sanding
The first step in restoring the sewing machine cabinet is to strip and sand it. Begin by using a paint stripper to dissolve any existing paint and varnish. Be sure to work in a well-ventilated space as many of these products are poisonous and can cause skin irritation. Use sandpaper to remove all the remaining residue, taking special care around the engraved details and grooves of the wood.
Once you have sanded the surface smooth, you’ll need to clean and prepare it for restoration. Use a soft cloth to scrub away any residue, then use a vacuum cleaner to get rid of any sawdust or dirt. You should then lightly sand it again, making sure that it is completely free from any dirt before continuing.
Painting and Refinishing
Once you have a clean surface, you can start the painting and refinishing process. Start by priming the cabinet with a primer that is designed specifically for wood. Allow this to dry, then lightly sand it again with sandpaper. This will help ensure that the primer is properly adhered to the wood.
Once the primer has dried, apply two to three coats of paint, using a brush or roller to ensure even coverage. Allow each coat to dry before proceeding with the next. Then use sandpaper to smooth the surface again and apply a layer of wax to protect the paint.
Replacing Parts
Once the painting and refinishing is complete, it’s time to start replacing any parts that may have been damaged or worn down over time. Begin by replacing the old handles, locks, and hinges with new parts. Check that they are securely fastened and allow them to dry before continuing.
Next you will need to do some minor assembly work to ensure that the cabinet opens and closes as it should. You may need to adjust the door hinges or realign the drawers to ensure that they fit properly in the cabinet. Once this is done, replace any broken or missing parts that you may have found during the restoration process.
Proofing
Before you finish the restoration, it’s important to do a proofing test to ensure that the cabinet is in good working order. This involves setting up the sewing machine and operating it with the cabinet to make sure that everything is functioning correctly. Make sure to check the tension of the thread, the rotation of the machine, and the accuracy of the sewing.
Once everything is working correctly, you’re ready to finish the restoration. Clean off any dust, wax the cabinet one final time, and then you’re good to go.
Accessorizing
The final step in restoring your Singer sewing machine cabinet is to accessorize. You can find a variety of decorative items such as adhesive stencils, wallpaper, or fabric to add a personal touch to your piece. Consider adding a few Singer-themed items, such as a Singer logo or an inspirational message, to show your sewing pride.
You can also add practical items to the cabinet, such as baskets, holders, or accessories to store spools of thread, scissors, and other sewing tools. Adding light fixtures to the top of the cabinet can also enhance the look and provide light when you sew.
Restring
Restrings refers to the process of replacing the original strings and springs on the sewing machine. While it’s not necessary for a successful restoration, it’s important to learn how to do it to keep your Singer running smoothly. The process is relatively simple and can be done with minimal tools.
Start by paying attention to how the existing wires are oriented and then start to unhook them from the machine’s body. Once the old ones are removed, pay close attention to the directionality of the new strings. Take the time to test each one to make sure they match the old strings in their tension, strength, and flexibility.
If you don’t have replacement strings handy, you can purchase stringing kits or repurposed strings from many hardware stores. However, it’s best to use strings that are specifically designed for your machine as they are more likely to last longer and provide better performance.
Lubrication
Lubrication is an essential part of maintaining the Singer machines. As the machine goes through a great deal of wear and tear, it needs to be consistently lubricated to prevent rust and malfunctioning. To lubricate the machine, you can use a lubricant specially formulated for such machinery. Alternatively, you can use oil or even a wax-based lubricant for basic maintenance.
Make sure to pay attention to the moving parts such as the bobbin and other moving parts, as these need to be regularly serviced and lubricated. A lubricant works to reduce friction and wear from the moving parts and will help keep them functioning properly. Pay attention to the rubber gaskets and seals as well, as these are essential for the proper functioning of the machine.
Reconditioning
Reconditioning refers to the process of thoroughly testing the Singer sewing machine to determine whether it is in good working condition. This involves testing all the components, lubricating them as necessary, and replacing any worn out or broken parts. It’s important to pay attention to the drive belt, sprockets, pulleys, and much more to ensure that the machine is functioning properly.
To save time, consider buying or renting a sewing machine service kit to help make the reconditioning process easier. These kits typically include all the tools and parts needed to recondition your machine. Once you’ve completed the reconditioning process, the last step is to start sewing!
Cleaning
Regularly cleaning your Singer sewing machine is essential to keep it from rusting or becoming damaged over time. Start by wiping the machine down with a soft cloth and warm, soapy water. Make sure to pay attention to any ingrained dirt or grime around the moving parts.
If there is rust present, you may need to use a rust remover and brush to remove it. If the rust is particularly heavy, you may need to use an electric rust remover. Once you have removed the rust, a thin layer of petroleum jelly can be used to protect the machine from further corrosion.
Then use a vacuum cleaner to suck up any excess dirt and dust from the machine. Finish off with a soft cloth and a mild furniture polish to remove any unwanted marks and restore the Singer’s shine.


