Steps for Satin Stitch Applique with Sewing Machine
When it comes to adding beautiful detailing to your garments, satin stitch applique is a popular and versatile choice that can lend fabric projects a unique, luxurious touch. If you’ve never tackled applique before, fear not – the process is much simpler than you might think. All you need is the right fabric and an understanding of the basic steps.
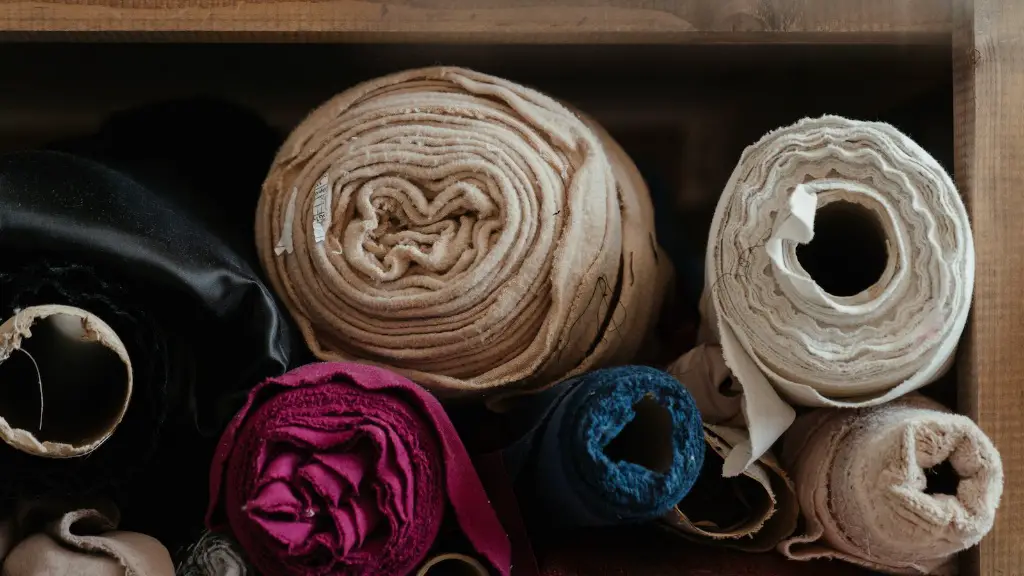
Before beginning your applique project, make sure to select the right type of fabric, as the material and texture of the fabrics should be compatible. To achieve a superior finish, use quality fabrics; thin fabrics like cotton and cotton blends tend to work best. When choosing the tech-fabric or decorative fabric, look for one which is easy to work with and offers good recovery.
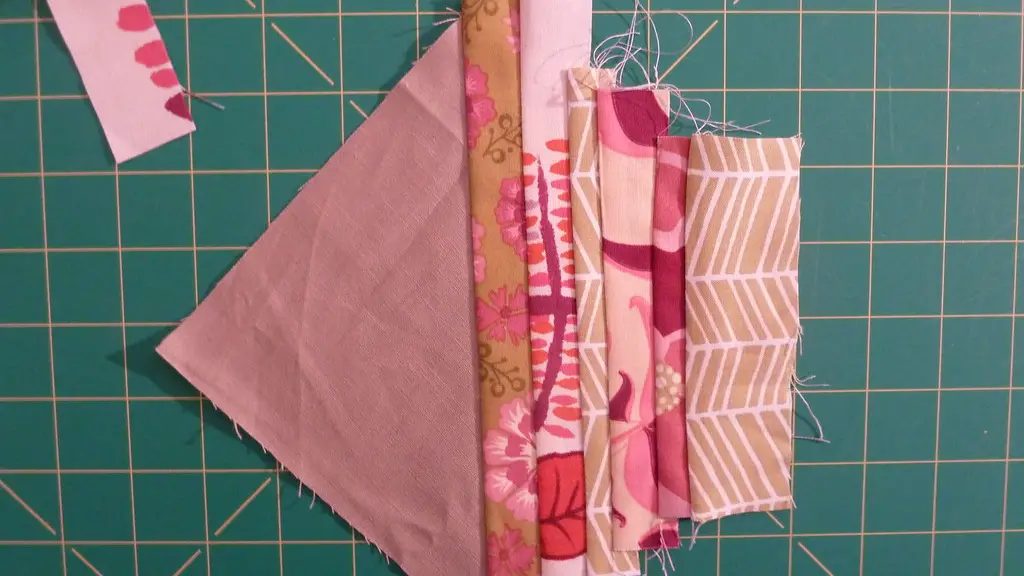
Once you’ve chosen the right fabrics, the next step is to cut the shape you wish to applique. Before cutting, think carefully about the shape and size of the shape to ensure it is appropriate for the project. If you’re feeling uncertain, you may even wish to practice cutting the shape on a spare piece of fabric to ensure your skills are sharp and up to the task.
When it comes to cutting the shape, depending on the type of design, it’s often helpful to draw the shape onto the fabric first. However, if the design incorporates minute details and intricate curves, you may want to opt for an easier approach such as using paper-backed fusible web. This will allow you to draw the shape directly onto the backing paper, and then trace the design onto the fabric before cutting.
Once the shape is cut, it’s time to begin the applique process. This step consists of securing the fabric shape onto the garment, and then reinforcing the edges of the shape with fancy stitches, such as a satin stitch. To attach the fabric shape, use either a standard stitch or an applique stitch, depending on the effect you wish to achieve.
Once the fabric shape is attached to the garment, it’s time to reinforce the edges with a stitch. When it comes to stitching, satin stitch is often the go-to choice, as it offers a beautiful, smooth finish. To attach the stitch, set the zig-zag stitch setting on your machine. Your machine manual will give you all the information needed on the correct stitch, stitch length, and width. For the best results, play around with the settings until you are satisfied with the finished look.
Lastly, to create an even softer and refined effect, you could opt for extra extensions on your stitching. This will give the applique a delicate, almost embroidered touch. However, if you do decide to use these extensions, it is important to ensure that the stitches are tolerant to wear and consistent with the sewing machine tension.
Tips for Satin Stitch Applique
Now that you understand the basic steps for satin stitch applique, below are a few additional pointers and tips which will help you to create the best results.
To make sure the applique looks professional and high-end, finish off the edges of the fabric shape with bit of binding or trim. If you’re using a satin stitch, this will offer an extra neat finish by hiding any unsightly uneven stitches underneath the binding or trim.
Another tip is to avoid using too many fabrics within an applique. If you do decide to use more than one type of fabric, make sure they are in complementary colours and textures. If you opt for a variety of fabrics within a single shape, this could be overwhelming and detract from the overall look.
Finally, depending on the type of project, wash and dry your fabric pieces before you start stitching. This will help to store shrinkage, as well as helping to establish the machine tension so that you can achieve the perfect stitch post-washing.
Tools and Resources
When it comes to satin stitch applique, the right tools and resources will go a long way in ensuring your finished product is professional, durable and of high quality.
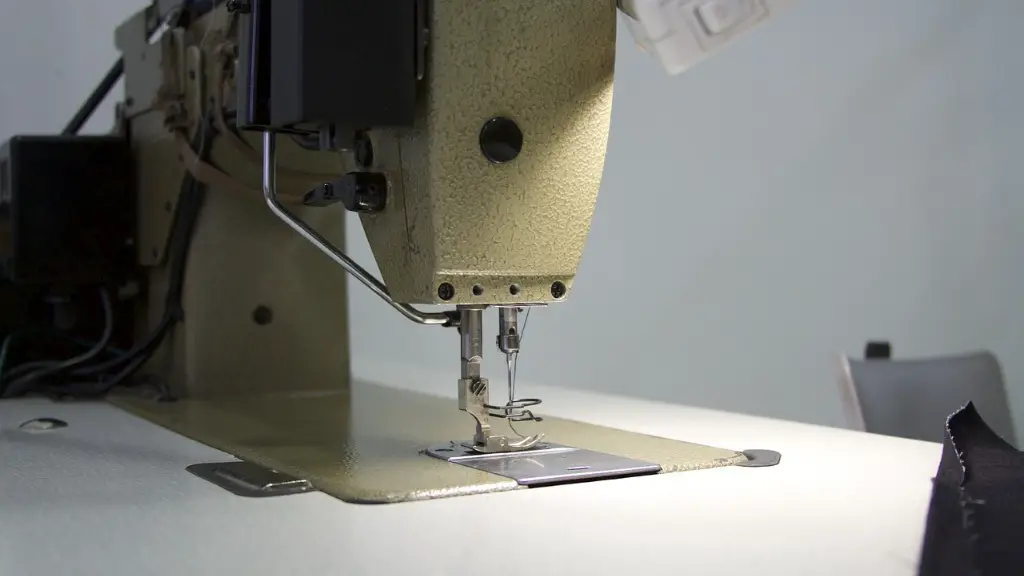
First and foremost, the right sewing machine is key. You need to select a machine that allows you to adjust stitch width and length, as well as one with adjustable speed control. It’s also important to keep your machine clean and well maintained; regular servicing can mean the difference between a successful and failed project.
Other important sewing resources include decent quality thread and specialize needles. Take the time to find a thread which is colour-coordinated to the fabrics you are using for the applique, and double-check the thread weight to ensure it is suitable for the type of fabric. Furthermore, make sure you have the right needle for the project, as this will prevent uneven stitches, fraying of fabric, and other issues which can jeopardize the overall look and quality of the garment.
Preparing for Applique
Applique, particularly satin stitch applique, requires an extra degree of care and detail to achieve the best results. Before starting your project, it is important to prepare – both to save you time and energy in the long run, as well as to ensure your applique looks neat and professional.
To begin with, you should list all the resources and tools you’ll need to complete the project. This can include fabrics, thread and needles, as well paper-backed fusible web and trace paper, if needed. Make sure your machine has been serviced and prepped for the project, and you have the right stitching settings for the fabrics and threads you are using. Additionally, be sure to clean the machine before and afterwards – no one likes a nasty clogged up machine!
Communication is also key – speak with a professional or knowledgeable friend prior to starting your project to gain helpful insight and advice. This will allow you to navigate the process without hassle, making it far more enjoyable along the way.
Machine Maintenance
Though appliqueing is undoubtedly an art form, it’s important to stay organized and maintain the health of your machines too. Therefore, once you’ve completed your applique project, it’s important to take the time and give your machine a thorough clean and tune-up if necessary.
To begin with, check your machine manual for specific cleaning and lubrication instructions. Generally, it’s important to clean debris from within the bobbin and needle areas, and then clean the outside of the machine with a soft, damp cloth. Once the machine is cleaned and dried, it’s important to resolutely rethread and reset tension and timing, as these may change or become uneven during the sewing process.
Additionally, depending on the machine, it may be necessary to oil specific areas of the machine. If unsure, consult your user manual or a professional. Lastly, it’s important to make sure your machine is stored safely and out of site, such as in a locked cabinet or cupboard.
Conclusion
In conclusion, satin stitch applique can add a sophisticated touch to garments, and the process is much simpler than you think. All you need is the right fabric and an understanding of the basic steps, along with the necessary tools and resources. Before beginning, make sure to prepare and communicate early on, as this will save time and energy in the long run. Plus, ensure that you clean and maintain the health of your machine, as this will help you to avoid any issues or disruptions in future projects.
