Parameter Familiarization
Among the most daunting tasks of sewing is setting up your machine. But, with the KenmoreMini Ultra Sewing Machine, it’s easier than you think. It’s designed as an introductory model, giving that beginner the concept of what is necessary to have the machine perform efficiently. Depending on the type of fabric used, there are several parameters that need to be adjusted.
Your first step is familiarizing yourself with the stitch selector and the stitch length and width dials. You’ll want to become comfortable adjusting them for the necessary effect for the project.
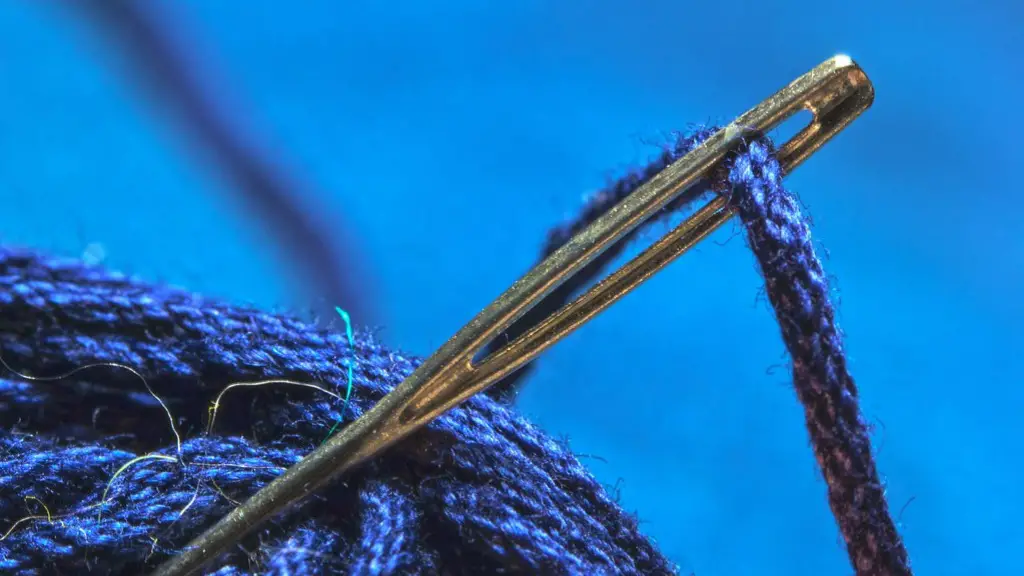
In terms of needle threading, the machine does make it relatively easy. It consists of a foot pedal and start/stop button, allowing you to go at your own pace. To facilitate speedy adjustments, the KenmoreMini Ultra has a built-in thread cutter, needle threader, needle stop-up, and reverse sewing features.
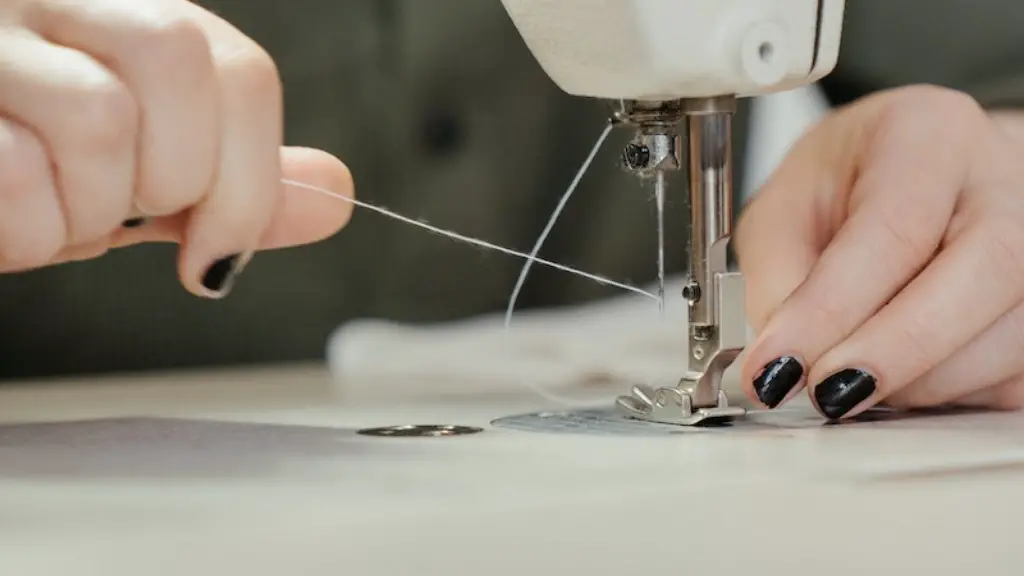
Threading the bobbin allows for convenient winding and exact tension. This can be accomplished by using the guided thread path. By winding up the thread into the bobbin, it is important to keep the tensions relative so that the hook grabs the thread and pulls it up in proper order.
It is essential to have the correct needle in order to handle the fabric that you are working with. Whether it’s the tensions that have to be adjusted or the needle plate needs to be changed, the KenmoreMini Ultra provides the necessary tools to make it easy.
Fabric Preparation
Before you can begin to set up the machine, make sure the fabric you’ve chosen is properly prepared. Using the wrong type of fabric can cause the needle to snap, resulting in an expensive fix. So make sure the fabric you select is within the recommended limits.
Once you’ve chosen the right fabric, press the garment and use an adhesive if necessary. Make sure this is done with the utmost care and accuracy. The pattern should be placed appropriately to have the desired effect.
Mark the garment exactly to the desired specifications. Being precise will prevent any excess hem or alterations. You’ll also want to mark the placement of the particular pattern—particularly if it involves a pocket or closure.
At the same time, take into consideration the specifications of the fabric when cutting. There might be certain requirements for the particular fabric you’re working with, or limitations depending on the needle you’re using.
When you lay the fabric to the machine, keep it as flat as possible. Doing so will ensure that there is no drag on the fabric, which might cause a need for adjustment.
Balancing the Needle and Bobbin
Before you begin sewing, make sure that the needle and the bobbin thread are properly balanced. This is not hard if you follow all of the steps carefully, though it is something that needs to be done with each piece of fabric.
Begin by picking the right stitch width, followed by the right stitch length for the particular fabric you’re working with. This will allow for proper tension and avoid excess drag on the material.
Then, check the bobbin tension and make sure it’s in the proper range for the fabric. You will want to make sure that the bobbin thread is wound the same direction as the needle. If not, it could cause the thread to get bunched up, resulting in irregularly spaced stitches.
Make sure the foot pedal is firmly attached and properly connected. This should give you good control over the machine and make preparing your fabric much easier.
When the thread is finally done spinning, be sure to cut it at the right length so there will be no tangles or knots.
Continue the Process
Once the fabric is secure and the threads are tied off, the sewing process can begin. Ensure that the fabric is pulled tight while it is being stitched in order to produce a nice, tight stitch pattern. If not, the stitches may be too loose and your fabric might come apart after a few uses.
Start by making a few practice stitches to get a feel for the machine. This will give you an idea of how the fabric moves. If the fabric does not move smoothly, the tensions might need to be adjusted.
It is important to become familiar with the stitch selector and switch adjustment. This allows for the fabric to move freely, but not too freely. You’ll want to make sure that the pressure is consistent, so that the stitches are uniform.
Once you have dialed in the pressure, the speed can be adjusted. A slow start may take some time to get used to, but it will provide a more consistent stitch.
Finally, the last step is to attach the belt and pulley. This will allow the machine to feed fabrics along, as well as provide the desired motions to be done.
Overall Thoughts
With a few careful adjustments, the KenmoreMini Ultra Sewing Machine can be a great introductory model. The proper preparation steps and controls can make the machine easy to use and allow you to make enough projects to get you off and running in the world of sewing.
Although the machine is built for beginners, it carries enough features to last veteran sewers alike. Try out a few projects, and see what you can do!
Safety Considerations
Whenever you’re dealing with fabric, it is of paramount importance to remain safe. Make sure that the machine is unplugged and the power is off when making adjustments. Doing so will prevent any electric shock or injury to the operator.
Also, make sure to wear protective gloves when handling the needle and fabric. This is especially important when cutting or pushing the fabric along, as the speed of the machine can cause irritation to the hands.
Take careful care when removing the needle. Support it on the underside and slowly loosen the clamp. Pull it gently and slowly until the needle can be removed properly.
Finally, regular maintenance is essential for ensuring that the machine is in proper order and in proper working condition. This includes frequent oiling of the machine parts, which will keep the machine running smoothly.
Wrapping Up
In conclusion, setting up the KenmoreMini Ultra Sewing Machine requires attention and a few quick steps. Make sure the fabric is properly prepared and all parameters are adjusted. Take into consideration the safety of the operator. Once the steps are done, you’ll be ready to start creating your own sewing masterpieces!
