Introduction
Sewing is a great hobby for those who enjoy crafting and being creative. It is also a valuable skill to have and can be used to make arts and crafts, as well as clothes and other items. One of the most important investments you can make when you are starting out sewing is to buy a sewing machine. With the right sewing machine, you will have the ability to create beautiful projects. The Singer Simple 3223G is an affordable and user-friendly sewing machine, and it is the perfect option for beginner sewers who are interested in learning how to sew.
Getting to Know the Machine
Before you can start sewing with your Singer Simple 3223G, you’ll need to assemble it. The machine comes with a comprehensive instruction manual to guide you through the setup process. The first step is to make sure the machine is firmly attached to the table or sewing station that you’ll be using. It is important to use a stable surface so that the machine can function properly. Once the machine is secured, be sure to read through the instruction manual and get familiar with your machine’s components and functions.
Threading the Sewing Machine
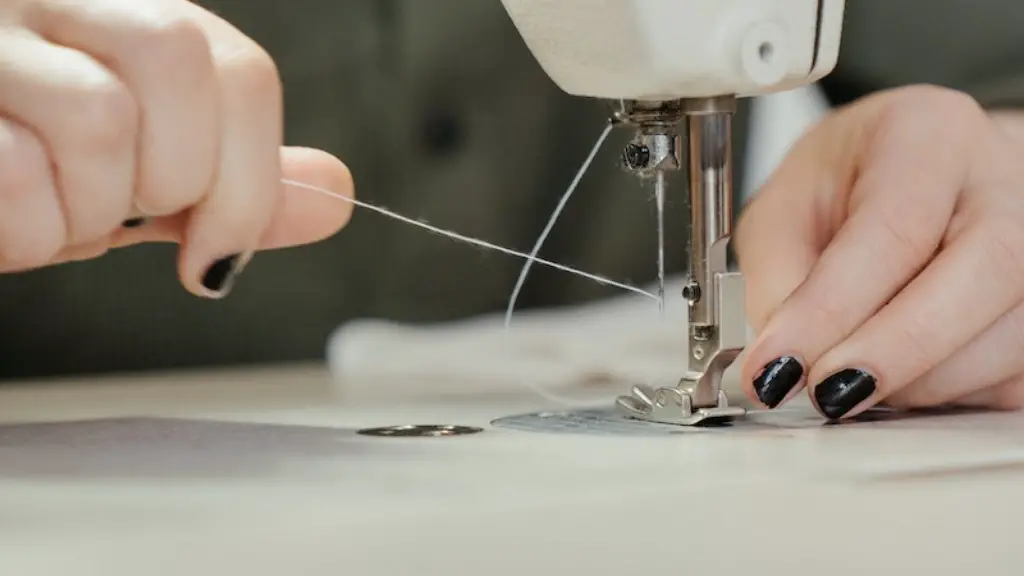
Threading is one of the most essential steps in setting up your Singer Simple 3223G. It’s important to pay close attention to how you thread the machine, as improper threading can create tension problems when sewing. The first thing to do is to select the right type of thread for your project. With the right thread, you’ll be able to achieve a satisfactory result. Once you have your thread, attach the spool to the thread spool holder, then thread the machine, following the instruction manual closely.
Testing the Machine
The next step is to test the machine and see if it is functioning properly. To do this, select a tension setting that is suitable for the fabric you will be using. On the Singer Simple 3223G, you can adjust the tension by turning a small dial located on the machine. After adjusting the tension, you can begin sewing and examine the stitches to check that the tension is correct. This is important as incorrect tension can cause puckering and missed stitches.
Foot Pedal
Your Singer Simple 3223G will come with a foot pedal. Before starting to sew, be sure to adjust the pedal for comfort and control. To do this, you can adjust the sensitivity and speed of the foot pedal so that it feels comfortable for you. This will let you get the most out of your machine and ensure that you can control all aspects of your sewing.
Accessories
Your Singer Simple 3223G will also come with a range of accessories. These may include different types of needles, bobbins, and threaders. It is important to get familiar with the different accessories included and how to use them, so you don’t run into any problems while sewing. There are plenty of online tutorials that can help you understand the different parts and functions of the machine.
Maintenance
Regular maintenance is essential for extending the life of your Singer Simple 3223G machine. It is important to clean the machine after each use to keep it in good condition. Regular oiling of the machine will also help make it run smoothly. Additionally, it is a good idea to inspect the machine for any signs of wear and tear, and replace any parts that are not functioning properly. Following these simple steps will ensure that your machine will last for many years.
Sewing Projects
Once your machine is set up, you can start to enjoy the fun of sewing. Sewing allows you to create unique pieces of clothing, accessories, and decorations. With the Singer Simple 3223G, you can easily stitch a variety of fabrics and materials. Whether you are new to sewing or an experienced sewer, a Singer Simple 3223G machine is the perfect tool for your projects.
Get Sewing
The Singer Simple 3223G is the perfect machine for getting started with sewing. As long as you take your time with the machine setup and gain an understanding of how it works, you will be able to stitch your projects with ease. With regular maintenance and care, the machine will not only last a long time, but will also work flawlessly to help you accomplish your sewing dreams. So, get ready to get sewing with the Singer Simple 3223G.
Expansion 1:Choosing the Right Fabrics and Materials
Choosing the right fabrics and materials is just as important as choosing the right sewing machine. Different fabrics require different needles, thread, and settings to ensure the best stitch quality. For example, a lightweight fabric may require a light needle and thread, while thicker fabrics may use heavier needles and threads. Be sure to read the instructions on the fabric to understand which settings and materials you need to create the perfect outcome.
Expansion 2:Choosing the Right Sewing Patterns
When you are just beginning to learn how to sew, it is best to start with a pattern. Patterns provide step-by-step instructions to help you create the perfect item. It’s important to select a pattern that is suitable for the skill level that you have. There are plenty of beginner patterns available that you can try. For more experienced sewers, there are advanced patterns that may require more skill and patience. Before you start, read through the instructions and be sure that you understand everything before you begin.
Expansion 3:How to Use and Read Pattern Pieces
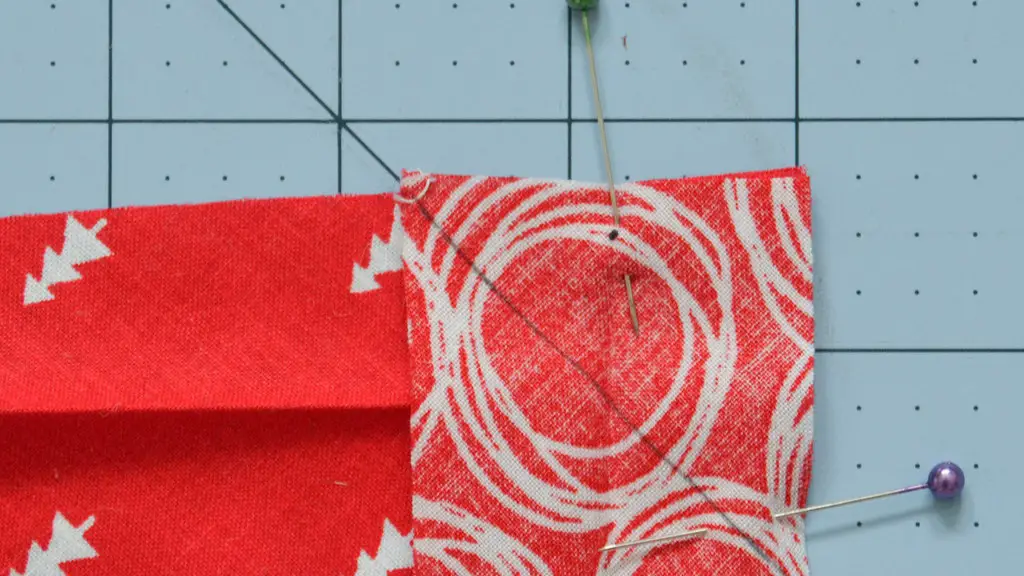
Using pattern pieces is an essential technique that is used in sewing. Pattern pieces are used to create a specific shape in your project and can be very useful when making garments and accessories. It is important to be able to read and interpret pattern pieces to ensure that you get the best result. Before you begin following a pattern, be sure to read the directions carefully to understand how to use the pieces.
Expansion 4:How to Make and Use a Bias Tape
Making and using bias tape is a great way to finish off edges of a sewing project and create a neat finish. Bias binding can also be used to attach parts of a project and can be useful for cushion covers, quilts, and other projects. To make your own bias tape, you need to cut strips of fabric on the bias and press with an iron. You can then use the bias tape to finish off a project. It is an easy technique to learn and can add a professional touch to any sewable item.


