Tools, Materials, and Set Up Instructions
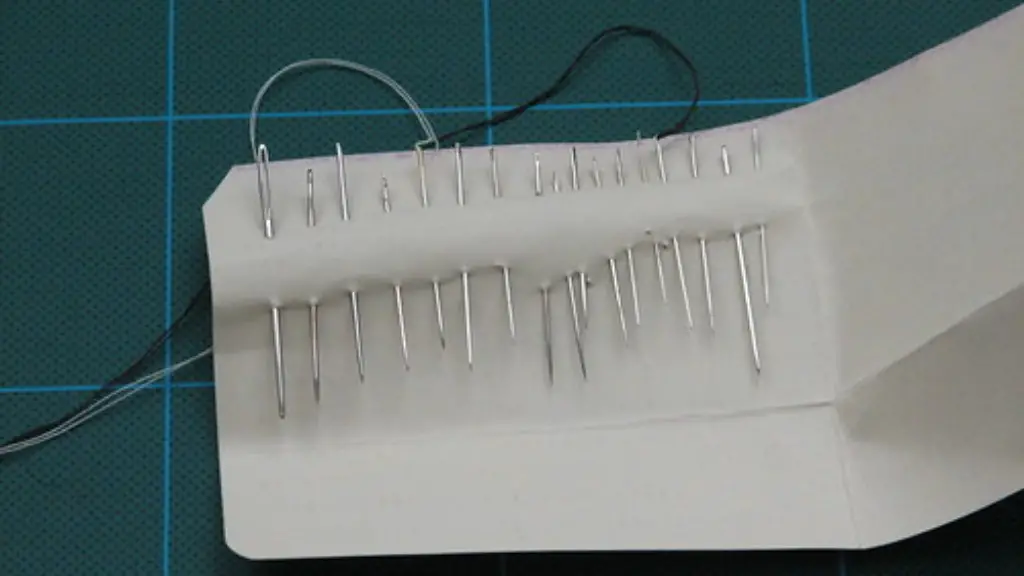
Setting up a singer heavy duty sewing machine requires a few tools and materials. You will need a sharp pair of scissors, a Phillips head screwdriver, 2020 bobbins or plastic bobbin cases, and a 12 piece wide eye hand-sewing needle set. Thimble size 1 is especially useful for heavy duty fabrics. Additionally, for any threading, a seam ripper might be needed. Have these all prepared before beginning your set up.
Start by placing the sewing machine on a flat and steady surface. An adjustable table is ideal and allows the machine to easily be raised or lowered depending on your needs. Additionally, place the machine near the nearest outlet and connect the power cord.
Ensure the bobbin case is detached from the needle area and place a bobbin into the case, thread it, and close the lid. Though bobbin and bobbin case sizes differ depending on the model of your machine, 2020 and plastic bobbin cases provide a snug fit. Threading the bobbin case can be done manually or through the automatic bobbin-winder. Regardless, thread the needle by looping the thread around the tension disk, taking it over the presser foot and back through the thread guide. Then, cut the thread with the scissors.
Finally, it is time to install the accessory feet and presser feet. These are used for different tasks such as embroidery, hemming, buttonholing, and much more. Slide the foot onto the shank and align the foot’s heel to the bar located at the front of the machine. Once the foot is attached, the needle bar needs to be raised to its highest point and the presser foot lever moved to a flat position.
Threading the Top of the Machine
Threading the top of the machine is equally as important as threading the bottom of the machine. For this, grab the spool of thread and place it onto the spool pin located at the top of the machine. Activate the spool pin by pushing down the knob. Once the spool is secure, thread the machine by taking the thread around the tension guide, the first take-up lever, the second take-up lever, the thread guide, and then over the presser foot. After, thread the needle by pushing the needle clamp downwards, inserting the thread from the left to the right and pushing it around the needle notch.
If your machine is embroidery or sewing machine capable, extra precautions must be taken. On most models, you will be able to thread the machine from the needle bar all the way to the bobbin case with one piece of thread. With an embroidery capable machine, it is important to first use the jig and thread the bobbin via the jig. Then, the needle and thread will be threaded as usual. Lastly, when using a sewing machine, select the type of stitch to be used and adjust the tension dial to the necessary setting.
Testing the Machine
Once all the threading and setup is complete, it is time to test the machine. Begin by placing light fabric between the needle and presser foot. Turn the hand-wheel forward to test the tug and see how the fabric moves with each revolution. If it appears to be too taut, or not taut enough, adjust the tension dial accordingly. Try various settings to find the best fit.
Next, test the stitch settings on a scrap piece of fabric. This will depend on the type of fabric and material used. Experiment with multiple stitches, tensions and sizes to find the best setting. If any stitches appear to be loopy, uneven, or break quickly, troubleshoot and make any necessary adjustments.
Safety Measures and Maintenance
When using a sewing machine, safety is of utmost importance. If a thread becomes cut or tangled, unplug the machine before untangling and ensure the spool pins are always fully locked. Additionally, remove your hands from the needle when threading. With heavy-duty machines, the needle and presser foot are more powerful and can do serious harm to your hands and fingers.
Also, be sure to maintain your machine and keep it in optimal condition. Make sure to always keep the needle sharp, use the correct type and size of needle for the job, and clean the bobbin case and bobbin with a cotton swab and a tiny brush if necessary. Lastly, use only manufacturer-recommended parts and materials to replace or upgrade any components or attachments.
Using Accessories and Attachments
Once your singer heavy duty sewing machine is correctly set up and functioning, you can begin using the range of available accessories and attachments. Whether it is buttonholes, embroidery, blind hems, or shoulder seams, these allow for limitless creative options.
To begin, select and attach the necessary accessory foot. Some of the accessories you may need are embroidery hoops, tension discs, and bobbins. Then, familiarize yourself with the machine icons and settings before beginning your stitching or embroidering. When changing accessory feet and taking them off, always bear in mind the needle bar and the needle.
Different Fabrics and Threads
When stitching, the type of fabric and thread used is of great importance. There are a variety of different fabrics and threads available, and each has a purpose. Generally, heavier fabrics such as denim, canvas, or upholstery fabrics require a larger heavy-duty needle and a more durable thread. On the other hand, lighter fabrics like wool, silk, and cotton require lighter needles and more delicate threads.
Threads also come in many different varieties, including polyester and cotton-wrapped polyester, which are ideal for heavier fabrics while rayon, silk and cotton are better suited for more delicate fabrics. Weigh up the pros and cons of each fabric and thread and select the one best suited to your desired project.
Troubleshooting and Repairs
Even for the most experienced sewists, troubleshooting issues is a common phenomenon with sewing machine use. This could be anything from the machine jamming or the needle breaking. For this, the first step is to shut the machine off and check to see if the needle is properly inserted and duly aligned with the feed. Additionally, see if the thread has been correctly looped around the lower tension discs or other guideposts.
If the issue persists and is more major, it is best to take the machine in for repairs. Get familiar with product warranties and have a certified repair shop look at the machine and make any necessary repairs or replacements. Make sure to find a trustworthy shop and be sure to ask questions before any final agreements are made.
Adopting Sewing Machine Best Practices
Last but not least, it is important to adopt the correct best practices when using your singer heavy duty sewing machine. Firstly, always use the correct size of needle for each project. A larger needle is needed for heavier fabrics, whereas a smaller needle is better for lighter fabrics. Secondly, pay attention to the machine’s settings—especially tensions and stitch length.
Thirdly, make sure the thread is properly positioned in the needle’s eye, or else an excessive amount of thread can be pulled, leading to a broken needle. Lastly, take the machine in for regular maintenance and regular servicing. Making sure to do this will extend the life of your machine and save you from sudden and unexpected repairs.
