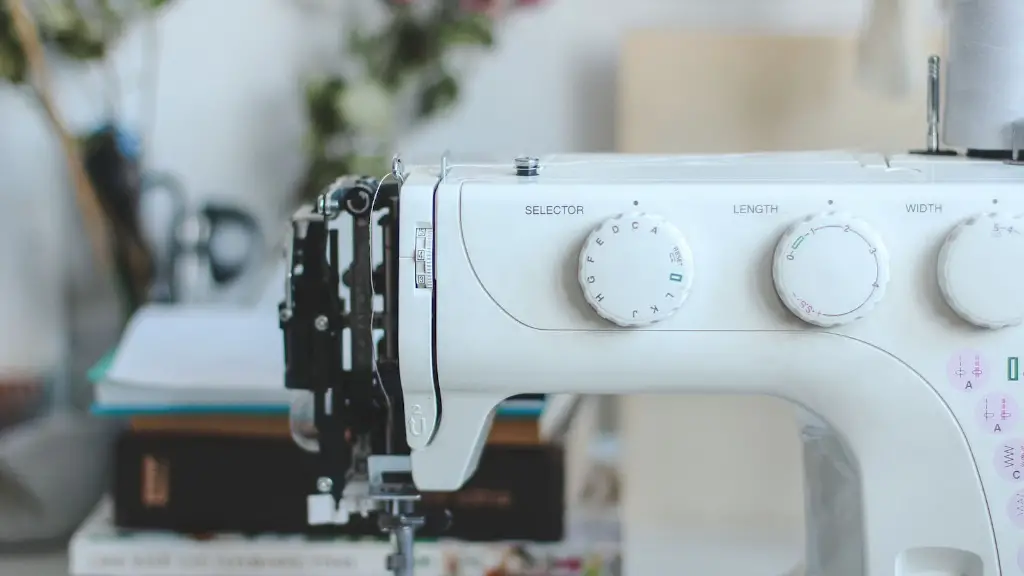
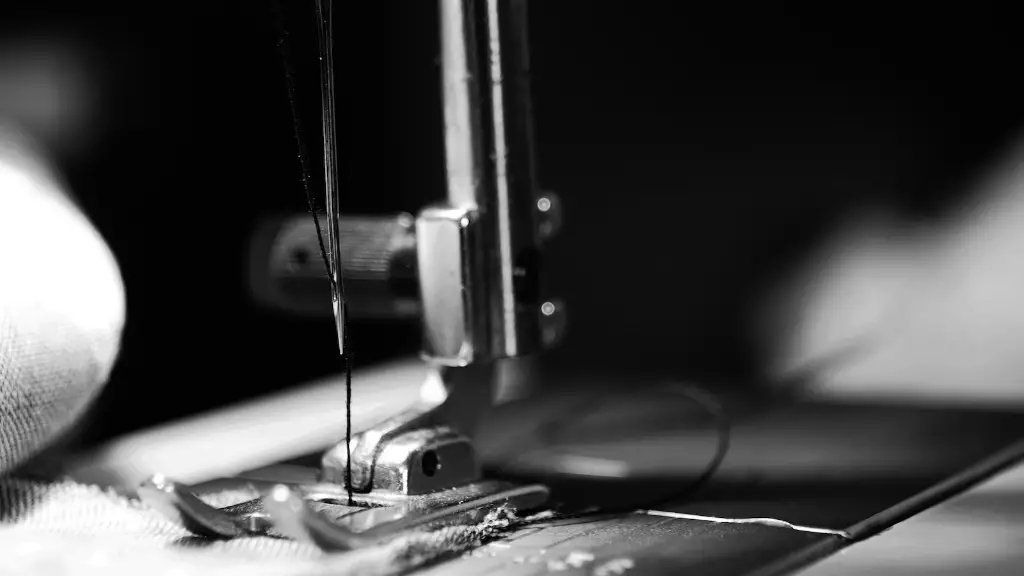
Your sewing machine is an essential tool for your creative DIY projects. It helps you make special projects for yourself, your friends and family, such as clothing, curtains, and quilts. But with all that time spent sewing, your sewing machine is the perfect candidate for a project that will protect it: a machine cover.
Since the cover must fit your machine perfectly, measure your machine according to the manual or any information available. You will need to measure the length, width and height of the machine. You should also consider any added inches of fabric you need to fold or hem up when making your cover.
Choosing the fabric is an essential part of the process. You have to consider the thickness and properties of the fabric, the cost of the material, and the ease of use when constructing the project. Cotton is the most commonly used fabric for machine covers, as it is lightweight and stretchy and can easily assemble various parts of the cover without difficult cutting.
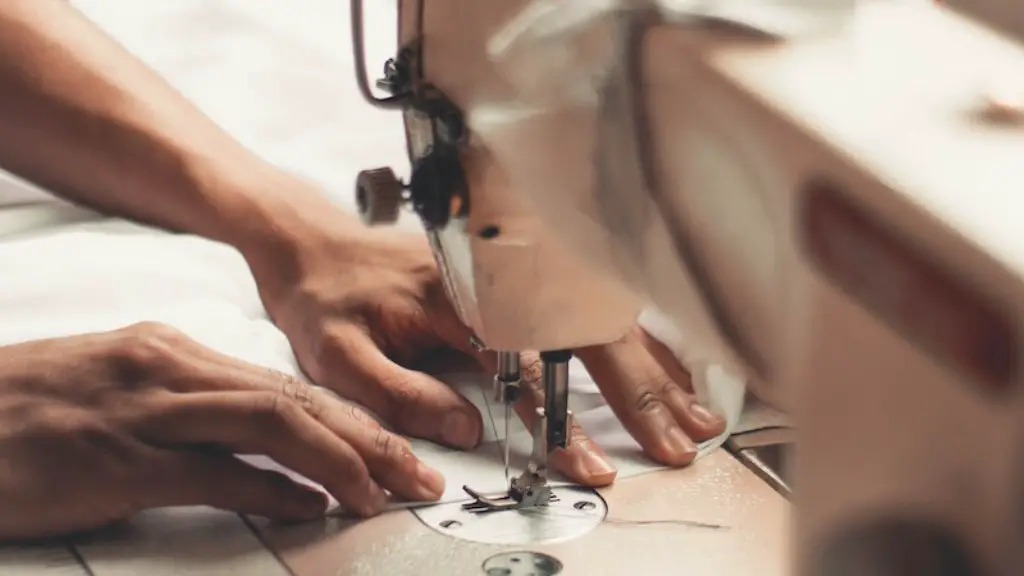
Cut the fabric according to your measurements and sew the sides using a sewing machine and thread. To make your project more interesting and creative, you could use different color threads for each side. If you want an even more elaborate project, you could also add decorations to each side. This includes embroidery and appliqué designs.
When you have finished sewing, it’s time to assemble the cover. Start by forming the bottom part, followed by the sides. After that, it’s time to attach the main body. Finally, sew up all the edges, finishing your project. Once the cover is finished, make sure you check the measurements and the stitching to make sure everything is correct.
Adding a lining to the inside of your cover will ensure that your machine remains clean. A good lining material is a lightweight material, as it won’t add extra weight to the cover, while also providing a layer to protect your machine from dust particles and dirt.
To finish the project, add handles or ties to the cover. This will make transporting the cover easier and more comfortable. For the handles and ties, it’s best to use a supple material so that it is comfortable to the touch and easy to grip. Also, you can add a pocket in the back of the cover to store any patterns, scraps of fabric, or other sewing supplies you may have.
Cleaning & Maintenance
Once you have made the cover, you will need to take care of it properly to make sure that it will last a long time. Start by regularly cleaning the cover to keep it dust and dirt-free. Make sure to check for any loose threads or tiny holes, and repair them if necessary. Additionally, be sure to store your cover in a safe place, away from direct sunlight, which could cause fading over time.
An extra tip for making your cover last longer is to use a fabric spray. A fabric spray will help to protect the material from fading and wear. Make sure to follow the instructions on the package when applying the spray, as different types of fabric require different treatments. You should also spray the cover on both sides, as this will ensure that all the parts of the cover are being protected.
Safety Issues
Once the cover is finished, remember to keep all loose threads away from the sewing machine. You should also be aware that some fabrics can be flammable or melt when they come into contact with certain parts of the machine. If this happens, it can cause permanent damage to your machine. It is important to be aware of this potential danger and to make sure you are using a fabric that is safe for use around hot machine parts.
Additionally, when handling the machine, always remember to unplug it first. This will protect you from electrical shocks and will prevent any unnecessary accidents. Additionally, when you are storing your machine, be sure that it is securely fastened so that it won’t slip or fall out of place.
Tips for a Successful Project
Making a machine cover is a rewarding experience, especially when you see the finished product. To make sure you get the best results, it is important to follow a few key tips. Firstly, choose the right fabric — you may want to avoid stretchy or slippery fabrics as they are more difficult to sew. Additionally, always make your measurements carefully, as this will ensure that your cover fits your machine perfectly. Don’t forget to add a pocket or some other storage feature, so you can keep your spools of thread and other supplies on hand.
Also, consider the washability of the fabric you choose. If you plan on machine washing your cover, make sure you use a gentle cycle and avoid using tumble drying. Most importantly, make sure to double check your stitching for any loose threads before using the cover, as this will prevent accidental damage to your machine.
Enhancing the Look
The look of your cover is just as important as the functionality it provides. To make your cover look more attractive, you can decorate it with designs, embroidery, and appliqués. Of course, you want to make sure the design does not interfere with the function of the cover. Secondly, try using a bright color fabric that stands out in your sewing room and makes your machine look more attractive.
Using ribbon and decorative trims are additional ways to enhance the look of your machine cover. Draw attention by accentuating the top or sides of the cover with trims and ribbons. You can even use fabric paint to add your own custom designs or logos. Once you’ve completed your project, you can be proud of a machine cover that will protect your sewing machine and make it look great.
Storage Tips
Proper storage of your cover will ensure that it will last longer and look good for many years to come. It is best to store it in a cool, dry place, away from direct sunlight. Avoid pushing it up too tightly into a corner, as this can cause creasing. Additionally, be sure that the cover is completely dry before storing it, as moisture can cause mould and discoloration. Lastly, make sure all pockets are empty, so nothing gets trapped inside.
Tailoring Tips
When making the cover, details such as the size, the shape and the cut of the fabric are all important. Additionally, it is useful to consider the details of the cover before you start sewing. For example, a round hem can be made with a single piece of fabric or a longer one-piece hemline can be used for a boxier shape. Your personal preference will determine the final look of the cover, but always keep in mind that an even and neat hem is essential for a well-made project.
Conclusion
Sewing a machine cover can be a great experience, not only because it is a useful and practical accessory for your machine, but also because it is a fun, creative project. Following the steps above will ensure that your cover looks great and is durable enough to protect your sewing machine. Ultimately, a machine cover that is both beautiful and functional gives you the best of both worlds.
