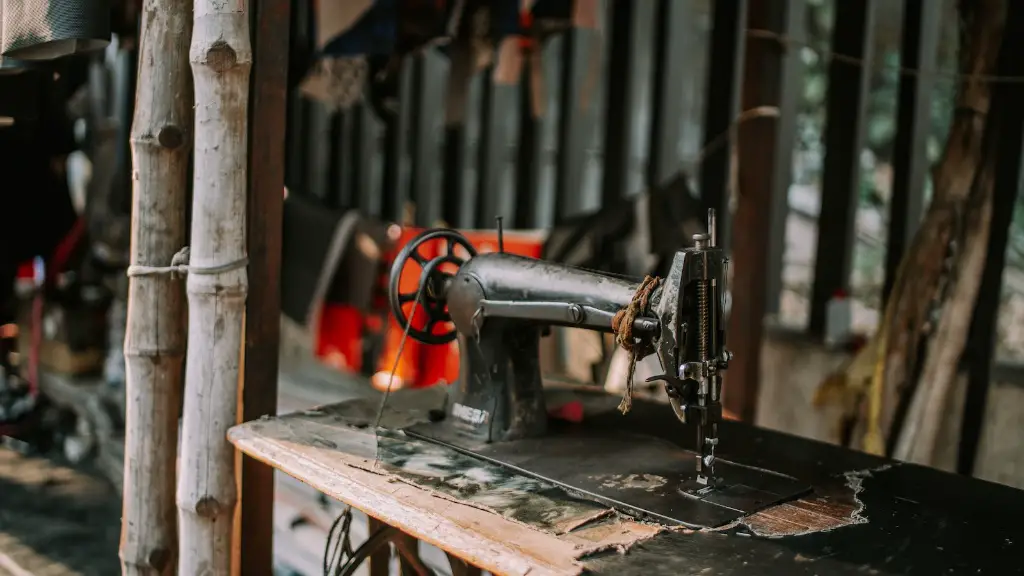
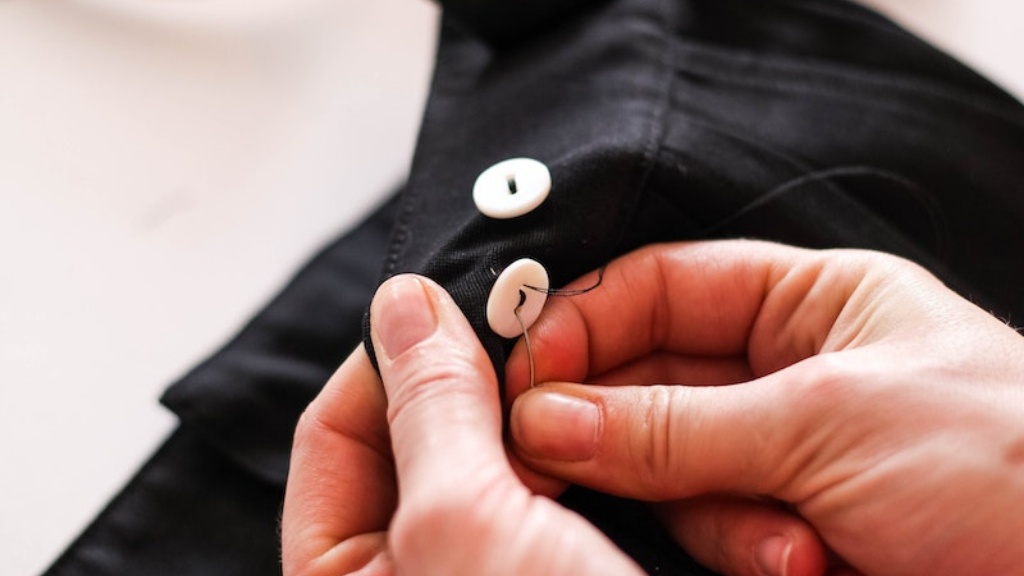
For those who are just starting their sewing journey, the button is a great item to practice on. Sewing buttons with a sewing machine is a fairly straightforward challenge that can be easily mastered with practice and patience. In this article, we’ll provide the details of how to sew buttons with a sewing machine, along with tips and advice from experienced sewers that will help make the task easier and painless.
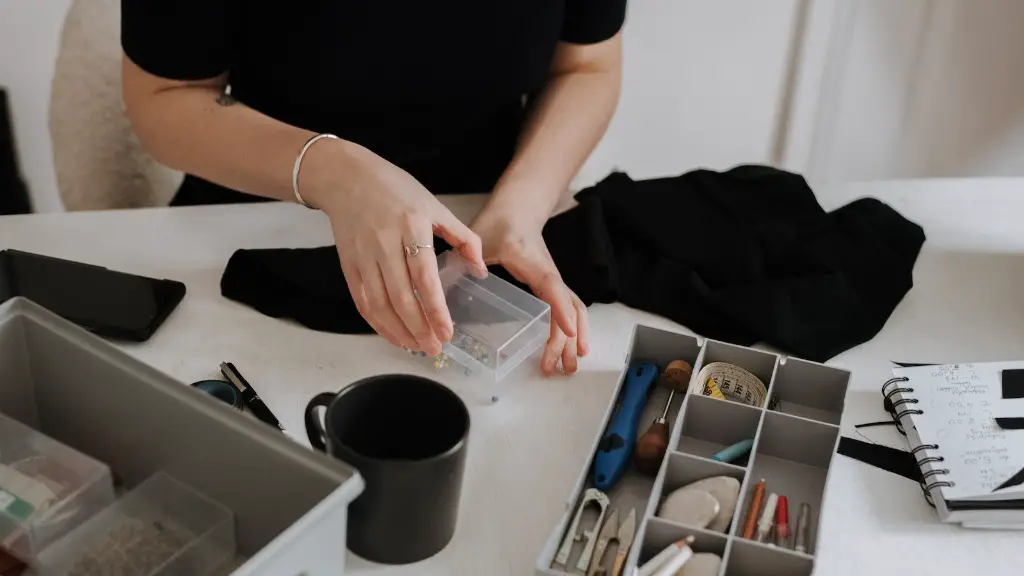
Gather the Necessary Materials
The most important factor in any sewing project is having the right materials, and for button sewing, you will need to gather up the following items:
- Sewing machine
- Button
- Thread
- Needle
- Scissors
- Seam ripper
- Tape measure
This is the minimum equipment required for button sewing, though you may require additional items depending on the style and fabric of the button. For example, if you’re sewing on a heavier button, such as a shank button, you may need to use sew-in snaps to reinforce the strength of the button.
Preparing the Button
When preparing the button for sewing, it’s important to select the correct type and size of button for the fabric and garment. There are various types of buttons available, including four-hole buttons, two-hole buttons, and shank buttons, so be sure to check the label on the package or garment to find out which one you need. Additionally, it’s important to measure the distance between the buttonholes to ensure the right size button is selected.
Once you’ve selected the correct button type and size, thread the needle with the correct coloured thread and mark the position of the buttonholes on the garment. According to experts, it’s best to use a single strand of thread, as this will allow you to easily adjust the tension. Additionally, use small scissors to trim the thread after it’s attached the button, this will create a cleaner look.
Sewing the Button
Now it’s time to start sewing the button. Begin by using a zigzag stitch to attach the button to the garment. Set the stitch length to a setting of 6 mm or greater and make sure to use a needle that’s the same size or slightly larger than the button. Start the stitch right above the marks you made on the garment, so the needle will go through one hole of the button and then stitch a single stitch. Then, pivot the needle and go through the other hole of the button and make a couple of stitches. Finally, secure the stitch by going through a few of the garment fabric loops.
Most sewing machines come with a button sewing foot, which is designed to hold the button in place while you sew it. If yours does not, you can hold the button in place with your finger while you make two to three stitches around the button. It’s important to note that the tension of the thread needs to be adjusted to keep the button securely in place. After the button is sewn, trim the excess thread.
Finishing the Button
After you’ve finished sewing the button, it’s time to finish off the task. To ensure that the button is secure, gently pull on the button to make sure it won’t come off. If there is any thread left, be sure to trim it away with a seam ripper or pair of scissors. Additionally, you can cover the back of the button with an adhesive, such as fabric glue, to further secure it into place.
Troubleshooting Common Issues
When sewing buttons onto fabric, it’s not uncommon to encounter some issues that can be difficult to solve. For example, if the button is not secured properly, it may start to come loose, or if the thread is too short, you may need to start the stitch again. For many of these issues, an experienced sewer can easily find a solution, but if you’re stuck, here are some tips to help you out:
- If the button is not securely attached, use a longer stitch length and increase the tension of the thread.
- If the thread is too short, make sure the needle is threaded with a longer length of thread.
- If the thread is fraying, use a thread conditioner or fray-check product to stop the thread from unravelling.
- If the button is too big for the fabric, consider using a different type of button or adding a patch to the fabric to accommodate the size of the button.
Layering Buttons
When sewing buttons on a heavier fabric, such as denim or corduroy, layering is often required in order to make the button stay in place. To layer buttons, start by sewing the button to the fabric as usual. Then, use a heavy duty thread to secure the button in place. This thread should be stitched around the perimeter of the button, so it creates a tight weave that holds the button firmly in place. When the stitch is complete, use a seam ripper or scissors to trim the excess thread.
Using the Buttonholer Attachment
One of the fastest and easiest ways to attach a button to fabric is to use a buttonholer attachment. A buttonholer attachment is a tool that is designed to make the button sewing process much simpler and faster. It works by creating two buttonholes in the fabric that the button can be easily attached to. The buttonholer is usually available as an attachment on a sewing machine, and it can easily be installed and removed without any special tools.
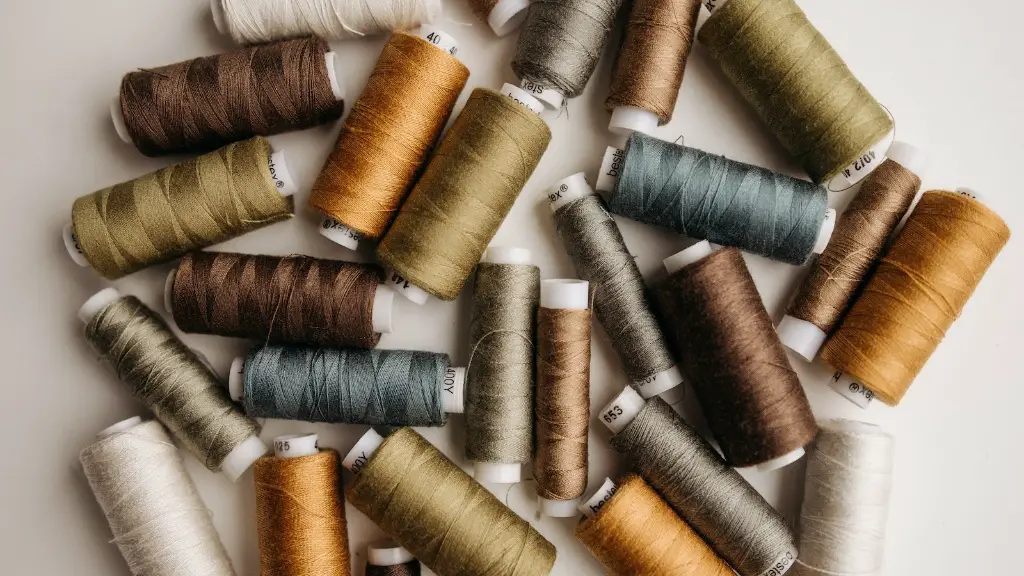
Choosing the Right Thread
No matter what type of button or fabric you’re using, it’s important to choose the right thread for the job. Generally speaking, it’s best to use a strong, heavy-duty thread that can handle the tension of the stitch. Additionally, make sure the thread colour matches the button and fabric, as this will help create a seamless look. It’s also important to note that some fabrics require a specific type of thread, so be sure to check the label on the fabric before you start sewing.
Testing the Button
At the end of the sewing process, it’s always a good idea to test the button to make sure it’s properly secured. To do this, slightly pull on the threads around the button and see if it holds tight. Additionally, you can push gently on the button to make sure it won’t become loose under pressure. Doing this extra step will help you to identify any potential problems before they become a bigger issue.
Conclusion
Sewing buttons with a sewing machine is a relatively easy task that anyone with basic sewing skills can accomplish. Once you have the right materials, it’s simply a matter of creating the holes, choosing the right thread and stitching the button to the fabric. With practice and patience, you’ll soon be able to sew buttons with ease and confidence.


