Sewing is an excellent way to personalize your wardrobe: from adding a new fabric to altering hem lines and accenting styles. Although it’s an intimidating prospect to the uninitiated, sewing does not need to be complicated nor expensive. In fact, once you learn the basics, you can save a considerable amount of money by making small repairs, as well as save time shopping for the perfect item in your own closet. With that said, here’s a step-by-step guide on how to sew using a sewing machine.
Preparation
First, have the right tools available. The three things you’ll need are the fabric, a pattern, and a sewing machine. Of those, choosing the correct fabric and pattern will require some consideration: fabrics come in different thicknesses and some are better suited for certain projects than others. Similarly, patterns come in a range of skill levels, from beginner to experienced. Be sure to select the one that most accurately reflects your skill level.
Once these are ready, get your sewing machine: take some time to read the owner’s manual to understand the techniques and settings your machine has. Look for tutorials online or consult experience sewers to get a better understanding of the range of capabilities your machine has. Gather all the necessary tools such as measuring tape, pins, thread, and scissors. Make sure to have a set of needles, so you can keep one in the machine and another spare one in case the first one needs to be replaced.
Layout and Cutting
Layout the pattern on the fabric according to the directions: you’ll need to be sure to follow the grain-line. A grain-line is an imaginary line that you must use to guide your cuts, it is essential to ensure the fabric has a professional finish.Once the layout is complete, pin the pattern to the fabric and cut accordingly. As mentioned, needles and scissors are essential for this stage, as each material has a different reaction to scissors.
At this point, if there are any special instructions, you must adhere to them. For example, if there are darts or pleats that need to be sewn in the material, they must be marked with a tailors chalk and should be securely pinned in place. Avoid using pins directly on the pattern, as they can be difficult to remove.
Piecing Seam
Once the pieces of fabric have been cut and ready, they must be sewn together. To begin sewing with sewing machine, you’ll need to adjust the settings. Set the machine to the correct stitch and make sure the bobbin thread and top thread are ready. You can test the settings by making a few basic stitches on a scrap fabric. As you become more comfortable with your machine, you can start creating more intricate details, such as gathering, buttonholes and even quilting.
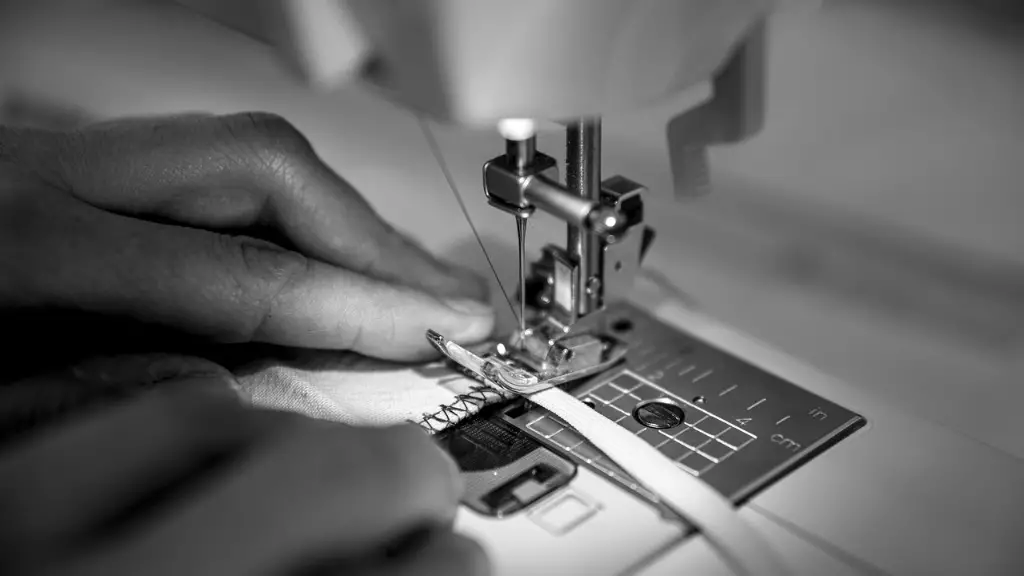
Stitching can be done in two ways: either by hand or by machine. The latter method is considered to be the quickest, ensuring that the stitches are uniform and strong. When sewing two pieces of fabric together, always use pins to ensure the pieces do not move while you’re stitching. Sew from one edge to the other, then turn the fabric around and do the same in the other direction, this will result in a strong seam.
Seam Finishes
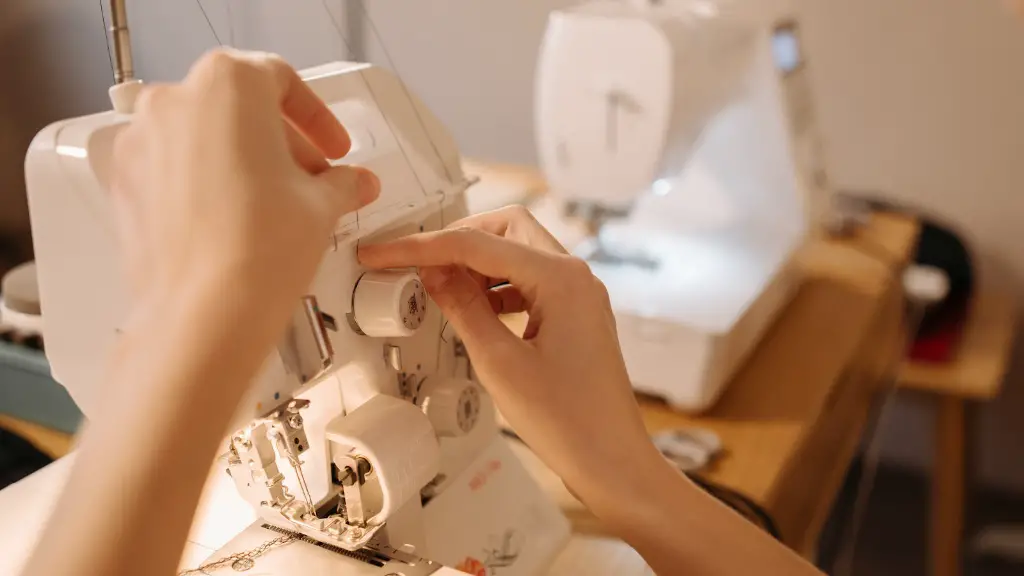
Once the seams have been sewn, the next step is to finish them with a seam finish. This can be done by either serging around the seams or by using an overlock stitch. Serging gives a strong, smooth finish, while an overlock stitch is softer and more flexible. If your sewing machine does not have either of these stitches, then a simple zig-zag stitch will work.
If you decide to serge the edges, you’ll need to adjust the settings to compensate for the thickness of the fabric and to prevent the stitches from becoming loose. If you are using an overlock stitch, make sure to test it on a scrap piece of fabric first. This is especially important if you are using a heavier fabric, as the settings can easily become too tight and cause the seams to break.
Press Seam and Hems
Once the seams are sewn and the seems finishes are complete, you’ll want to press the seams and the hems. This will make the garment look more polished, as the fabric will lay flat and the pieces will look more professional. Always use a pressing cloth to avoid scorching the fabric and damaging the seams. To press a seam, set the iron to the low setting and press firmly in one direction. If you are pressing a hem, press the edges first, then the center and lastly the area around the hem.
Test Garment Fit
Before you hems the garment, it’s important to check the fit. To do this, try the garment on and make adjustments as necessary. If you need to take in or let out any areas, this is the time to do it. Always check the fit before hemming, as it’s much harder to make adjustments after the hems are sewn.
Hem the Garment
When hemming the garment, the most important factor is to choose the correct hem length. Always measure twice and cut once. For most fabrics, a single fold hem is the best option, as this will give a nice, professional finish. To do this, measure the length you want and then fold up the fabric and pin in place. Once the hem is pinned securely, start stitching. Use a small stitch length and be sure to backstitch at the start and end.
Fitting Zipper and Buttons
In some cases, you may need to fit a zipper or buttons to the garment. Make sure to measure the correct length of the zipper and cut the fabric to the correct size. Before sewing in the zipper, always press the area to make sure it’s smooth and ready for the zipper. For buttons, it is best to sew them in with the help of a thimble. This will ensure that the buttons are secure and properly aligned.
Finishing Touches
Once the garment is complete, it’s time for the finishing touches. Look for areas that need to be trimmed, as this will give a neater finish to the garment. You can also add fabric trims such as ruffles, piping, and lace for a more decorative look. When adding trims, make sure to use the correct tools to ensure a professional finish.
Give It A Wash
Before you wear your garment, make sure to give it a wash. This is especially important for new fabrics, as it will help remove any chemicals and shrinkage before wearing. If possible, hand-wash the garment in cold water and mild detergent, as this will protect the delicate fibers. Avoid using the dryer, as this can cause the fabric to shrink or stretch. Always iron the garment on the inside, as this will make it look more polished.
Storage and Maintaining
Before storing the garments, inspect each one and look for any areas that need to be fixed or mended. If the fabric needs to be washed, do so before storing. Take the time to fold the garments and store them properly in order to keep them in good condition. Any buttons or zippers should be lubricated with a quality lubricant to ensure proper functioning and longevity.
Learning Curve and Patience
Sewing is a craft that requires practice and patience. With time and experience, you will develop skills and confidence to sew with ease and get more creative with your projects. There is no right or wrong way to approach sewing: take it one step at a time and have fun with the process. If you’re having trouble, don’t be afraid to take some classes or look up tutorials online. Take advantage of tools and resources to get the most out of your projects.
