Introduction to Sewing without a Sewing Machine
Hand sewing is one of the oldest, simplest, and most versatile methods of garment construction. It doesn’t require any fancy tools or machines, but it does require patience and a few clever techniques. Sewing by hand is a great skill to have, as it allows you to make custom clothes, accessories, and other items, even if you don’t own a sewing machine. Here, we provide a beginner’s guide to hand sewing, from supplies to finishing techniques.
Selecting the Right Supplies
When it comes to supplies, you don’t need to go overboard. In addition to fabric and thread, you’ll only need a few basic tools: a needle, scissors, pins, and fabric marking tools, such as chalk or a fabric pen. It’s also beneficial to have a thimble and an emery, which is a tiny pouch of abrasives for buffing out snagged threads. The type of needle you need depends on the type of fabric and thread you’re using as well as the style of stitches you’ll be doing. If you’re stitching heavier fabrics or thicker threads, you’ll need a strong, metal needle, while lightweight fabrics require a thin, sharp needle.
Basic Stitches
When it comes to hand sewing, the most important stitches are the running stitch, the backstitch, and the whip stitch. The running stitch is simply a series of evenly spaced, small, looped stitches that are used to close edges, whip-stitch seam allowances, or construct a basting seam. The backstitch is a basic stitch that creates a strong stitch and is ideal for sewing pockets, cuffs, and other uses that require sturdy seams. The whip stitch is used to finish seam allowances, blind hems, or join two pieces of fabric together.
Gathering Fabric
Gathering fabric can be an intimidating task if you don’t know the right techniques. But it doesn’t have to be. To make a gather, you’ll first need to baste a line of running stitches along one edge of the fabric. Pull on the thread tails to create the gather, then use a few whip stitches to secure the fabric. To ensure that the gather is even and stays in place, make sure the stitches on either side of the gathering thread are equally spaced.
Pinstitching
Pinstitching is a technique used to secure hems and other types of seam edges. To pinstitch, you’ll need to first sew a line of running stitches close to the edge of the fabric. Then, you’ll take a pin, insert it through the fabric so that the head of the pin is on the right side of the fabric. Loop the thread around the pin twice, then pull the thread tight and remove the pin. Repeat the process until the hem is completely pinned.
Making Buttonholes
Making buttonholes can be tricky and time consuming, but it’s actually quite simple. To begin, select a thread that is the same color or slightly darker than the fabric. Mark the placement of the buttonhole on the fabric, then use a wax-based marking tool to trace a slit that is slightly longer than the button. Use a running stitch to sew along the edges of the slit. Remove the excess fabric with scissors, then use a backstitch to reinforce the edges of the buttonhole.
Finishing the Seam Edges
When it comes to finishing the edges of a seam, there are several methods to choose from. The most common methods are serging (for knit fabrics), pinking (for woven fabrics), and overcasting (for both knit and woven fabrics). For knit fabrics, serging is the preferred method, as it will prevent the edges from curling or unraveling. For woven fabrics, pinking provides a decorative scalloped edge that can also help to prevent unraveling. Similarly, overcasting is used to enclose the raw edges of both knit and woven fabrics by stitching a line of zigzag stitches across the edge.
Altering Patterns for a Perfect Fit
Altering patterns is an important skill for both sewing by machine and sewing by hand. To get a perfect fit, you may need to make adjustments to the pattern pieces themselves. This starts by taking accurate body measurements and comparing them to the pattern’s finished measurements. You’ll then need to make the necessary adjustments by either adding or subtracting from the pattern pieces. This can be done by making simple lines, such as tucks or darts, or by making more complex adjustments, like adding or removing full panels.
Adding Embellishments
Embellishments can give garments a unique, custom look. When it comes to hand sewing, there are a few common embellishments that are easy to add. These include lace, trim, ribbon, buttons, beads, and appliques. To add them, simply mark the placement on the fabric, then use a running stitch, backstitch, or whip stitch to secure them.
Simple Studio Set up
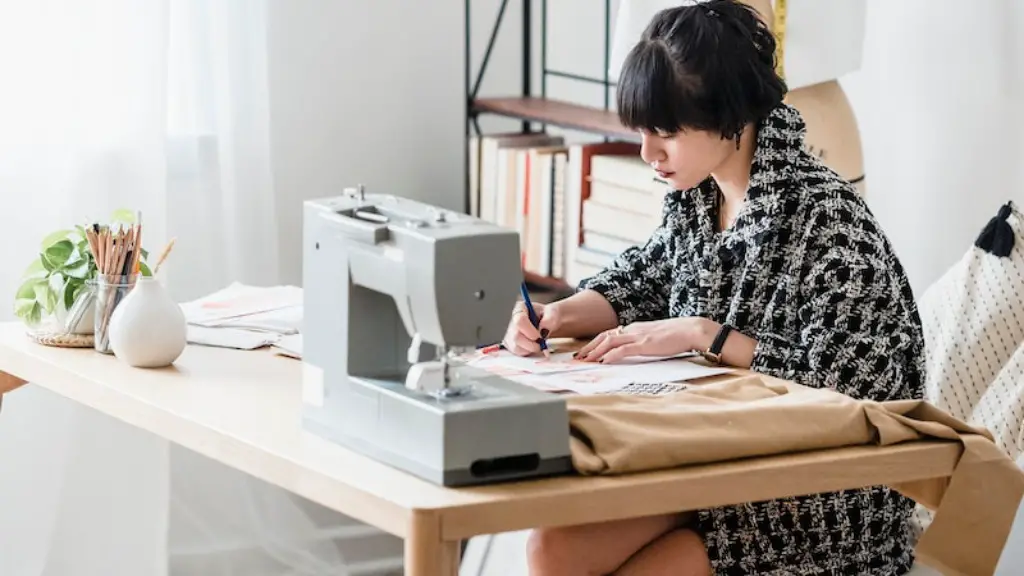
When it comes to studio set-up, you’ll want to make a comfortable spot to work. Start by having a large, flat surface to cut out the fabric. You’ll also want to include a comfortable chair and good lighting. Finally, make sure to have a cutting mat and the necessary tools for pinning and pressing fabric on hand.
The Benefits of Hand Sewing
Hand sewing has some distinct advantages, particularly when it comes to repairs and customization. It can be used to make intricate designs, such as those found in quilts and fancy garments. It’s also a great way to mend fabrics that are too delicate for a sewing machine, as well as garments that are too small or fragile to fit through the machine’s throat plate. Furthermore, hand sewing is a great learning tool for children and beginning sewers, as it helps to develop patience and precision.
Sewing with Silk and Other Delicate Fabrics
Silk and other delicate fabrics require special care and attention when it comes to sewing. When sewing with silk, make sure to use a very fine needle and a lightweight thread that won’t overpower the fabric. Also, hand baste the seams and edges first, to provide extra stability. Finally, when trimming seams, be sure to use pinking shears, which create a decorative, scalloped edge.
Working with Pockets and Zippers
Working with pockets and zippers can be tricky, but with a few simple tips, you can master them in no time. When installing a pocket, use a running stitch to secure the pocket first and then follow up with a backstitch for added strength. When inserting a zipper, use a smaller needle and heavier thread to create a secure seam.
Joining Seams Without Bulk
Joining two seams can be tricky, but there are some techniques you can use to reduce bulk. To begin, try using French seams, which erase most of the bulk from a seam. Alternatively, you can use a flat fell seam, which features two rows of stitches instead of one, fostering a smoother finish.
Necklines and Facings
Necklines and facings give garments a finished, professional look. To create a neckline, use a running stitch to attach facings to the neckline. Turn the facing to the inside of the garment, then use a whip stitch to secure it in place. Finally, to finish the neckline, use a backstitch to reinforce the seam.


