How to Start Sewing On A Machine
Sewing is an important part of many people’s lives. Whether you’re starting off with pillowcases and aprons, or you are making clothes, curtains, or home décor, learning to sew can be incredibly rewarding and fun. Taking on a new hobby can be a daunting task, so here is a detailed guide to help you start sewing on a machine and make it easier to learn.
Before purchasing the best machine for you, it is important to do some research. Establish what features come with the machine and what your needs are. This should include fabrics you think you’d be sewing, essential or preferred accessories, and the price range you’d be comfortable with. Once you have narrowed down your search, it would be beneficial to read online reviews or try out demos in stores.
A related factor to consider is the ease of use. Some sewing machines come with a variety of features and settings that can be intimidating for beginner sewers. Many machines today come with manual trackers and tutorials, which can be very helpful for beginners. Also be sure to check if the machine has a user-friendly interface so you don’t fill confused and frustrated when sewing.
When starting out, iron-on patches, simply covered hems, drawstrings, and embroidery can go a long way in teaching the basics. Do not be discouraged if it takes a few attempts to perfect the skill. As you are getting the hang of it, select some easy projects like small pillows, quilts, handbags, tote bags, and scarves. As time progresses, you should find yourself tackling more complicated projects.
Having enough of the right tools and materials on hand is essential when sewing. Be sure to have the right needles and thread colors, fabrics, besides the machine itself. Materials like pins, scissors, straight pins, and seam rippers are also important, so be sure to check in your local store to stock up on these.
For the best sewing experience, it is also a good idea to keep the machine maintained. Keep it in a spot that’s away from dust and debris, use the appropriate amount of oil, and make sure you clean the bobbin holder and the bobbin case.
Be sure to take some time to join a sewing club or an online sewing community that can provide support, guidance and help answer questions.
Sewing is a creative and fun process that can be difficult to learn if it’s your first time. But with the proper guidance and research, you can make the most of your sewing machine and create amazing and beautiful pieces.
Choosing The Right Fabric
Choosing the right fabric is key when it comes to getting the best results with your sewing machine. Consider the type of fabric, whether it is natural, synthetic, or blended. It is also important to determine the weight of the fabric and its texture. For beginner sewers, cotton or polyester is the most recommended.
Consider the end product you are hoping to make. Certain fabrics are designed for home décor, soft furnishing, and even clothing. If you are creating a clothing item like a dress, you will need to consider the drape of the fabric, which is how it looks and hangs.
Be sure to pre-wash the fabric you plan on using. This is to ensure that the fabric remains the same size after the wash and will not shrink during the sewing process.
It is also important to prepare the fabric for the sewing process. Iron out the fabric, pre-mark seams by drawing lines, and remove any wrinkles.
Constructing The Garment
For clothing items, constructing the garment means laying patterns onto the fabric and cutting them out. Be sure to use proper marking tools such as tailor’s chalk, dressmaker’s carbon paper, or tracing wheel.
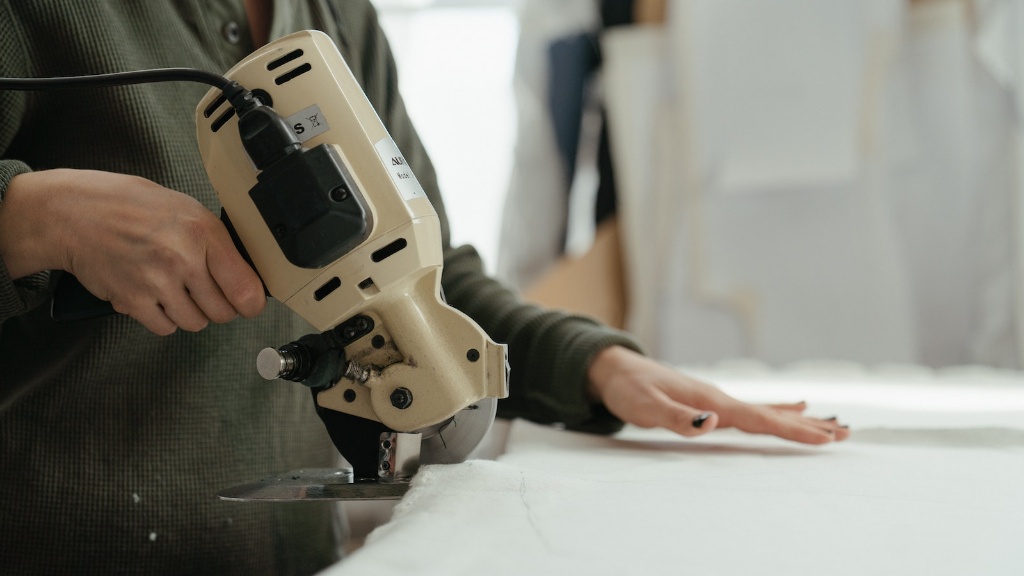
Using the right tools to cut out fabric is essential to have a smooth sewing process. Investing in a special pair of sharp scissors will make cutting the fabric much easier. Be sure the fabric is the right way up, and use a ruler or measuring tape to get a straight and even cut.
Pinning fabric together is also very important when sewing. After marking out and cutting the fabric, you should use pins securely to attach two pieces of fabric together. Pins also help ensure that the fabric does not shift when sewing and will create neat seams.
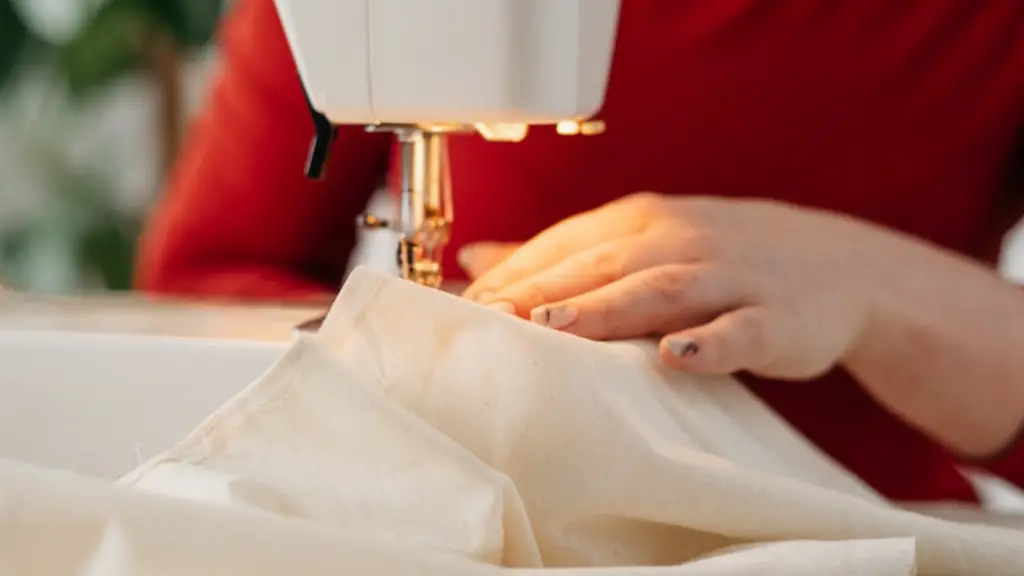
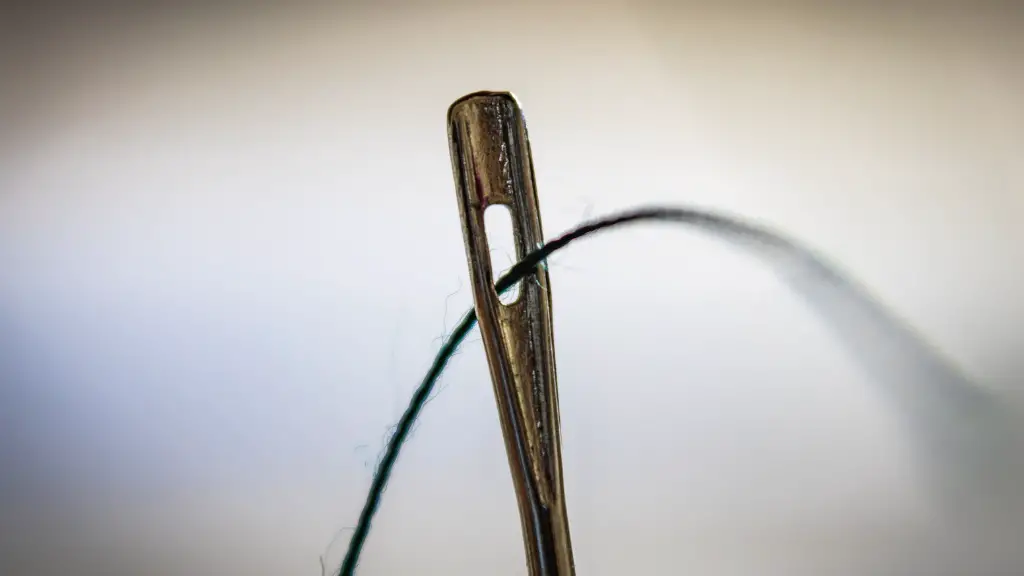
You are now ready to begin the sewing process. Start by threading the sewing machine. Once all the settings are made, line up the fabric on the bed of the machine, draw the bobbin thread accurately, and start sewing the fabric. After sewing, review the finished product and make sure all the seams line up perfectly.
Finishing The Product
After sewing the fabric, there are few essential steps to create a professional look. Depending on the type of fabric and end product, you may have to use different tools and techniques to finish the product. These could include zig-zag stitching, overlocking, interfacing, and topstitching.
You may need a few extra techniques if making clothing items. This includes measuring hems and using techniques such as hemming, topstitching, facings, and seam allowances. Be sure to complete any necessary edge-finishes, so the product has a neat and attractive finish.
Following these essential steps, or any other creating or specific techniques, will help you achieve the end product you are looking for. Have fun with it and don’t be afraid to get creative.
Buttonholes and Zippers
Creating buttonholes and attaching zippers are important when it comes to creating clothing items. Buttonholes are useful as they let the wearer take off and put on a garment. The size of the buttonhole will depend on the size of the button you are using and the type of fabric.
Creating a buttonhole on a sewing machine requires two distinct steps. The first step is to make a slit in the fabric. Most machines come with a buttonhole feature that helps you with this process. Once the slit is in place, the machine will sew over it to create the buttonhole.
Besides buttonholes, zippers are also important for clothing items like trousers, dresses, and jackets. To attach a zipper to fabric, you will need the right tools like an invisible or regular zipper foot that is compatible with the sewing machine. You may have to practice a few times to get the hang of it.
To properly attach a zipper, start by assembling the zipper to the fabric by attaching them at the center of the zipper’s top and bottom edge. Be sure to use pins to secure the zipper and its placement before sewing. Once both sides of the zipper have been sewn, press the fabric and zipper flat.
Cutting Out Patches
Patches are great for adding designs and patterns to clothes, accessories, and fabrics. Cutting out patches requires some planning beforehand on the type of design you want to create and the type of machine you will be using.
First, plan out the design. When it comes to patches, you can either sew them directly onto fabric or you can use iron-on patches. If you are using iron-on patches, draw the patches onto iron-on vinyl, cut them out and iron them onto the surface of the fabric.
If you are sewing patches to fabric, first shape the fabric into a square or round shape. You can use a template or pattern to make sure the edges are even, and use pins to hold the patch in place before sewing. Use the right type of thread and start the sewing process, taking the time to go over the edges one by one.
Whether you are planning to create a clothing item or a home décor item, learning to sew on a machine can be incredibly rewarding and fun. With proper research, resources, and some patience, you can create beautiful products that are entirely your own.
