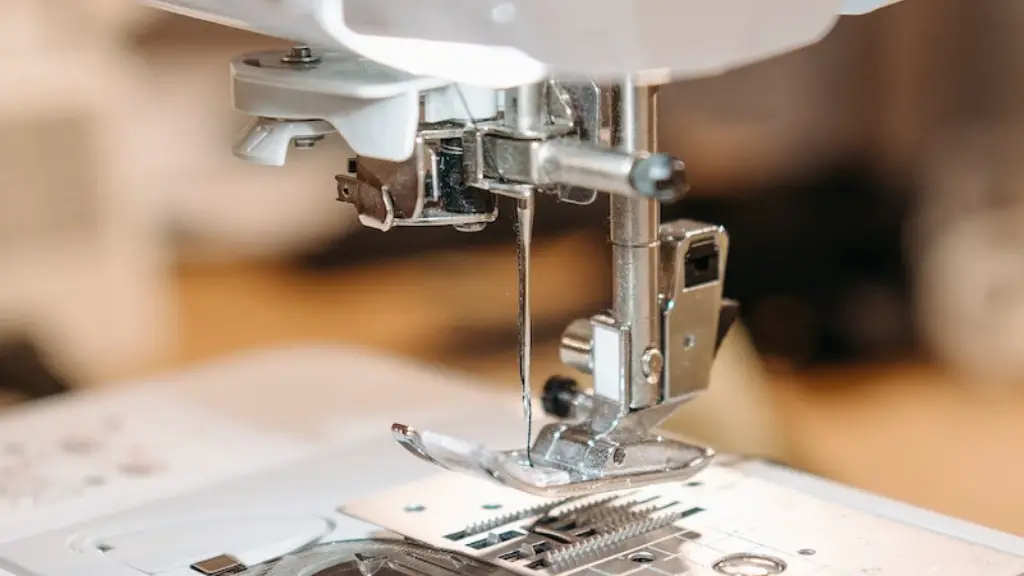
How to Thread an Older Sewing Machine
Though, with modern technology, all sorts of fancy electronic sewing machines and gadgets are now prevalent on the market, some projects are still best managed on an older sewing machine.
Threading an old sewing machine is a straightforward process once you get the hang of it. This can be especially helpful if you have just acquired an old sewing machine and need to know how to properly use it.
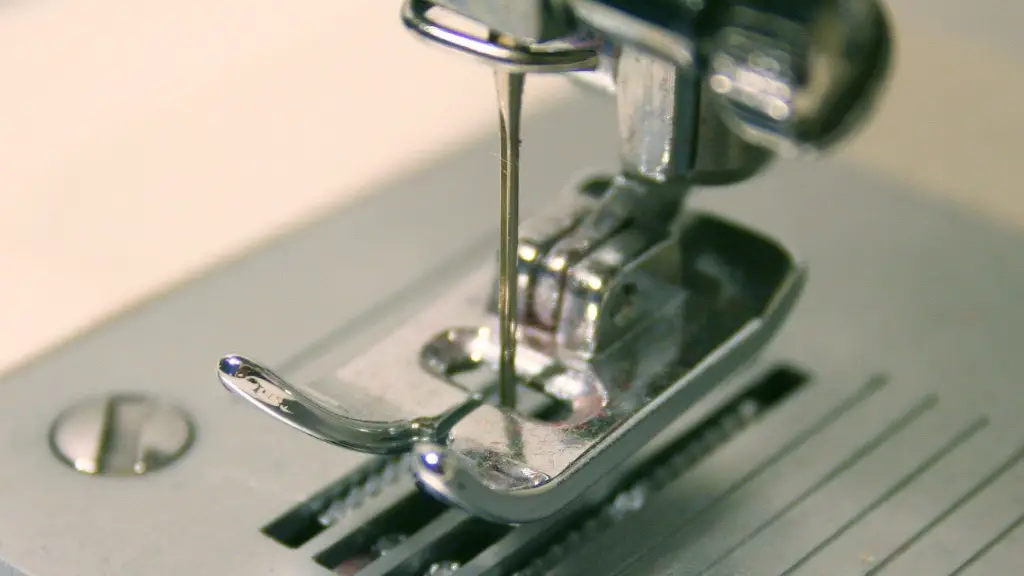
Before threading, it is important to ensure that the machine is properly plugged in and switched on. Then, use a pair of scissors to carefully trim the thread in order to remove any knots or tangles. After that, use the spindle on the machine to guide the bobbin thread. Take the thread, lift the dor, and insert it through the needle slot. Pull it straight through and out the back of the machine.
Next, bring the thread back up above the needle and run it around the tension disks. This will help keep the thread under control as it is pulled through. At this stage, the travel direction should always be away from the needle.
Now it is time to pull the thread down and to the back of the machine. Slip the thread through the bobbin case and then attach the bobbin. Thread the bobbin by running the thread in a clockwise direction and pulling it through the notch. Then, roll the bobbin with the pressure foot and the bobbin should turn in a counter-clockwise direction.
Now the threading process is almost complete. Take the thread back up and around the guide, then drop it through the take-up lever. Guide the thread down and through the thread-tension device, then back above the needle. Slide the needle into the needle threader and place it back into the needle slot.
Word of caution – be careful not to pull the thread too tight, as this may cause the needle to break. To make sure the thread is threaded properly, double-check the entire process and look for any tangled or faulty threads. Once everything is in place and the thread is secure, begin the stitch by lining the fabric under the foot and pressing the lever.
Thread Tension
Most old sewing machines have a small screw-like device on the side of the fabric plate to control the tension of the thread. When threading the needle, use the directional arrows or numbers on the thread plate to ensure the thread is placed in the correct position. It may also help to set the tension to medium, then make slight adjustments depending on the thickness or type of fabric used.
The tension of the thread affects the quality of the finished stitch, so it is important to ensure that the thread tension is correct. Too much tension can cause bunching and puckering at the seam, while too little can cause thread to come unwound, resulting in a loopy seam. Over time, you will learn to better understand the tension setting for your particular type of fabric.
Thread for Different Projects
The type of thread used also plays a role in how to thread an older sewing machine correctly. For finer projects, it is best to use a thin, quality thread, while heavier projects may require thicker thread that is more durable. Be sure to use the right type of thread for best results. Different colors may also be used depending on the project or desired look.
It is a good idea to experiment with different types and colors of threads to find one that best suits the particular project. When selecting thread, lookout for knots or tangles, as this can make the threading process much more difficult. When in doubt, always refer back to the instructions on the package or contact the thread manufacturer for more information.
Hanging and Storing Thread
Thread can quickly become tangled and difficult to manage if not properly housed and stored. The best way to store thread is by spooling it onto a spool holder. This keeps the thread in check and makes it easier to thread the machine later. Additionally, a thread catcher can hold excess thread and help to keep it in place.
Thread is typically hung from metal rods, which may be purchased separately or as part of a sewing machine kit. Place several metal rods up against the wall near the sewing machine, so that they are easily accessible whenever they are needed. Hanging the thread correctly can help to keep it organized and make threading the machine much easier in the long run.
Using Specialty Threads
In some cases, it may be necessary to use specialty threads such as embroidery or quilting thread. These require special techniques and attention when threading an older sewing machine, as the thread may be thicker or thinner than regular thread. To ensure proper threading, refer to the manufacturer’s instructions or consult a sewing expert.
Additionally, some projects may require the use of decorative threads for certain effects. For instance, metallic thread creates a beautiful glittering effect, while silk thread adds a luxurious shimmer to any fabric. Other specialty threads include glow-in-the-dark and flame resistant threads, both of which require different techniques to thread properly.
Cleaning and Maintaining the Machine
Older sewing machines may require a bit of maintenance to keep them running smoothly. From time to time, it is a good idea to check for faulty threads, dust and lint build up, and broken needles. Also, inspect the machine for signs of wear and tear, and replace any worn, loose or broken parts.
Regularly cleaning the machine will help to keep it running efficiently and allow you to have the best results when threading the needle. Start by removing any dust and lint from behind the needle and on the machine. Then use the brush attachment to dust and clean the inside of the machine. If the belt is cracked or frayed, it should be replaced to prevent any further problems.
Checking the Needle and Point
To ensure precision when threading the machine, check to make sure the needle and point are properly aligned. If the needle and point are misaligned, the thread will not be able to pass through the eye of the needle. Additionally, when working on thicker fabrics such as denim or leather, it may be necessary to use a heavier needle to provide extra support.
Once the needle and point are correctly aligned and the right needle is used, thread the machine according to the instructions above. Always double-check to ensure that the thread has been threaded correctly and that no tangles or knots are present. Once the correct thread and needle is used, threading should go smoothly every time.
Practice and Patience
Threading an older sewing machine may seem overwhelming at first, but with a bit of practice and patience it can become second nature. Over time, you will become more adept at setting up and threading the machine for a wide range of projects. With the right technique, an older machine can be a reliable and efficient sewing companion for years to come.
