How to Use an Overlock Sewing Machine
The overlock sewing machine is an incredibly versatile tool for sewers and quilters alike. It is used to finish the seams of garments and is ideal for stretch fabrics, binding edges and closing hems. While other machines are designed for a specific purpose, the overlock sewing machine is designed for greater versatility in a wide range of garment making tasks. By following a few simple tips, anyone can learn to use an overlock sewing machine to create professional looking projects.
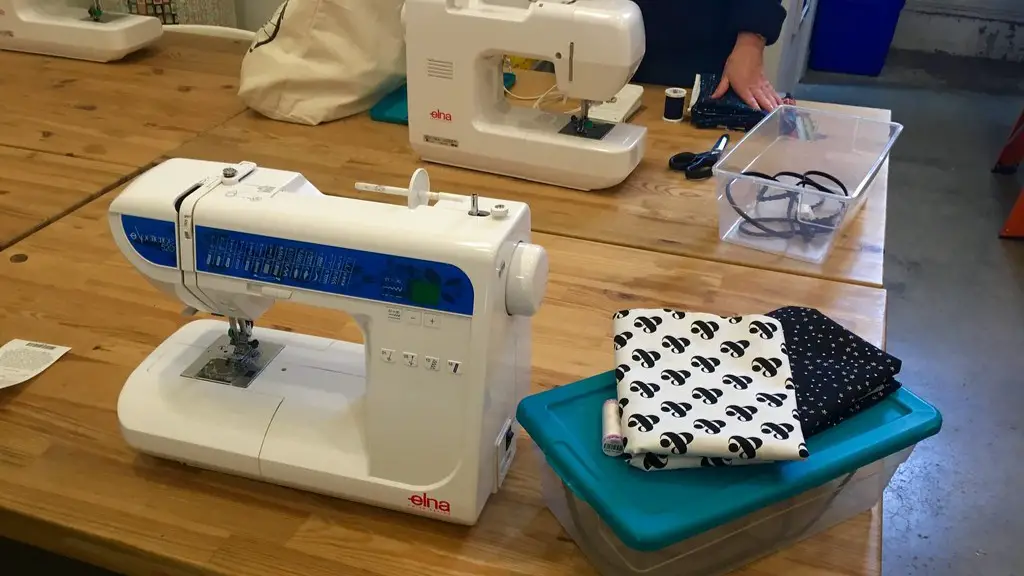
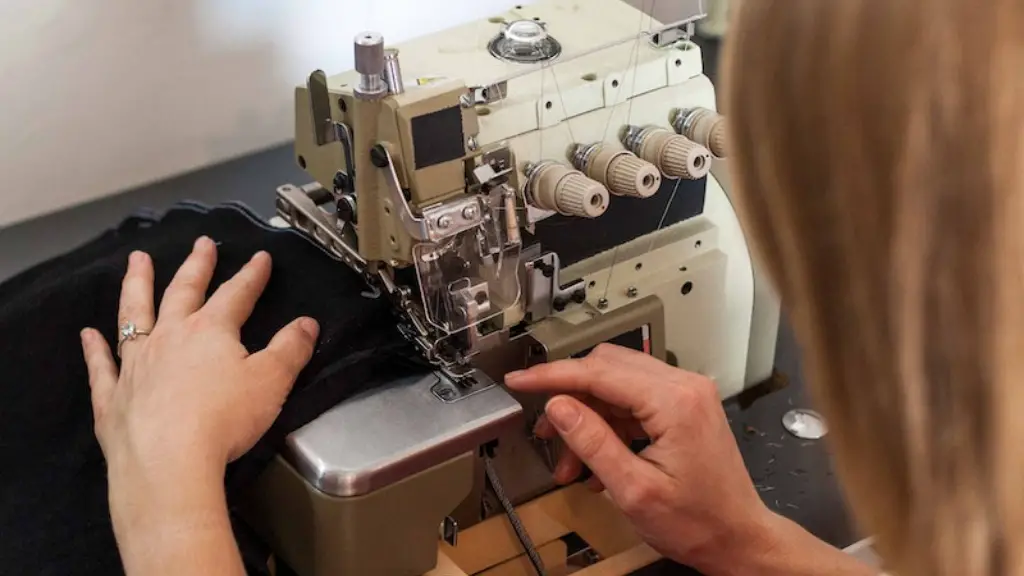
The first step to using any sewing machine is to familiarize oneself with the different parts of the machine and the terminology associated with them. The basic parts of an overlock sewing machine include the fabric feed, the motor, the thread guides, the tension mechanism and the blade. Understanding how each of these parts works is essential for successful sewing.
Before threading the overlock sewing machine, the proper needle must be selected. This will vary depending on the fabric being sewn and the type of seam being finished. For most light- to medium-weight fabrics, a size 14 needle is usually recommended. Heavier fabrics may require a size 16 or 18 needle.
Once the needle has been selected, the fabric must be fed into the machine. It is best to begin by feeding the fabric so that the seam is located on the left-hand side of the machine and the right side seam is toward the back of the machine. Ensure that the fabric is evenly and snugly fed into the machine before continuing.
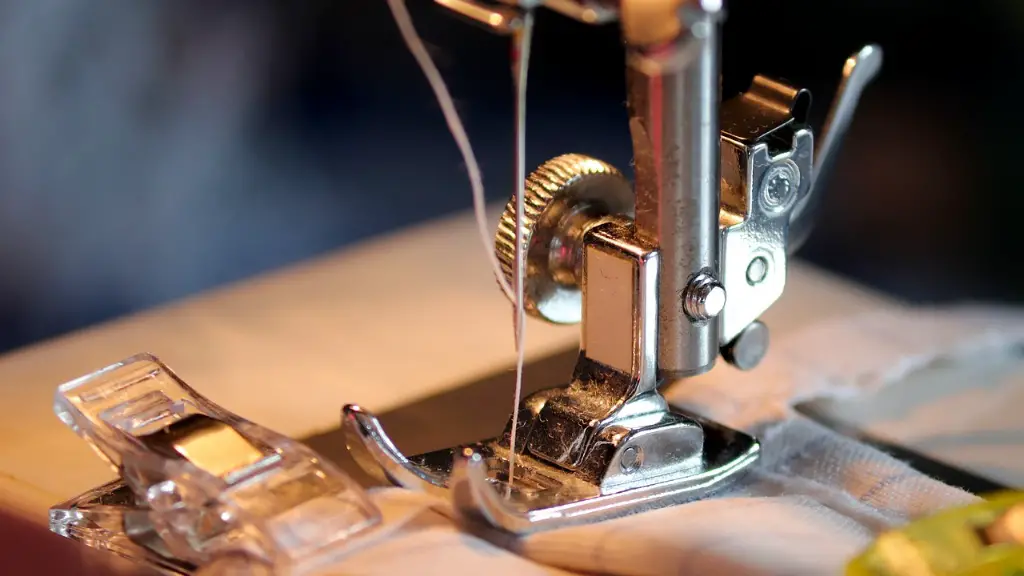
Once the fabric is properly placed in the machine, threading the machine is the next step. Proper threading will ensure even stitching and help to prevent tangled threads and breaks. Before passing the thread through the various guides, make sure it is knotted at the end. Thread should be passed between the two tension discs, the guide in the clip on the needle bar, and the take-up lever.
Once the machine is threaded, adjusting the tension is the next step. This is done by adjusting the two tension discs located at the top of the machine. It is important to adjust the tension properly, as this will affect the quality of the stitch. Once the tension is correctly set, the machine will be ready to use.
Before starting to sew, check to make sure the feed of the fabric is correct. A good rule of thumb is to make sure that the bottom of the right side stock (the raw edges of the fabric) is against the edge of the plate. Check that the fabric is not stretching between the plate and the foot before proceeding.
Finally, when using an overlock sewing machine, remember to follow the manufacturer’s instructions and use the proper needle, thread and tension settings for the fabric being sewn. This will ensure professional results with minimal effort.
Adjusting the Stitch Length and Width
Once the machine is threaded and the tension and feed are correctly adjusted, the stitch length and width can be adjusted. When sewing with an overlock sewing machine, a shorter stitch length is usually recommended, as this reduces the amount of fabric that the stitches must pass through, resulting in fewer problems with skipped stitches.
The stitch width, on the other hand, affects the amount of coverage that the stitch provides. A wider stitch will provide more of an encasing effect around the edges of the fabric, while a narrower stitch will provide a surface finish that looks more neat and professional. The stitch width should be adjusted based on the type of fabric being sewn, as well as the desired finished look.
When using an overlock sewing machine with adjustable stitch length and width, it is important to keep in mind that heavier fabrics will require larger stitches and lighter fabrics will require smaller stitches. For most fabrics, a stitch length of 2-3mm and a stitch width of 3-4mm is a good starting point. The stitch pattern can also be adjusted according to the desired look of the finished project.
Once the stitch length and width are adjusted, the machine should be tested before continuing with the project. Using a scrap of the same fabric that will be used for the project, sew a few inches of stitching, making sure the stitching is even and the stitch pattern is correct. If the stitches look good, proceed with the project.
Finishing Seams with an Overlock Sewing Machine
Once the machine is correctly threaded and adjusted, finishing seams with an overlock sewing machine is quite simple. First, the two pieces of fabric being sewn should be aligned so that the edges line up. Place the fabric between the presser foot and the needle and begin stitching. As the fabric passes through the machine, it will be guided along the edge of the plate and the serrated edge of the blade, resulting in a professional looking seam.
Depending on the type of fabric, it may be necessary to finish the seam with a zigzag or an overcasting stitch. For extra protection, a stay stitch can also be used. This is done by sewing a row of closely spaced stitches along the edge of the fabric before running the seam through the machine. This will help prevent unraveling and give a more finished look to the seam.
When stitching a seam, be sure to stitch slowly and maintain an even pressure on the pedal. This will result in an even stitch and prevent fabric puckering. An even stitch will also make it easier to release the seam when turning the fabric inside out.
Depending on the fabric being sewn, it may also be necessary to use a seam finish tape. This tape is placed over the seam before it is stitched and helps to secure the seam and prevent fraying. This is especially important when sewing with delicate or lightweight fabrics.
Cleaning and Maintenance of an Overlock Sewing Machine
Like any machine, an overlock sewing machine must be properly maintained in order to ensure proper operation and a long life. Regularly checking and replacing the blade and needles is essential for ensuring accurate cutting and stitching of the fabric. Always be sure to use the proper needles for the material being sewn.
The machine should also be regularly cleaned and oiled to ensure proper operation. Dirt and lint can build up in the needle area, resulting in skipped stitches and inconsistent thread tension. Use a brush to clean around the foot and needle area, making sure to pay special attention to the bobbin area. Properly oiling the machine is also essential for keeping it running smoothly. The manufacturer’s instructions should be followed when oiling the machine.
Finally, regular maintenance and cleaning of an overlock sewing machine can help to prolong its life and ensure professional results. Adhering to a regular maintenance schedule will help ensure that the machine is always running in top condition.
Storing an Overlock Sewing Machine
When not in use, an overlock sewing machine should be stored in a cool, dry place and protected from dust and humidity. Keep the machine covered with a cloth when not in use and make sure there is enough air circulation around the machine, as this will help keep the internal components from overheating.
The machine should also be kept away from direct sunlight. Exposing the machine to sunlight for extended periods of time can damage the internal components and cause the machine to malfunction. Finally, the machine should be kept away from areas with large amounts of dust, dirt, and lint. This can accumulate in the needle area and affect the performance and accuracy of the machine.
Safety Tips for Using an Overlock Sewing Machine
Whenever using an overlock sewing machine, it is important to follow safety guidelines. Always be sure to read and follow all safety instructions in the manufacturer’s manual. It is also important to never leave the machine unattended while it is in use.
Before using the machine, always check to make sure that the blade is securely fastened, that the thread is correctly threaded, and the tension is properly adjusted. Also, make sure to turn the machine off and remove the plug from the socket when not in use.
When changing the blade or needle, always be sure to follow the manufacturer’s instructions. If at any time the machine is making strange noises or not stitching properly, immediately turn the machine off and unplug it from the wall. Do not attempt to repair the machine yourself; contact a qualified technician for assistance.
Finally, when using an overlock sewing machine, it is important to take the proper safety precautions. Following these tips will allow for a safe and enjoyable sewing experience.
