Threading a Sewing Machine
Threading a sewing machine is an essential skill for anyone starting to sew for the first time. It can be a daunting prospect, however, with various techniques, tensions and spool placements to remember. To make threading easier, it’s best to compromise between a loose tension for the thread to move freely and a tight tension for stronger stitches. To ensure success, practice the basics and follow the instructions that come with the sewing machine.
Having the right type of sewing machine thread and the right size needle is also important. The type of thread that is used depends on what kind of fabric is being stitched and the type of stitch being used on the fabric. Generally, a non-stretch, all-purpose thread with a cotton-wrapped polyester core is best. The right size of needle should be considered too. It’s important to use a needle that is the correct size and fits snugly into the eye of the needle.
A crucial part of how to thread a sewing machine is getting the bobbin into the needle area. It’s important to make sure the bobbin is correctly placed and that the thread is on the bobbin properly. To do this, hold the bobbin with the notch down and put it into the bobbin case. Wind the thread counterclockwise around the bobbin, or in the opposite direction of the spring if there is one. Make sure not to exceed the capacity of the bobbin, which is marked with a line on the bobbin case.
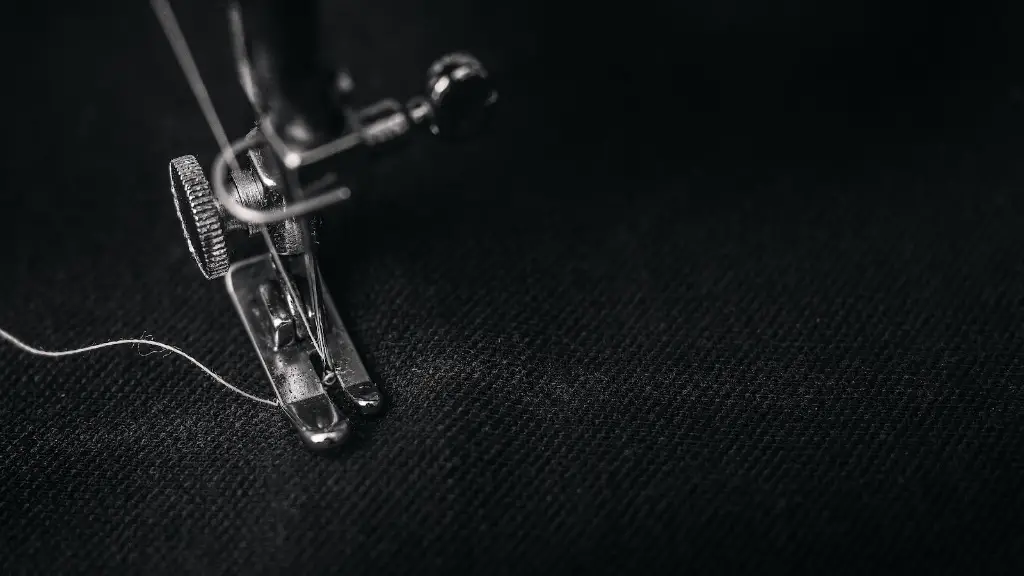
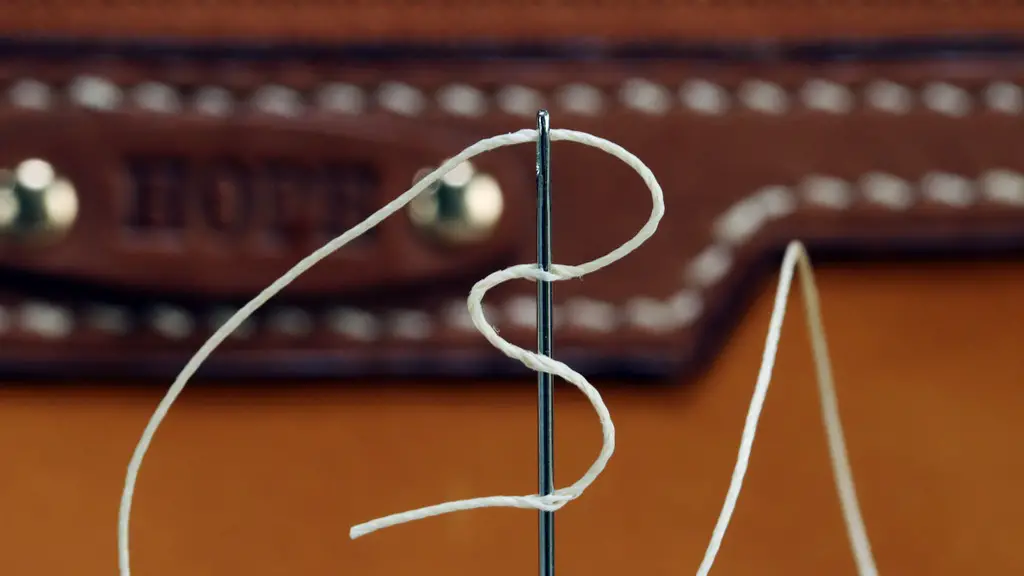
Next, it’s time to thread the main section of the machine. Take the end of the machine thread and insert it into the eye of the needle, going from right to left. Make sure you check that the thread is spinning freely in the eye of the needle. Then, wrap the thread around the thread guide just above the needle. When the thread is properly in place, then turn the hand wheel until the needle is in the highest position before lowering the presser foot.
Pull the thread to the rear of the machine, following the threading pattern that’s marked on the machine. This will involve feeding the thread through all of the necessary guides and tension discs. Make sure to pull the thread slowly and steadily. Once everything is threaded properly, then the machine should be ready to sew. Finally, pull a few inches of thread from the spool, then take a short length of thread from the needle and pull it back.
Tension Settings
It’s essential to get the tension settings right when threading a sewing machine. To do this, start by setting the tension as low as possible and use a piece of scrap fabric to do a few test stitches. The ideal tension is that which allows the thread to pass freely and form even stitches. If the tension is too low then the stitches will be loose and irregular, whereas if the tension is too high then the stitches will be tight and may even break or snap. This is why it’s important to have the right tension setting when threading a sewing machine.
If the test stitches are still not forming correctly then the fabric may need to be re-threaded. To do this, start by cutting the thread long enough to pass through the eye of the needle and then cut the thread a little longer – about 10cm should be sufficient. Place the thread under the needle plate and insert the needle into the thread. Then, pull the thread through the thread guides and tension discs, then follow the threading pattern, and the machine should be re-threaded.
Occasionally, the needle and thread may need to be replaced in order to get full success while sewing. A blunt or damaged needle, or a low-quality thread, can cause problems. Make sure to check that the needle is the correct size for the fabric and thread that’s being used and replace them if necessary.
Troubleshooting
When threading a sewing machine, it’s important to be aware of the common problems that may arise. First of all, the bobbin may not be in the right tension or in the right position. If the tension is too loose or too tight then this can cause the thread to bunch up or come out unevenly. Secondly, if the thread isn’t properly inserted into the needle then this will cause the stitches to catch or jam. Finally, if the thread isn’t wrapped around the guide post then this can cause the thread to come out at an angle, which will mean the fabric won’t form a neat stitch.
If the thread is tangled or coming out badly, try to check that all of the thread is wound on the bobbin evenly and that the thread is inserted into the needle properly. If this doesn’t help, then it may be necessary to re-thread the machine. This may sound intimidating, but with a bit of patience, practice, and instructions from the machine’s user manual, threading a sewing machine should become second nature.
Types of Thread
The type of thread used when threading a sewing machine is important in the formation of the stitches and the quality of the fabric. All-purpose thread is a good choice for most fabrics, whereas there are specific threads for specific fabrics, including lightweight fabrics and heavyweight fabrics. Monofilament threads are ideal for light fabrics as they have a fine, thin appearance and don’t show on the surface of the fabric. Meanwhile, cotton, polyester and nylon threads are all suitable for general sewing, but cotton threads are better for fine fabrics and polyester threads for strong fabrics.
A variety of threads are commonly used for decorative stitching and topstitching, including metallic threads and specialty threads such as stretch, ripple and taffeta thread etc. Some of these threads can be a little tricky to thread, so take extra care to make sure the thread is properly inserted into the needle.
Finally, threads are usually available in two types of weights: standard weight and lightweight. Standard weight is suitable for heavier fabrics and lightweight is best for finer fabrics. When threading a sewing machine, start with standard weight as a base, and then adjust the weight depending on the fabric that is being used.
Tips and Tricks
For successful threading of a sewing machine, it’s important to be patient, keep a steady hand and follow the instructions that come with the machine. Here’s a few extra tips for the best threading experience possible:
When inserting the thread into the needle, ensure that it’s inserted from right to left, not left to right.
Make sure the machine is threaded properly before starting a project.
Keep the spool on the machine spindle when threading, as this will make the threading process easier.
When testing stitches, use a scrap piece of fabric that is similar to the one being used in the project.
Use a spool cap to keep the thread tidy and this will also make the threading process quicker and easier.
Finishing the Project
When the project is finished, the first step is to cut the thread. This is done by turning the hand wheel until the needle is in its highest position, then gently pull the thread at the back of the machine and cut it with an appropriate pair of scissors. If the machine is threaded correctly, the thread won’t come unthreaded.
Finally, it’s important to keep the sewing machine clean and in good condition. Make sure to clean off any dirt or debris that’s built up on the machine, oil it regularly and replace any broken needles. With a little bit of care and attention, a sewing machine can last for many years.
Conclusion
Threading a sewing machine can be a daunting prospect, however, with practice, patience and the right techniques, it’s a skill that can be easily learnt. Careful attention to the machine’s user manual as well as the appropriate type and amount of thread, pressure and tension settings and bobbin positioning is essential for successfully threading a sewing machine. Following these straightforward steps, and some simple troubleshooting techniques, will ensure that you have the skills and knowledge to thread a sewing machine and get your projects finished quickly and confidently.
