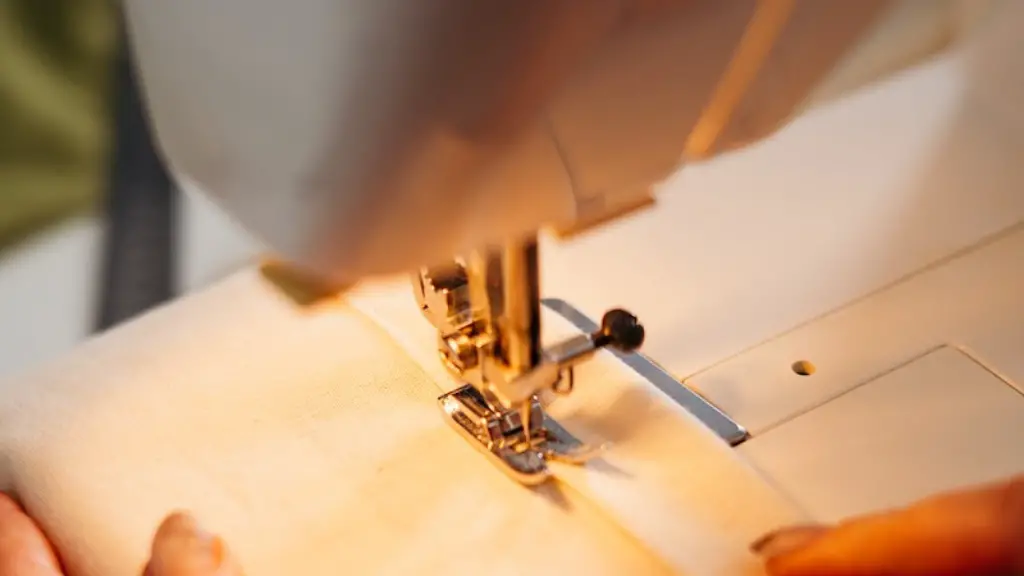
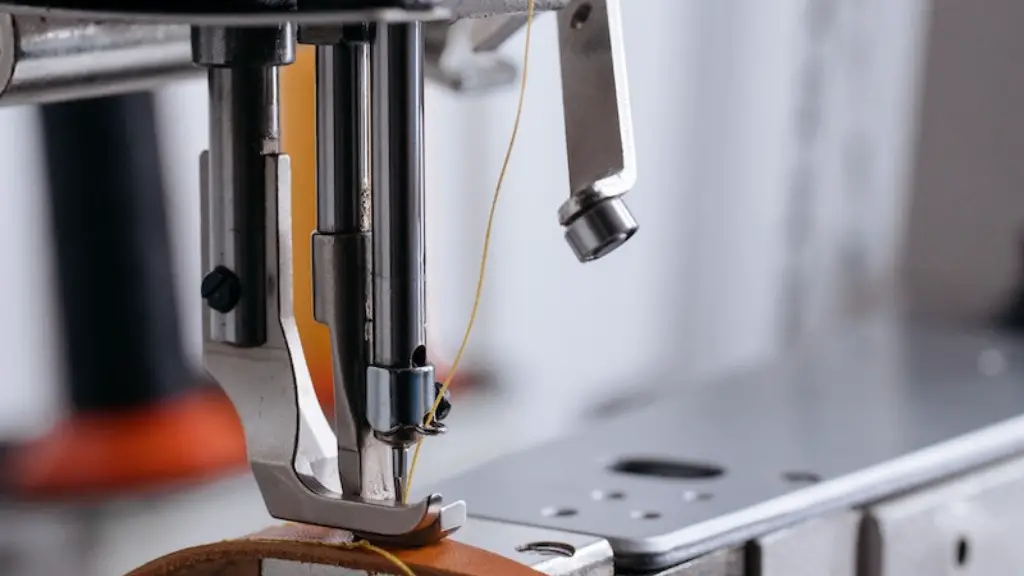
Using a sewing machine can be a daunting task – especially if you don’t understand the basics. Too much tension can throw your entire project out of whack, leading to frustration and headaches all round. Thankfully, understanding how to correctly adjust the tension and sew correctly can bring balance and harmony to your sewing room.
When adjusting the tension of your sewing machine, it’s important to remember that too much tension can produce smaller and weaker stitches, while too little tension will cause larger and looser stitches. The proper balance of tension is what produces the tight, even stitches that are desired in most sewing projects.
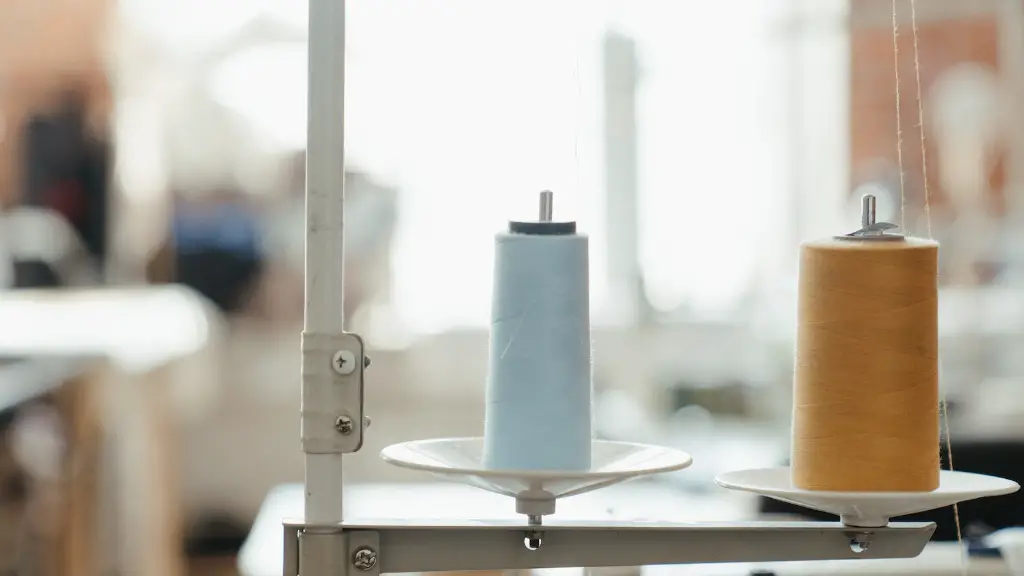
The most important factor when it comes to tension is thread. An incorrect size or type of thread can result in tension problems. Evaluate your current thread to ensure that it is the correct size and type for your project. Too thick of a thread or the wrong type of thread can lead to all sorts of tension issues.
In addition to checking the thread, the correct tension has to be set on the bobbin case as well. Most machines have a numbered dial on the bobbin case that allows you to adjust the tension. To find the correct setting, test sew on scrap fabric and check the stitch for stitching quality.
The bobbin can also cause tension problems. If it is not positioned correctly, it can cause the thread to snag and bunch, resulting in tension issues. Make sure the bobbin is in its proper position and that it is free of any defects.
When making adjustments, keep the thread tension loose. This enables the thread to move through the machine with ease. Once you have set the tension to the looser setting, test sew with the scrap fabric again and gradually tighten the tension until the desired stitch quality is achieved.
Finally, it’s important to remember that different fabrics require different tension settings. A heavier fabric or the addition of a stabilizer may require a different tension than a lightweight fabric. To ensure the best possible results, test sew on scrap fabric with a few different tension settings to find the best one for that specific project.
Cleaning the Machine
Cleaning the tension assembly and bobbin area is also essential for maintaining proper tension. Bits of lint, dust, and thread can accumulate on the metal parts of the tension assembly, causing it to malfunction or work inconsistently. A regular cleaning schedule should be set up in order to maintain the machine and ensure smooth stitching.
To clean the tension assembly and bobbin area, use a lint-free cloth dampened with alcohol or specialized cleaner. Use a soft brush to dust off the area and then use the damp cloth to wipe away any residue. Make sure to exercise caution when cleaning the tension assembly, since it contains delicate parts that can become dislodged if handled too roughly.
Once the area is wiped clean, use a dry cloth to wipe it again and check for debris or lint. If necessary, repeat the cleaning process until the area is completely free of dirt and lint. Afterward, oil the part as instructed in the user’s manual.
Rethreading the Machine
Sometimes, thread breaks when sewing. This is often due to incorrect threading of the machine. The thread needs to be fed through the tension loop and eye of the needle in order to function properly. To re-thread the machine, start by following the threading instructions according to the user’s manual.
Start by feeding the thread through the needle’s eye. Then, thread the thread through the tension loop and finally, thread it onto the take up lever. If the thread is not properly threaded into the tension loop, it will not move through the machine freely and may cause tension issues.
One trick to remember when threading the machine is to pull the thread through the tension loop twice. This helps ensure that the thread is properly and securely threaded. Once the thread is properly secured in the tension loop, the thread will feed through the machine more smoothly.
Tension Discs
Additionally, it’s important to check the tension discs of the machine. The tension discs are located on either side of the machine and control the tension of the thread as it feeds through the machine. If the discs are dirty or misaligned, they can also cause tension issues.
Clean the discs with a lint-free cloth and denatured alcohol. Make sure to wipe around the edge, where the thread passes through the discs. Check that the discs are aligned properly. If they are not, they can be adjusted manually by turning the screws in the front of the machine.
Stitch Settings
Finally, it’s important to remember to set the proper stitch settings. Different stitches require different tension settings, so make sure to adjust the tension according to the stitch being used. Smaller stitches will require less tension, while larger stitches require more tension.
To make it easier, most machines will have a stitch selector dial – simply dial in the desired stitch and the settings will be automatically adjusted. However, it’s still important to check the stitch quality after making the selections as adjustments may be necessary to achieve the desired results.
Tension Troubleshooting
When troubleshooting tension issues, remember to check the thread, the bobbin, and the tension disc settings. Tweak the settings and clean the parts as necessary until the desired stitch quality is achieved.
If all else fails, it may be worth investing in a tension gauge to ensure the tension is set at the correct level. The gauge measures the tension in the thread as it passes through the machine and can help pinpoint fatigue and tension issues that you may have not seen or realized were occurring.
Spot Tension Problems
When learning how to correct tension on a sewing machine, it’s important to be able to spot potential tension issues quickly and easily. Poor tension can cause stitches to break, loops to form in the fabric, and overall stitch quality to suffer.
In general, signs of tension problems include loops on the bottom side of the fabric, skipped stitches, and thread bunching up on the bottom side of the fabric. If you notice any of these signs, stop and review your settings and fabric type.
To identify the specific issue, test sew on a piece of scrap fabric. Check for stitch quality, loops, and thread bunching. If any of these issues occur, adjust the tension gradually until the desired results are achieved.
Tetchy Threads
Thread can be another source of tension issues. Thicker threads can cause problems, since they aren’t always fed through the machine correctly. New or old threads are also prone to tangling, which can cause problems with bobbin filling and feeding.
It’s important to evaluate the thread to ensure it is the proper size and type for the project. Additionally, keep the thread spooled correctly to prevent tangles and feed the thread through the machine at a consistent speed to reduce loops.
Check the Needle
A worn or damaged needle can cause tension issues, since it disrupts the flow of thread through the machine. It’s important to check the needle after each project and replace it when necessary. A bent or dull needle can easily cause tension issues, so be sure to check and replace the needle frequently.
In addition to checking and replacing the needle, it’s important to ensure the needle is the correct size for the fabric and thread being used. An incorrect needle can cause issues with the stitch formation and ultimately, tension issues.
Replacing Parts
If all else fails, it may be time to replace the tension assembly or bobbin case. Over time, metal parts can wear down, resulting in tension issues. If the tension assembly is not functioning properly, it’s best to replace the entire assembly rather than try to adjust the existing ones.
Additionally, it’s important to check the bobbin case for signs of wear. If the metal parts are bent, worn, or oxidized, it’s best to replace it. Many machines require specialized bobbin cases, so be sure to purchase a compatible one.
Replacing the parts can be a delicate task, as they are delicate, small, and contain many intricate components. If you don’t feel comfortable doing it yourself, it’s best to take the machine to a qualified technician.
