Materials
Rope baskets have been around since the ancient Egyptians, and with a few simple materials and a sewing machine, you can start making your own. You’ll need a stitchable fabric of your choice, three-fourths to one-inch jute, hemp, or cotton rope, a large-eyed needle and some heavy-duty thread. The size of the basket will depend on the length of the fabric and rope you choose. When calculating the length of your fabric make sure to double it, because you’ll need enough to fold in half and create two sides of the basket. In addition, you’ll want to purchase two extra-large spools of thread to ensure your finished product is sturdy and long-lasting.
Preparing the Fabric
Before beginning to construct the rope basket, wash and iron the fabric. It’s important to iron the fabric so the basket holds its shape once it’s completed. When ironing, make sure to leave about one and a half inches of extra fabric at the top for a sturdy seam allowance. After your fabric is prepped and ready to go, cut it in half lengthwise, and then fold each side lengthwise so that the bottom of the fabric is on the wrong side. Stitch the sides of the fabric together along the patterned sides of the fabric to create the base of the basket.
Creating the Rope
In order to create the rope, wrap the fabric around the rope, and then stitch it securely. Start wrapping the rope around the fabric in a spiral motion, making sure to overlap the rope slightly with each rotation. Sew the rope in place by stitching directly onto the fabric. Depending on the fabric you choose, make sure to use an appropriate stitch for the fabric so that it stays together and the basket is durable.
Finishing the Base
Once the rope is in place, it’s time to close up the bottom of the basket. Begin by folding the edge of the fabric down, so that the underside of the basket is on the outside. Stitch around the edge of the basket along the outer edge of the fabric. Make sure to backstitch at the beginning and end of each seam to secure the fabric.
Creating the Sides
Now it’s time to start forming the sides of the basket. Start by folding the fabric over the rope and stitching the main pieces of the fabric together. Next, top-stitch the sides of the basket, repeating until you have a solid and secure form. Depending on your fabric selection, add decorative stitching or drawstring a fitted fabric strip around the base of the basket.
Reinforcing the Basket
The last step is to reinforce the basket by adding extra rows of stitches along the outside edge. Once your basket is reinforced, trim and discard any excess rope or fabric from the bottom.
Decorating the Basket
Once you’ve finished creating the base and sides of the basket, you can adorn it however you’d like. You can choose to dye or paint the rope or fabric for added decoration. Add beads or tassels for extra flair. Finally, you can use fabric glue or embroidery to add extra embellishments.
Uses
Now that you’ve made your very own rope basket, the possibilities are endless. You can use it to store towels in the bathroom, toys in your child’s room, or even fresh produce in your kitchen. You can also use your basket to organize craft supplies and bring a rustic charm to your office.
Caring for the Basket
To ensure your basket lasts for years to come, it’s important to give it the proper care and cleansing. To clean the basket, use a damp cloth and mild detergent. The rope may require special attention if it begins to fray or looks worn over time. If this is the case, use a brush and some fabric glue to keep the rope in place.
Storing the Basket
When you’re not using the basket, be sure to store it in a cool, dry place. If storing in a closet, use cedar blocks or cedar oil-soaked cotton balls to keep pests away.
Sources of Inspiration
If you’re looking for more ways to spruce up your basket, check out the many creative designs online. Instagram is full of crafty accounts sharing colorful stories of their journey in creating the perfect basket. Pinterest is also a great source for finding inspiration and learning new techniques.
Organize What Matters
Customize your rope basket to fit whatever it is you need to organize. With an array of colors, sizes, materials and textures available, it’s easy to find something that stands out and makes a statement. Give your storage area a touch of modern country elegance with a simple rope basket that you can make yourself.
DIY Repairs
If you run into any issues with the basket, most repairs are easily done at home. Minor repairs like knots and unraveling can be quickly fixed by using a needle and thread. For more severe damages, delicate fabric glue and other adhesive materials can be used to restore the basket’s shape.
Rates of Production
With just a few basic materials and your sewing machine, creating a rope basket can be done quickly. Depending on the size of the basket, most projects can be completed in an hour or two. It’s important to measure everything out before you start for an accurate estimate of how long it might take.
India Artisans
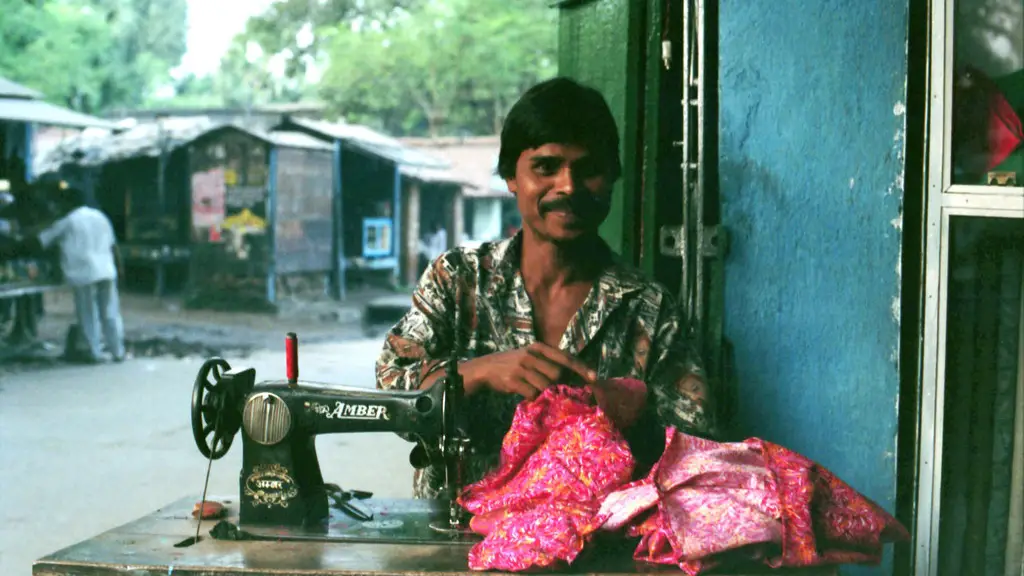
Rope baskets have been a staple in India for centuries. Artisans from across the country hand-weave intricate creations with a variety of materials. Seeing their beautiful work is inspirational and can serve as a source of encouragement for your own creations.
Accessorising Your Rope Basket
Once your rope basket is complete, give it a personal touch with creative accessories. Try adding a fabric lining to the inside of the basket for a softer touch and add ribbon as a closure. For more unique looks, try mixing and matching different colors and patterns of fabric and rope.
DIY Tips
When creating a rope basket, be sure to choose the right materials. Select a sturdy fabric and rope, so that the basket is resilient enough to handle the items you’ll be storing in it. Likewise, pay attention to the thread and needle you use. Make sure they are strong enough to withstand any strain placed on the basket’s seams.
Kinds of Rope Baskets
Rope baskets come in a range of shapes and sizes. You can opt for large and deep baskets for storing items like blankets, towels or even laundry. Smaller adjustable baskets are great for organizing items in the kitchen or craft room. And if you’re looking for something a bit more ornamental, then you might choose a round or oval shaped basket for décor.
Personalised Monogramming
You can also add an extra special touch to the basket with monogramming. Embroider or use fabric glue to customize the basket with initials, words or a design of your choice. Monogramming is a great way to add a unique and personalized finishing touch to your rope basket.


