Anyone who has obtained a basic knowledge of sewing technique knows that the hidden seam is one of the most important stitches to master. This method of adjusting fabric to fit garments has long been used by tailors and allows clothes to be fastened securely. If you have ever been curious about how to create a hidden seam with a sewing machine, this article is for you. With a few simple steps, you can learn how to sew a hidden seam correctly, saving yourself time and money in the process.
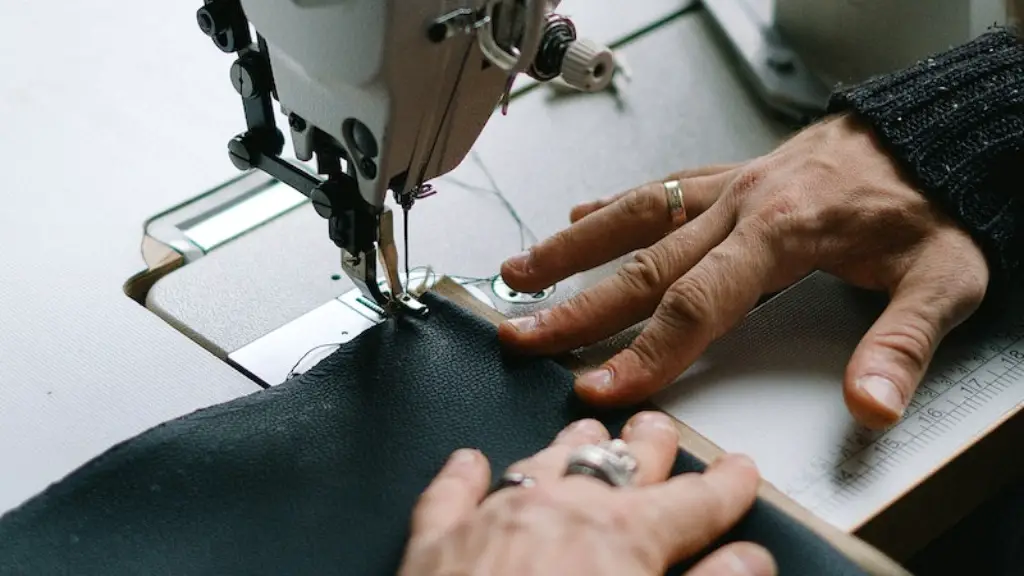
When it comes to sewing a hidden seam, the first step is to make sure that you have the correct thread. Choose a colour that will blend in with the fabric so that the stitch is invisible when it is completed. Then, you need to attach the fabric to the machine. Secure the fabric by placing the needle and the corner of the edge of the fabric under the presser foot. This will ensure that the fabric is held in place securely, making sure the stitch will not move during the sewing process.
Once the fabric is in place and secure, the next step is to set the stitch. As the hidden seam needs to be invisible, you should choose a zig-zag stitch. Adjust the length of the stitching to the shortest setting and set the width to the widest. This will make the stitch less visible and create a professional-looking finish.
To begin the stitching, start at the right side of the fabric and make sure that the fabric is pulled taut. You should sew around the edge of the fabric and stop a few inches before you reach the starting point. When you get back to the beginning, turn the fabric over, so that you can see the back of the fabric and the seams you have just made. Make sure that you back-stitch at the start and end of the stitch to ensure that it is secure.
The final step is to finish the seam. To do this, you should fold the fabric over, so that the seams are hidden from view. Then, stitch along the edge of the folded fabric, securing the edges. This will create a neat, finished result that is secure and will last for years. Once you have completed this step, your garment should be securely fastened and you can enjoy the finished product.
Working with Different Fabrics
Different fabrics require different methods of sewing. Before using your sewing machine on any fabric, be sure to check the manufacturer’s instructions to ensure that the fabric is appropriate for your machine. As a general rule, the lighter fabrics will need to be pinned into place, while heavier fabrics, such as denim, will benefit from having an extra layer of stabiliser added.
When working with delicate fabrics, such as silk, it is important to use a slow speed so that the fabric does not become stretched or damaged. It is also important to use a smaller needle than you would for thicker fabrics, as this will create a cleaner seam.
If you are working with stretch fabrics, you should use a stretch stitch to allow for movement. This stitch is designed to give the fabric flexibility and to prevent stretching or tearing when it is worn. There are a variety of stretch stitches available, so make sure to choose the one that is appropriate for the fabric you are using.
Finally, if you are working with fabrics that fray easily, such as linen or muslin, you should use thread that is designed to prevent fraying. This type of thread has a wax coating, which will stop the edges of your fabric from unravelling as you are sewing.
Other Sewing Techniques
When sewing a hidden seam, it is important to remember that there are other techniques that can be used to create a secure finish. If the fabric you are working with is particularly thick, you may find that using the zig-zag stitch is not enough, and you may need to use a reinforced stitch. This type of stitch is designed to create a stronger seam that will hold the fabric in place.
You can also use different types of thread for a more decorative finish. To add a professional-looking effect, you can use metallic thread or decorative threads, such as ribbon or yarn. This will give your garment a unique and eye-catching finish.
As well as creating a reinforced stitch and using decorative threads, you can also use a variety of other techniques to add decoration to your garment. Beading and applique are popular options, and they are both relatively easy to master. If you are looking for a more advanced technique, you can also use smocking, which involves folding and stitching the fabric, creating patterns and designs.
Tools for Sewing
When it comes to sewing, having the right tools is essential. Before you start any project, make sure that you have the correct equipment for the job. For example, a seam ripper is an essential tool for removing stitches when you make a mistake, and a seam gauge is also helpful for measuring and marking the fabric. It is also important to use the correct needles for the fabric, as using the wrong type can damage the fabric.
In addition to the essential tools, it is also useful to have a variety of other tools on hand. An ironing board and iron are useful for ironing out fabric, and you should also have some pins, scissors, and bobbins as they will all make the sewing process easier. If you are a beginner, a set of basic pattern pieces is also a good idea, as this will help you to familiarise yourself with the basics of sewing.
Getting the Right Fit
When it comes to sewing, it is important to get the right fit for your garment. To do this, take measurements of yourself and compare them to size charts. It is also a good idea to make a test garment out of fabric before you begin your project, to check that the pattern is accurate. This will make sure that the garment fits you perfectly when it is finished.
When it comes to pattern cutting, it is important to remember that different fabrics shrink to different sizes. Before you cut out your fabric, pre-shrink it by washing it in a gentle cycle. This will ensure that the garment will fit the same way when you have finished the project.
Once the fabric is cut out, you will need to transfer the pattern pieces onto the fabric. This can be done using a tracing wheel and a water-soluble pencil. When transferring the pattern to the fabric, it is important to leave a seam allowance, so that you have enough fabric to create a professional-looking finish.
Finishing Touches
Once you have finished sewing the garment, it is important to make sure that you have a professional-looking finish. First, press the seams to make sure that they are flat and neat before you hem the garment. If you are adding an elastic waistband, make sure to measure the correct length and attach it securely before sewing the hem.
To finish your garment, you will need to make sure that any raw edges are turned under and secured. If you are working with fabrics that fray easily, you should use a light-weight interfacing to reinforce the fabric. Once the interfacing is applied, it should be stitched down and pressed with an iron.
When your garment is complete, it is time to enjoy the fruits of your labour. You will have created a unique and stylish piece of clothing that was made entirely by your own hands. With practice, you will soon be creating beautiful garments with ease.
