Mending clothes is an effective way to extend the lifetime of your wardrobe. Taking worn out pants and turning them into good quality clothing can also be a great way to save you money. Learning how to patch pants with a sewing machine can be a great skill for any budding fashionista to have. Here, we’ll take you through the basics of using a sewing machine to patch a pair of pants.
First, you’ll need to make sure that you have all the materials you need. You’ll need an electric sewing machine, thread in a colour that matches the pants, scissors, a tape measure, a ruler, and fabric or patch material that matches the colour of the pants. You can buy patch material that’s specifically made for patching jeans, or if you’d like to use a patterned fabric, you can use any thick material that’s the same colour as the fabric of the pants.
When you’re ready to begin, the first step is to determine where you’d like to patch the pants. Place the pants on the machine and measure the area where the patch will go. This will give you an idea of the size of fabric or patch material that you’ll need. Once you’ve decided on the size of the patch, cut the fabric to the appropriate size, ensuring that it’s slightly smaller than the measurement you’ve taken.
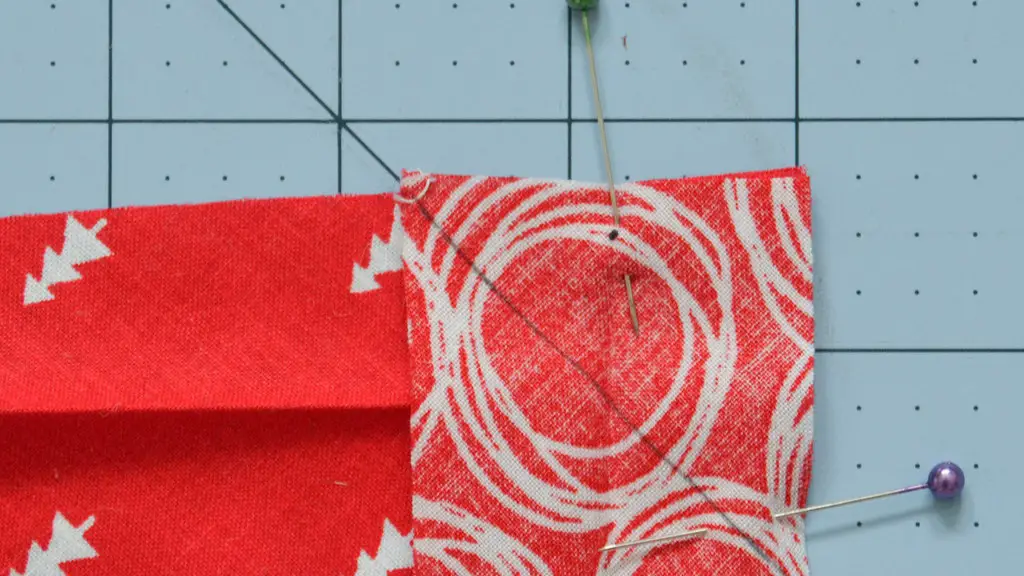
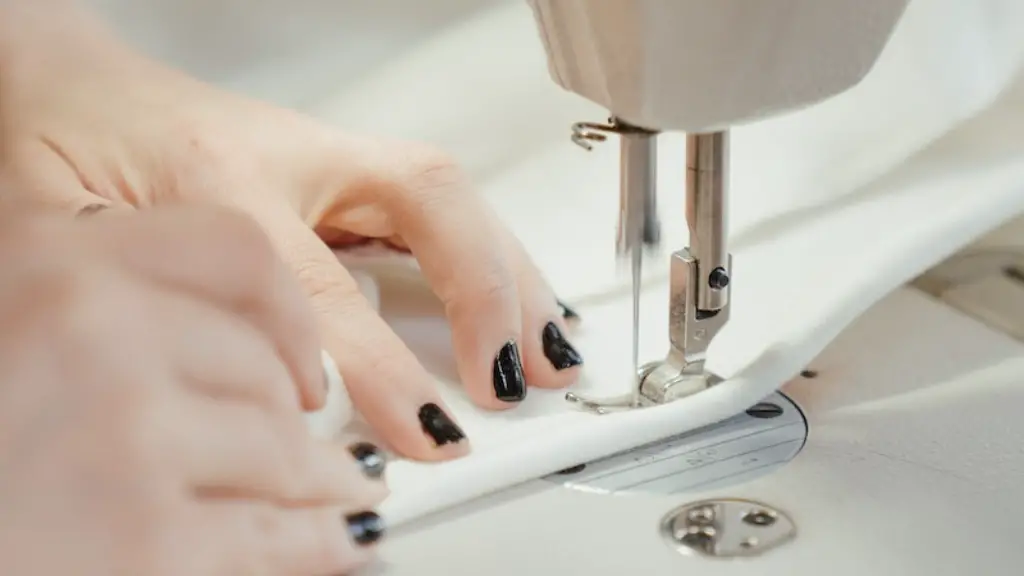
Next, you’ll need to attach the patch to the pants. Start by placing the patch into position, with the right sides of the fabric facing each other. Place the patch under the presser foot of the sewing machine, making sure it’s aligned properly. Now, set the stitch length to a 5 or 6 and sew around the edges of the patch, securing it to the pants. When you reach the end of the fabric, you can trim any excess thread or fabric.
Finally, you’ll need to press the patch. Place the fabric on the ironing board and use an iron to press the patch. This will help ensure that the patch is securely attached and it will also flatten out any creases in the fabric. Be sure to press the patch on both sides, and make sure that you don’t leave the iron on for too long as this can damage the fabric.
Frayed Cuffs
Frayed cuffs are probably one of the most common repairs made to pants. This is a relatively straightforward task, but it does require some patience and precision. The first step is to turn the cuff of the pants inside out. This will make it easier to work with the fabric and it will also make it easier to attach the patch. Now, you’ll need to measure the size of the patch. Make sure it’s slightly smaller than the cuff, as this will help prevent the patch from looking bulky.
Now, you’ll need to secure the patch to the cuff. Begin by laying the patch over the frayed area. Use a pin to secure the patch in place, and then use a fabric marker to draw a patching line around the patch. This will give you an indication of where you should sew. Now, attach the patch to the cuff by setting your sewing machine to a medium size stitch. Sew around the edges of the patch and make sure you’re using the same stitch size throughout. If you’re using a patterned fabric, make sure to have the design facing down otherwise you may end up with some gaps in the stitching.
Buttonholes
If the buttons on your pants are becoming loose, you may want to consider replacing them. While this may sound like a daunting task, it’s actually fairly straightforward. Firstly, you’ll need to remove the old button from the waistband. To do this, use a needle and thread to secure the button in place to prevent it from becoming loose. Now, take a measuring tape and measure the distance between the two holes on the waistband. This will give you an indication of how large the new buttonhole should be.
Now, with your buttonhole foot attached to the machine, set the stitch length and width to the appropriate settings for buttonhole stitching. Ensure the stitch length is not set too high or too low. For example, a medium-length stitch length is recommended for this type of repair. Now, you’ll need to carefully sew around the edge of the buttonhole. Move slowly to ensure the stitches are even and straight. When you’re finished, go over the buttonhole twice to reinforce it.
Once you’ve finished the buttonhole, you’ll need to attach the new buttons. Begin by inserting the shank of the button into the buttonhole. Have a friend hold the button in place while you use a needle and thread to attach it.Tie a few knots in the thread to secure the button and then trim the excess thread.
Knees and Hems
Knees and hems can become frayed, torn, and stretched over time. In order to fix this, you’ll need to patch the area. If the fabric is too thin to patch, you may need to use fabric glue or thread and needle to reinforce the seams. If the fabric is thick enough, you can use a patch to cover the area. Using a ruler and fabric marker, measure the size of the patch that you need, being sure to leave enough fabric around the edges.
Now, attach the patch to the fabric. Begin by placing the patch on the material, with the right sides of the fabric facing each other. Secure the patch in place with pins, and then use a sewing machine set to a medium stitch to stitch around the edges of the patch. As with the other repairs, take care to ensure the stitching is even and straight. When you reach the end of the patch, trim any excess thread or fabric.
Once you’ve finished stitching the patch, press it flat. Place the fabric on the ironing board and use an iron to press the patch. This will help ensure that the patch is securely attached and it will also flatten out any creases in the fabric. As with any repair, make sure that you don’t leave the iron on the fabric for too long as this can damage the fabric.
Patch Care and Maintenance
While patches can be a great way to extend the life of your clothing, they do require some extra care and maintenance. Firstly, make sure you use a colourfast thread when sewing patches as this will help ensure that the thread doesn’t bleed onto the fabric. Secondly, make sure you avoid washing the garment with patches too often as this can cause the patch to come loose from the fabric. Finally, be careful when ironing fabrics with patches as the heat from the iron can cause the patch to come loose.
Patches can be a great way to add a unique and personal touch to any outfit. Whether you’re looking to repair a favourite pair of pants or add a stylish edge to a plain shirt, learning how to patch with a sewing machine is a great skill to have. With the right tools and materials, you can easily and effectively repair clothing and create unique pieces of clothing that you’ll cherish forever.
Patch Variations and Customisations
Once you’ve mastered the basics of patching, you can begin to explore more creative ways to use patches. For example, you could use a patch to create a unique pattern on a piece of clothing. You might opt for a grid of small, matching patches or a larger contrast patch. You could also use patches to add a monogram or emblem to a piece of clothing, allowing you to create personalised items that are truly unique.
Patches can also be a great way to add extra detail to plain clothing. Instead of replacing a garment, you can use a patch to add some colour, texture, or pattern. You could opt for a large patch or a series of small patches, depending on the desired effect. You could also add a patch to the inside of clothing to provide extra insulation or warmth, allowing you to create clothing that’s suitable for all seasons.
Finally, patches can also be a great way to add a pop of colour to a garment. By choosing a patch in a vibrant colour or pattern, you can easily liven up a plain piece of clothing and create a truly individual style. Patching can be a great way to extend the life of clothing, as well as provide an opportunity to express your style and creativity.
Choosing the Right Materials
When it comes to patching clothes, choosing the right materials is key. The patch material should be as close as possible to the original fabric in terms of texture, thickness, and colour. This will help ensure that the patch is less visible and that the garment looks more uniform. If you’re using a patch with a pattern or design, opt for a fabric that’s the same colour and texture as the original fabric, as this will help ensure that the patch blends in.
In terms of thread, make sure to use a colour that matches the patch material and the original fabric. If you’re using a patterned fabric, opt for a matching thread colour as this will help ensure that the thread is less visible. Additionally, make sure to use a colourfast thread, as this will help ensure that the thread won’t bleed onto the fabric.
Choosing the right materials for patching can be a real challenge, especially if you’re not experienced in this type of repair. However, with a bit of research and experimentation, you can find the perfect material for any repair. This will allow you to create clothing that’s durable, stylish, and truly unique.
Seam Finishing
In addition to choosing the right materials, your patching work will look extra polished if you finish off the seams. Finishing the seams will help ensure that the patch looks neat and uniform, and it will also help protect the fabric from any fraying. To finish the seams, use a zigzag stitch to sew over the edges of the patch. This will provide extra reinforcement and it will also give the seams a neater, more professional finish.
Alternatively, you can use a fabric glue to secure the edges of the patch. Before applying the fabric glue, make sure the fabric is clean and dry so that the glue can adhere properly. Then, use a brush to apply the fabric glue around the edges of the patch. Allow the glue to dry before continuing. This will help ensure that the patch is securely attached, and it will also help protect the fabric from any damage.
The types of seam finishes you use will depend on the fabric and the patch. For example, if you’re working with a delicate fabric, a fabric glue may be the best way to attach the patch, as a zigzag stitch could potentially damage the fabric. Experimenting with different seam finishes can be a great way to explore the creative possibilities
